I had the opportunity to work on the swap some more today. The first item of the day was removing the shifter, masking off the opening to avoid debris and test fitting the T56 into the car. Once it was in place I bolted up the crossmember so it would be in it’s approximate position once actually installed and then traced the shifter outline on the bottom of the trans tunnel. I then pulled the trans back out, marked off some guide spots and drilled a few holes. Then came the fun part, getting to cut up the car with a sawzall and cutoff wheel. Once I had the opening cut out I took a file to the edges to try and remove some of the sharper bits to avoid rubbing and cutting into the lower boot. I then gave it a quick shot with some red caliper paint to make the fresh cuts a little more rust resistant.
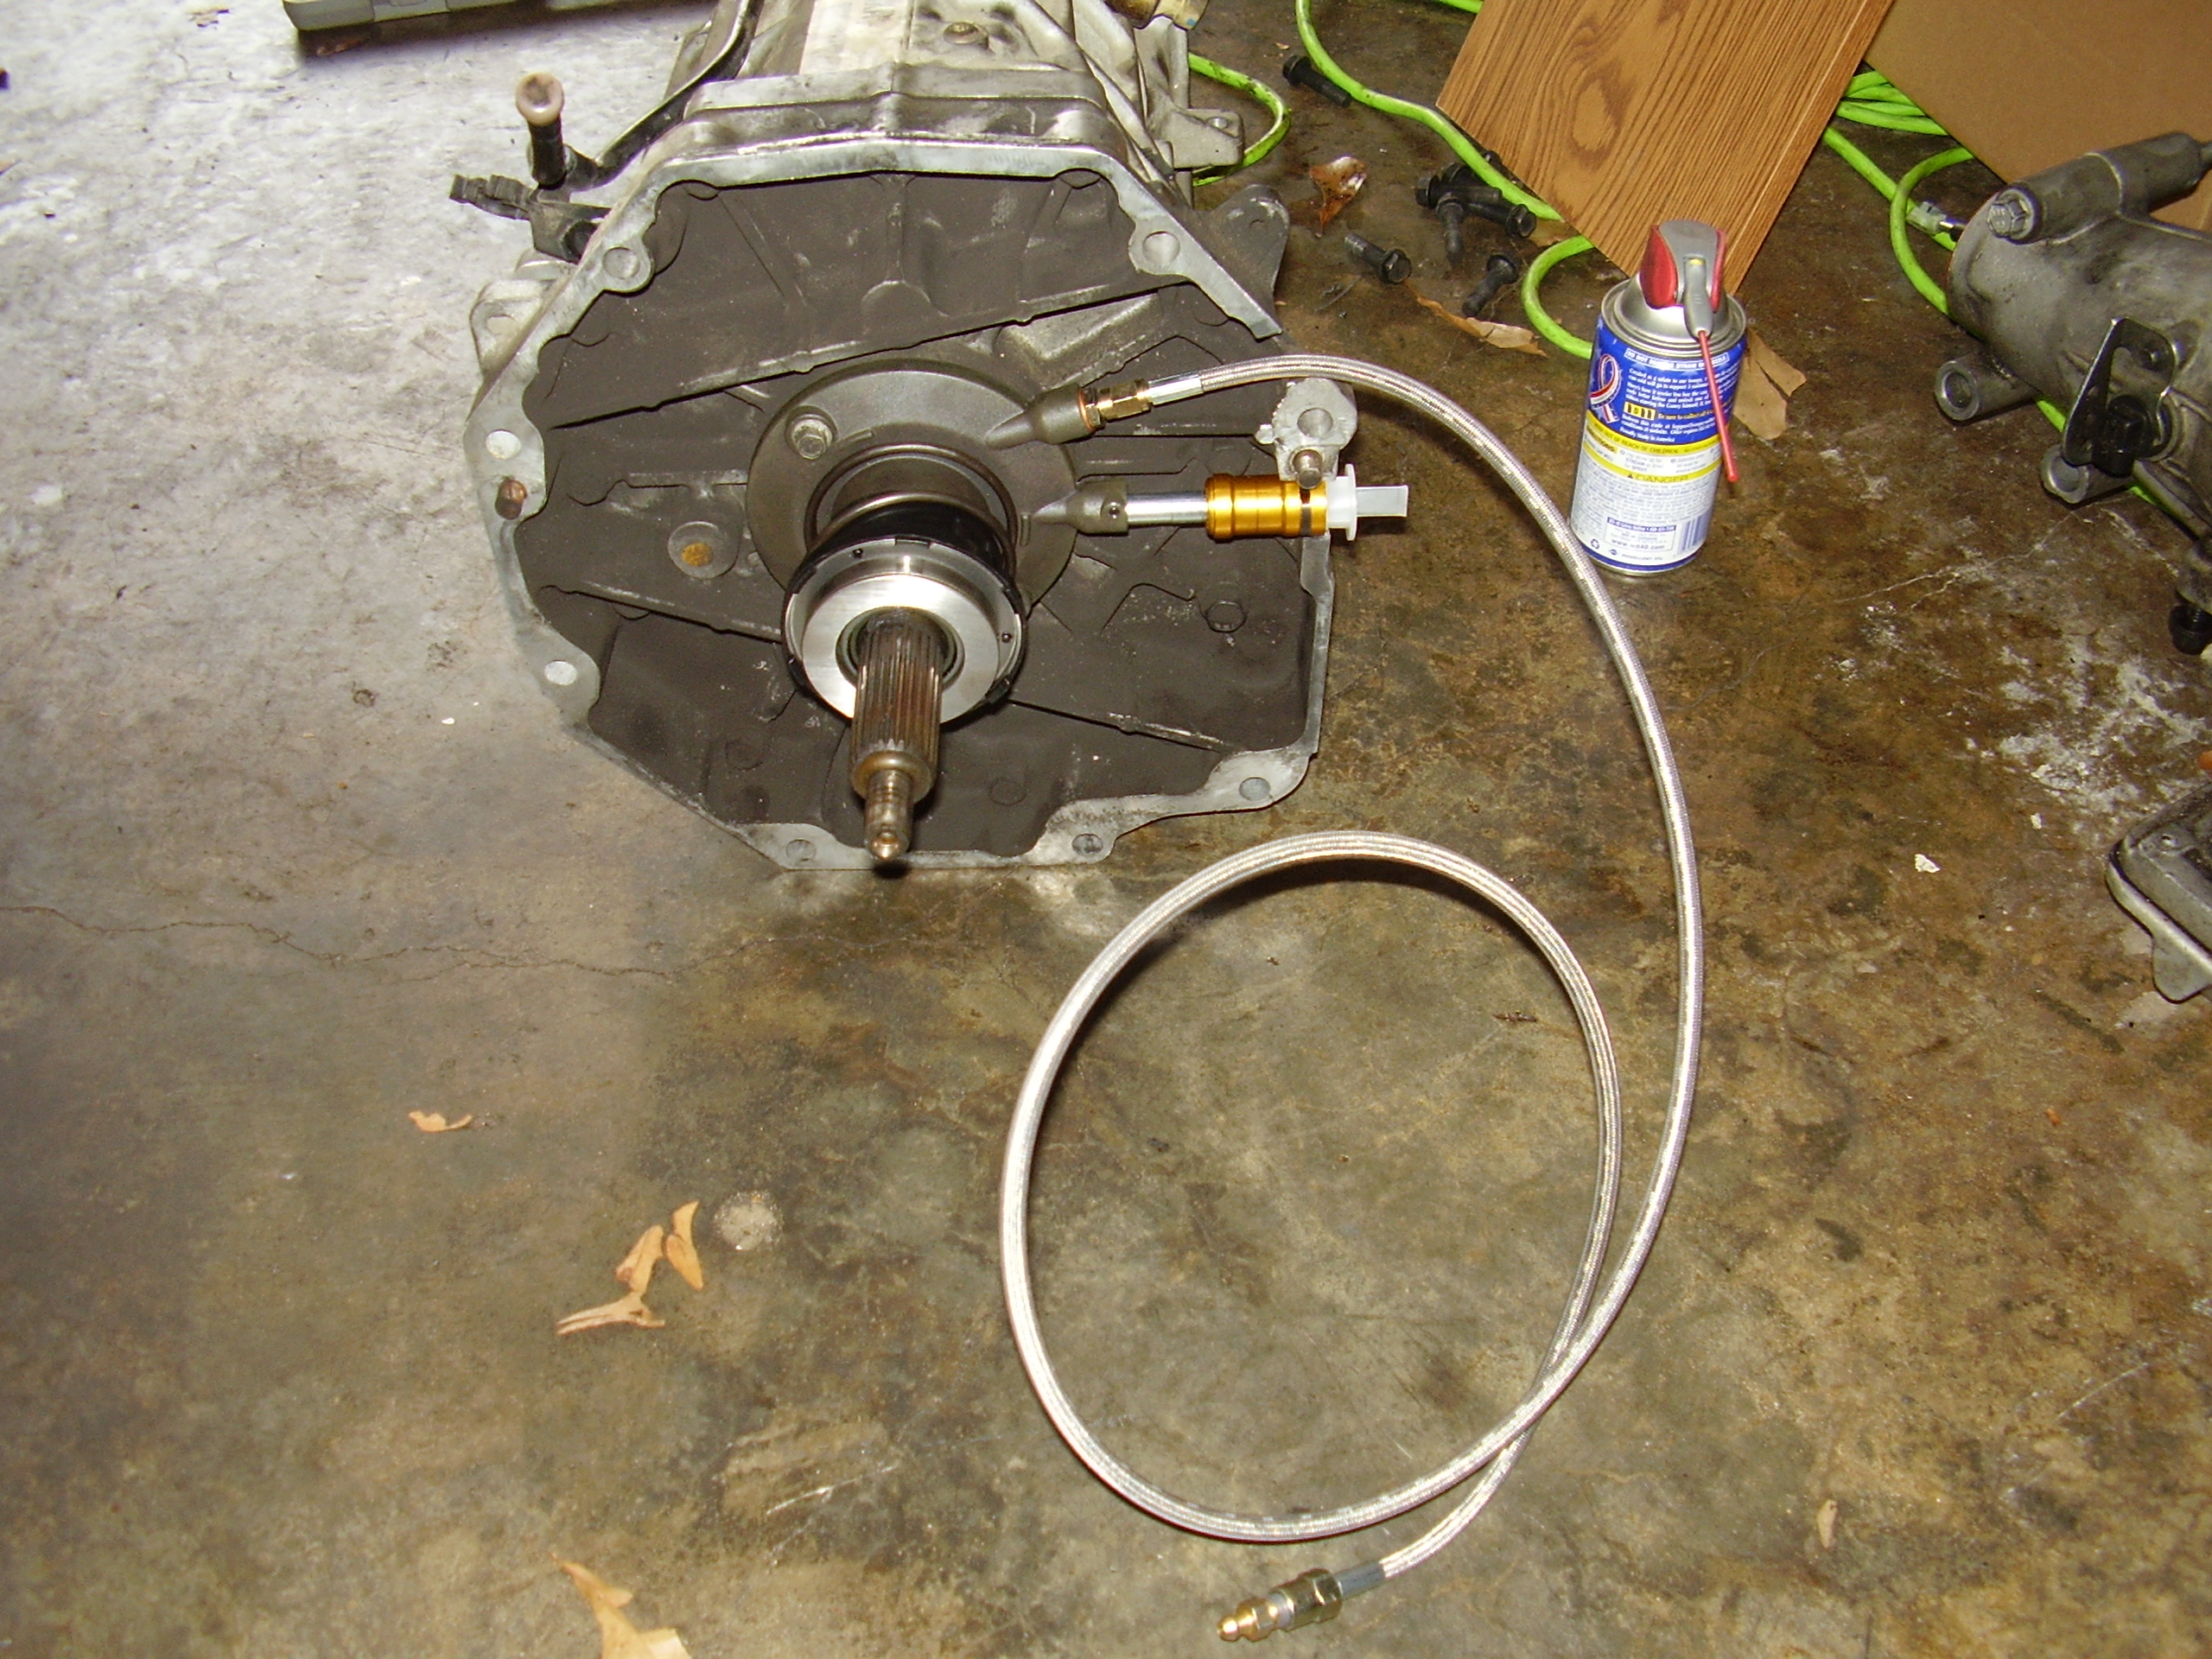
Next I moved on to a few items on the T56 itself. I pulled the old slave cylinder and set it aside to deal with later. I then bolted up the new slave and removed the stock bleeder screw and replaced it with a Tick Performance speed bleeder.
The next to do item was getting rid of CAGS. The Computer Assisted Gear Selector (CAGS) or Skip Shift as most know it, was an idea established in attempts to make the transmission more efficient by forcing you to shift from 1st to 4th under particular sets of circumstances. Yea, I don’t think so buddy. I will shift into what gear I want, when I want it. Here is the CAGS solenoid that I’ll be removing.
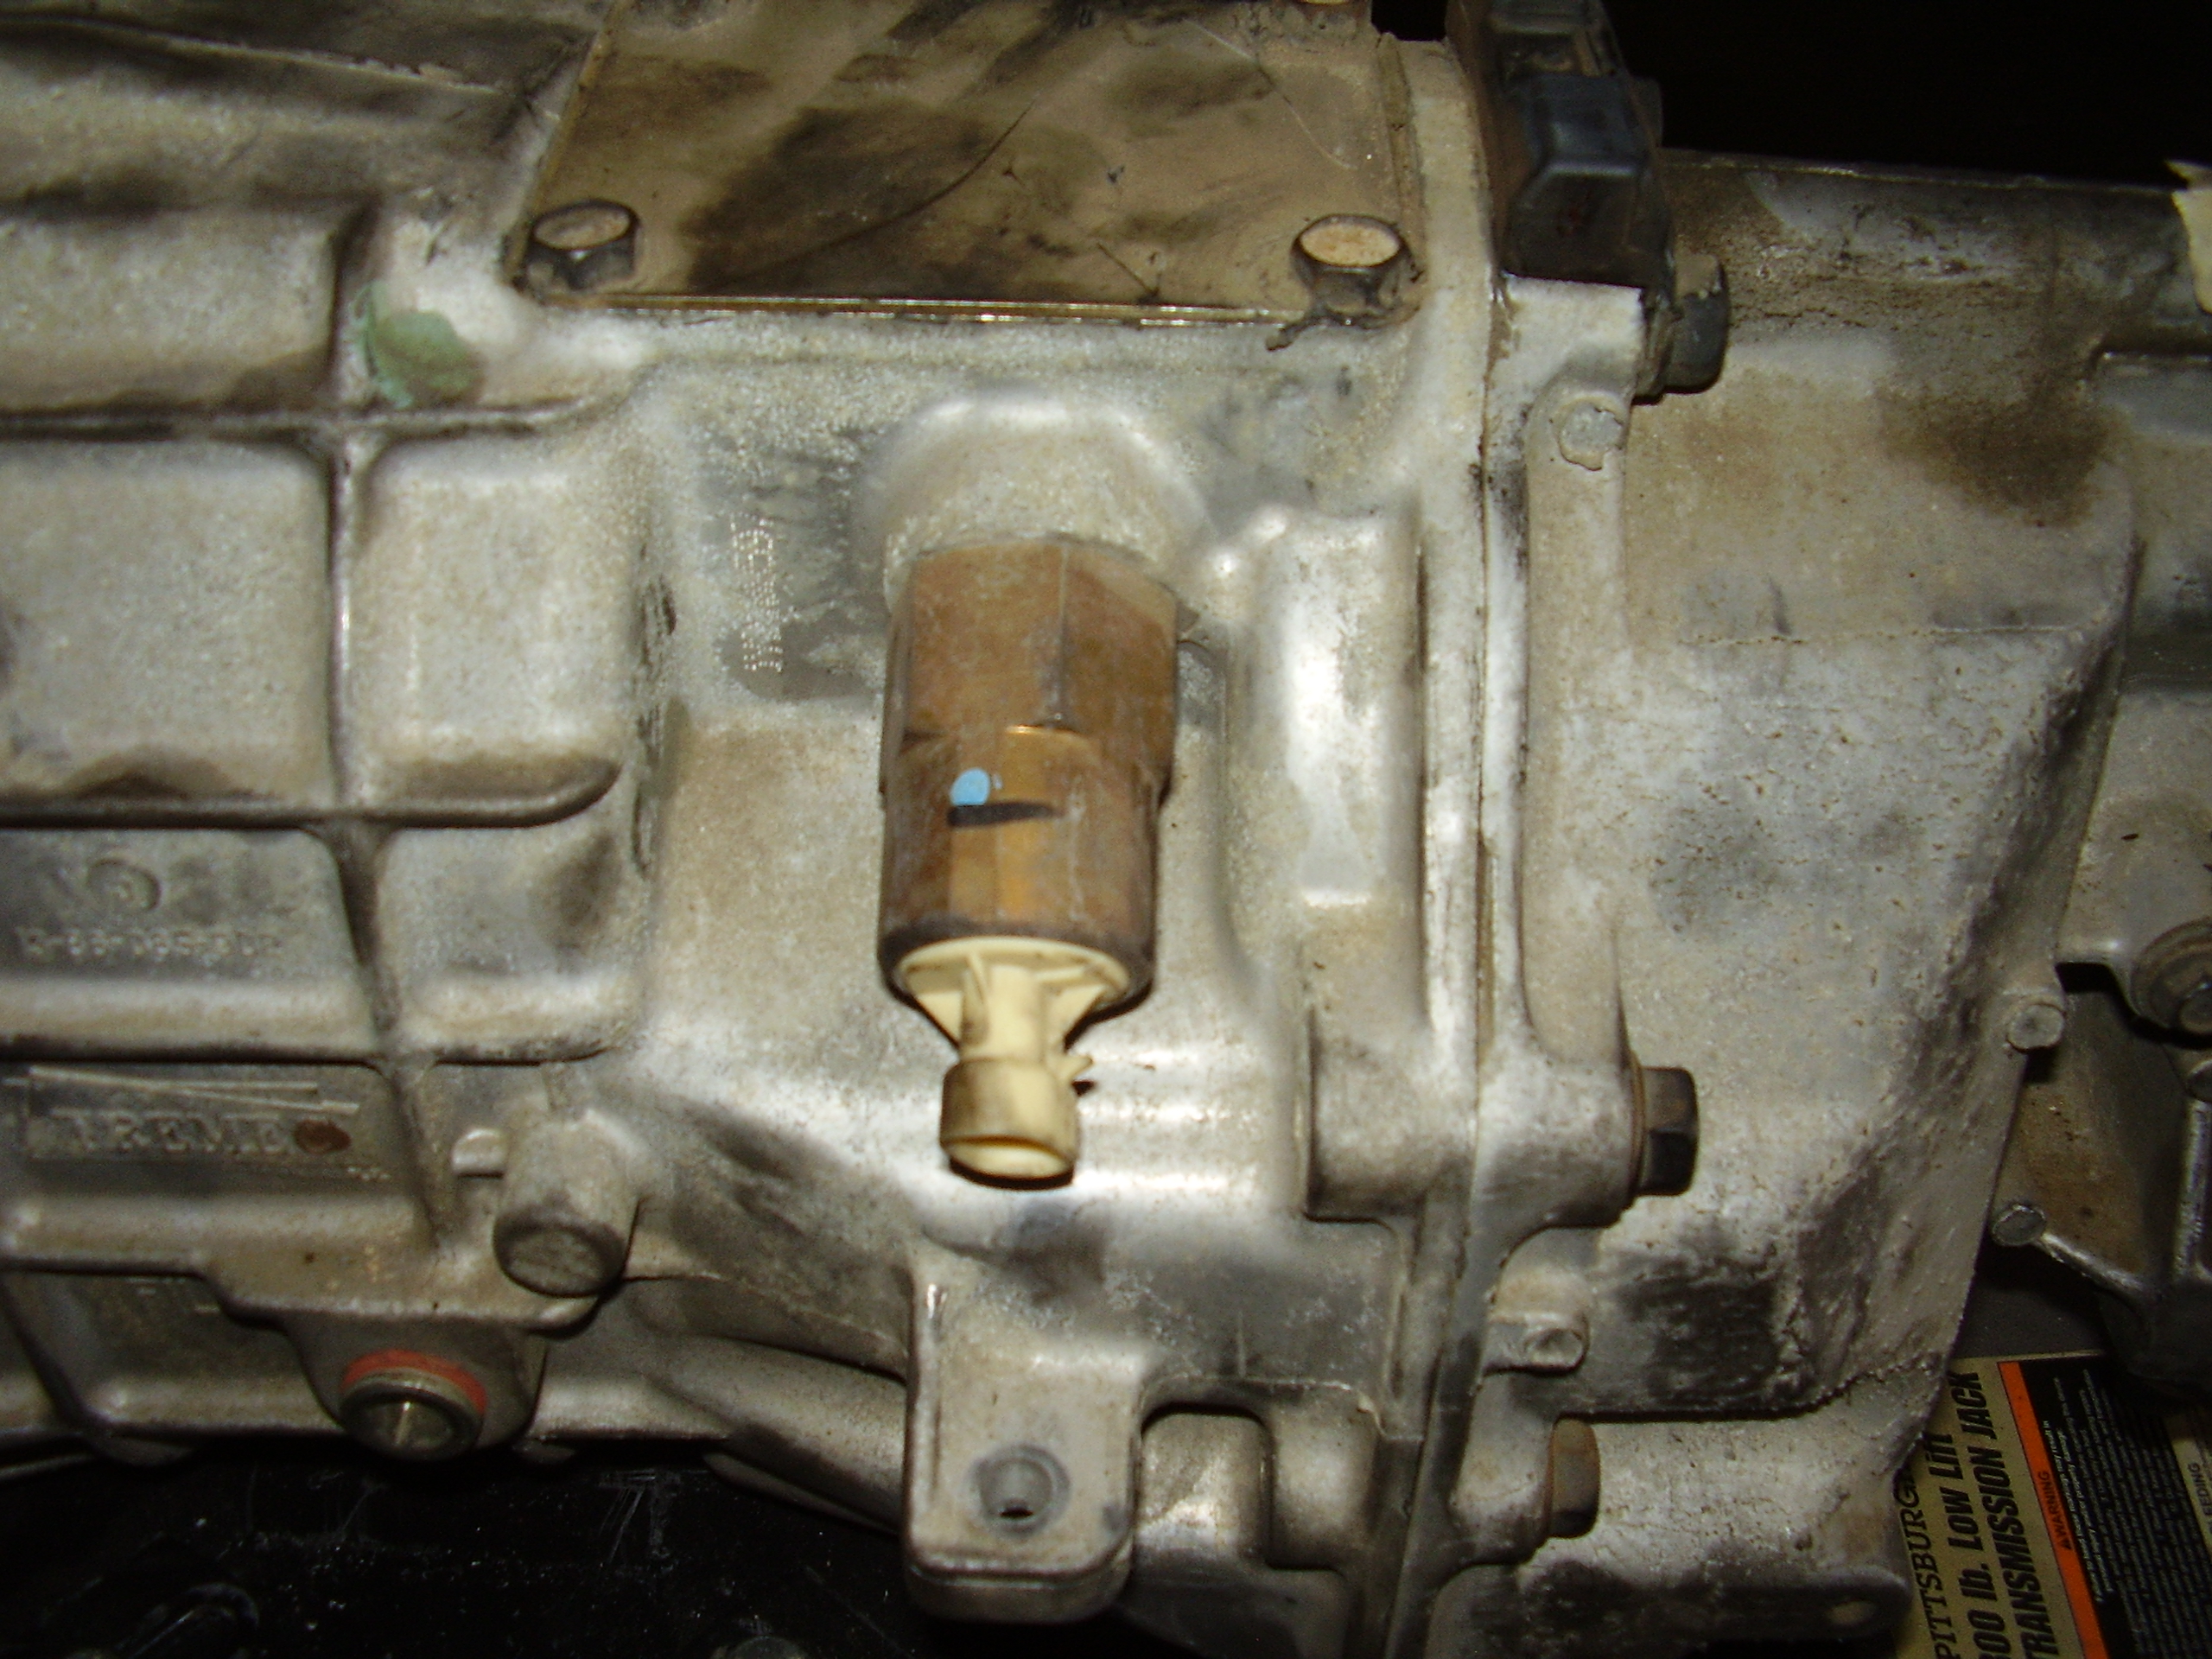
That sucker was so large that I didn’t have a single wrench that was large enough to fit. Even my crescent wrench wouldn’t open that large, close but not quite. I had to break out the adjustable plumbers pipe pliers to get it off. Here is a side by side comparison of the solenoid and what I will be replacing it with.
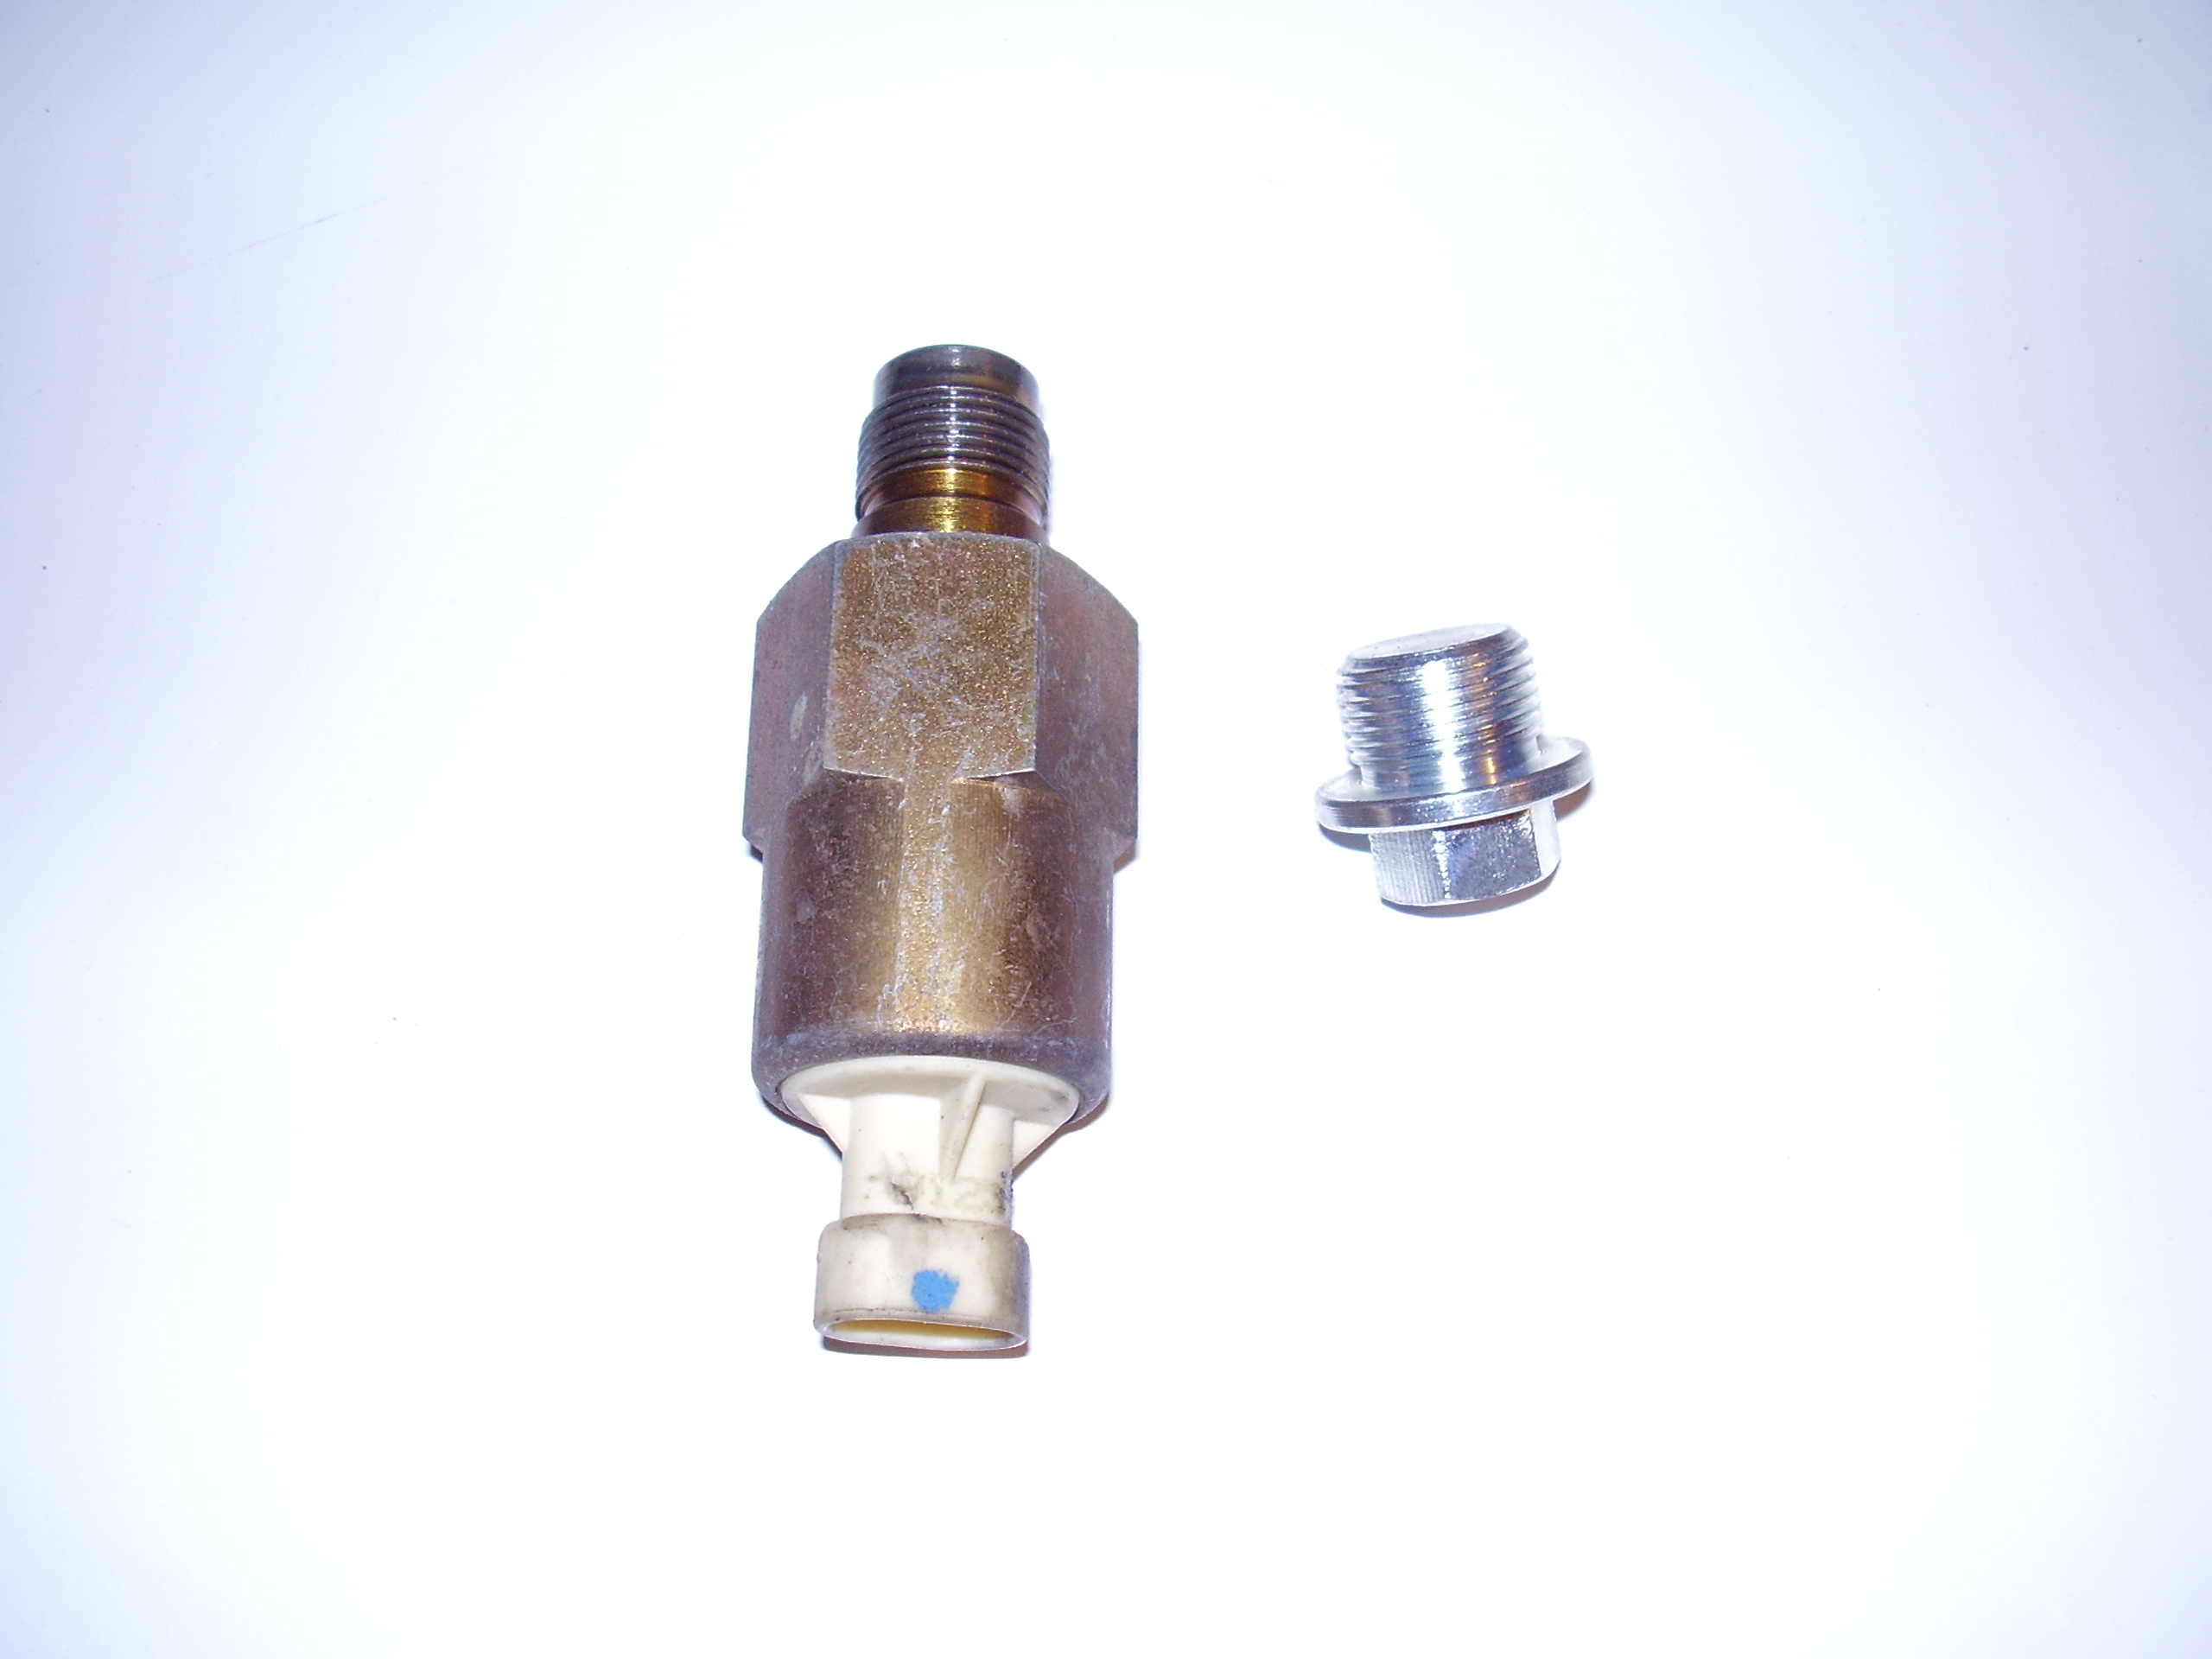
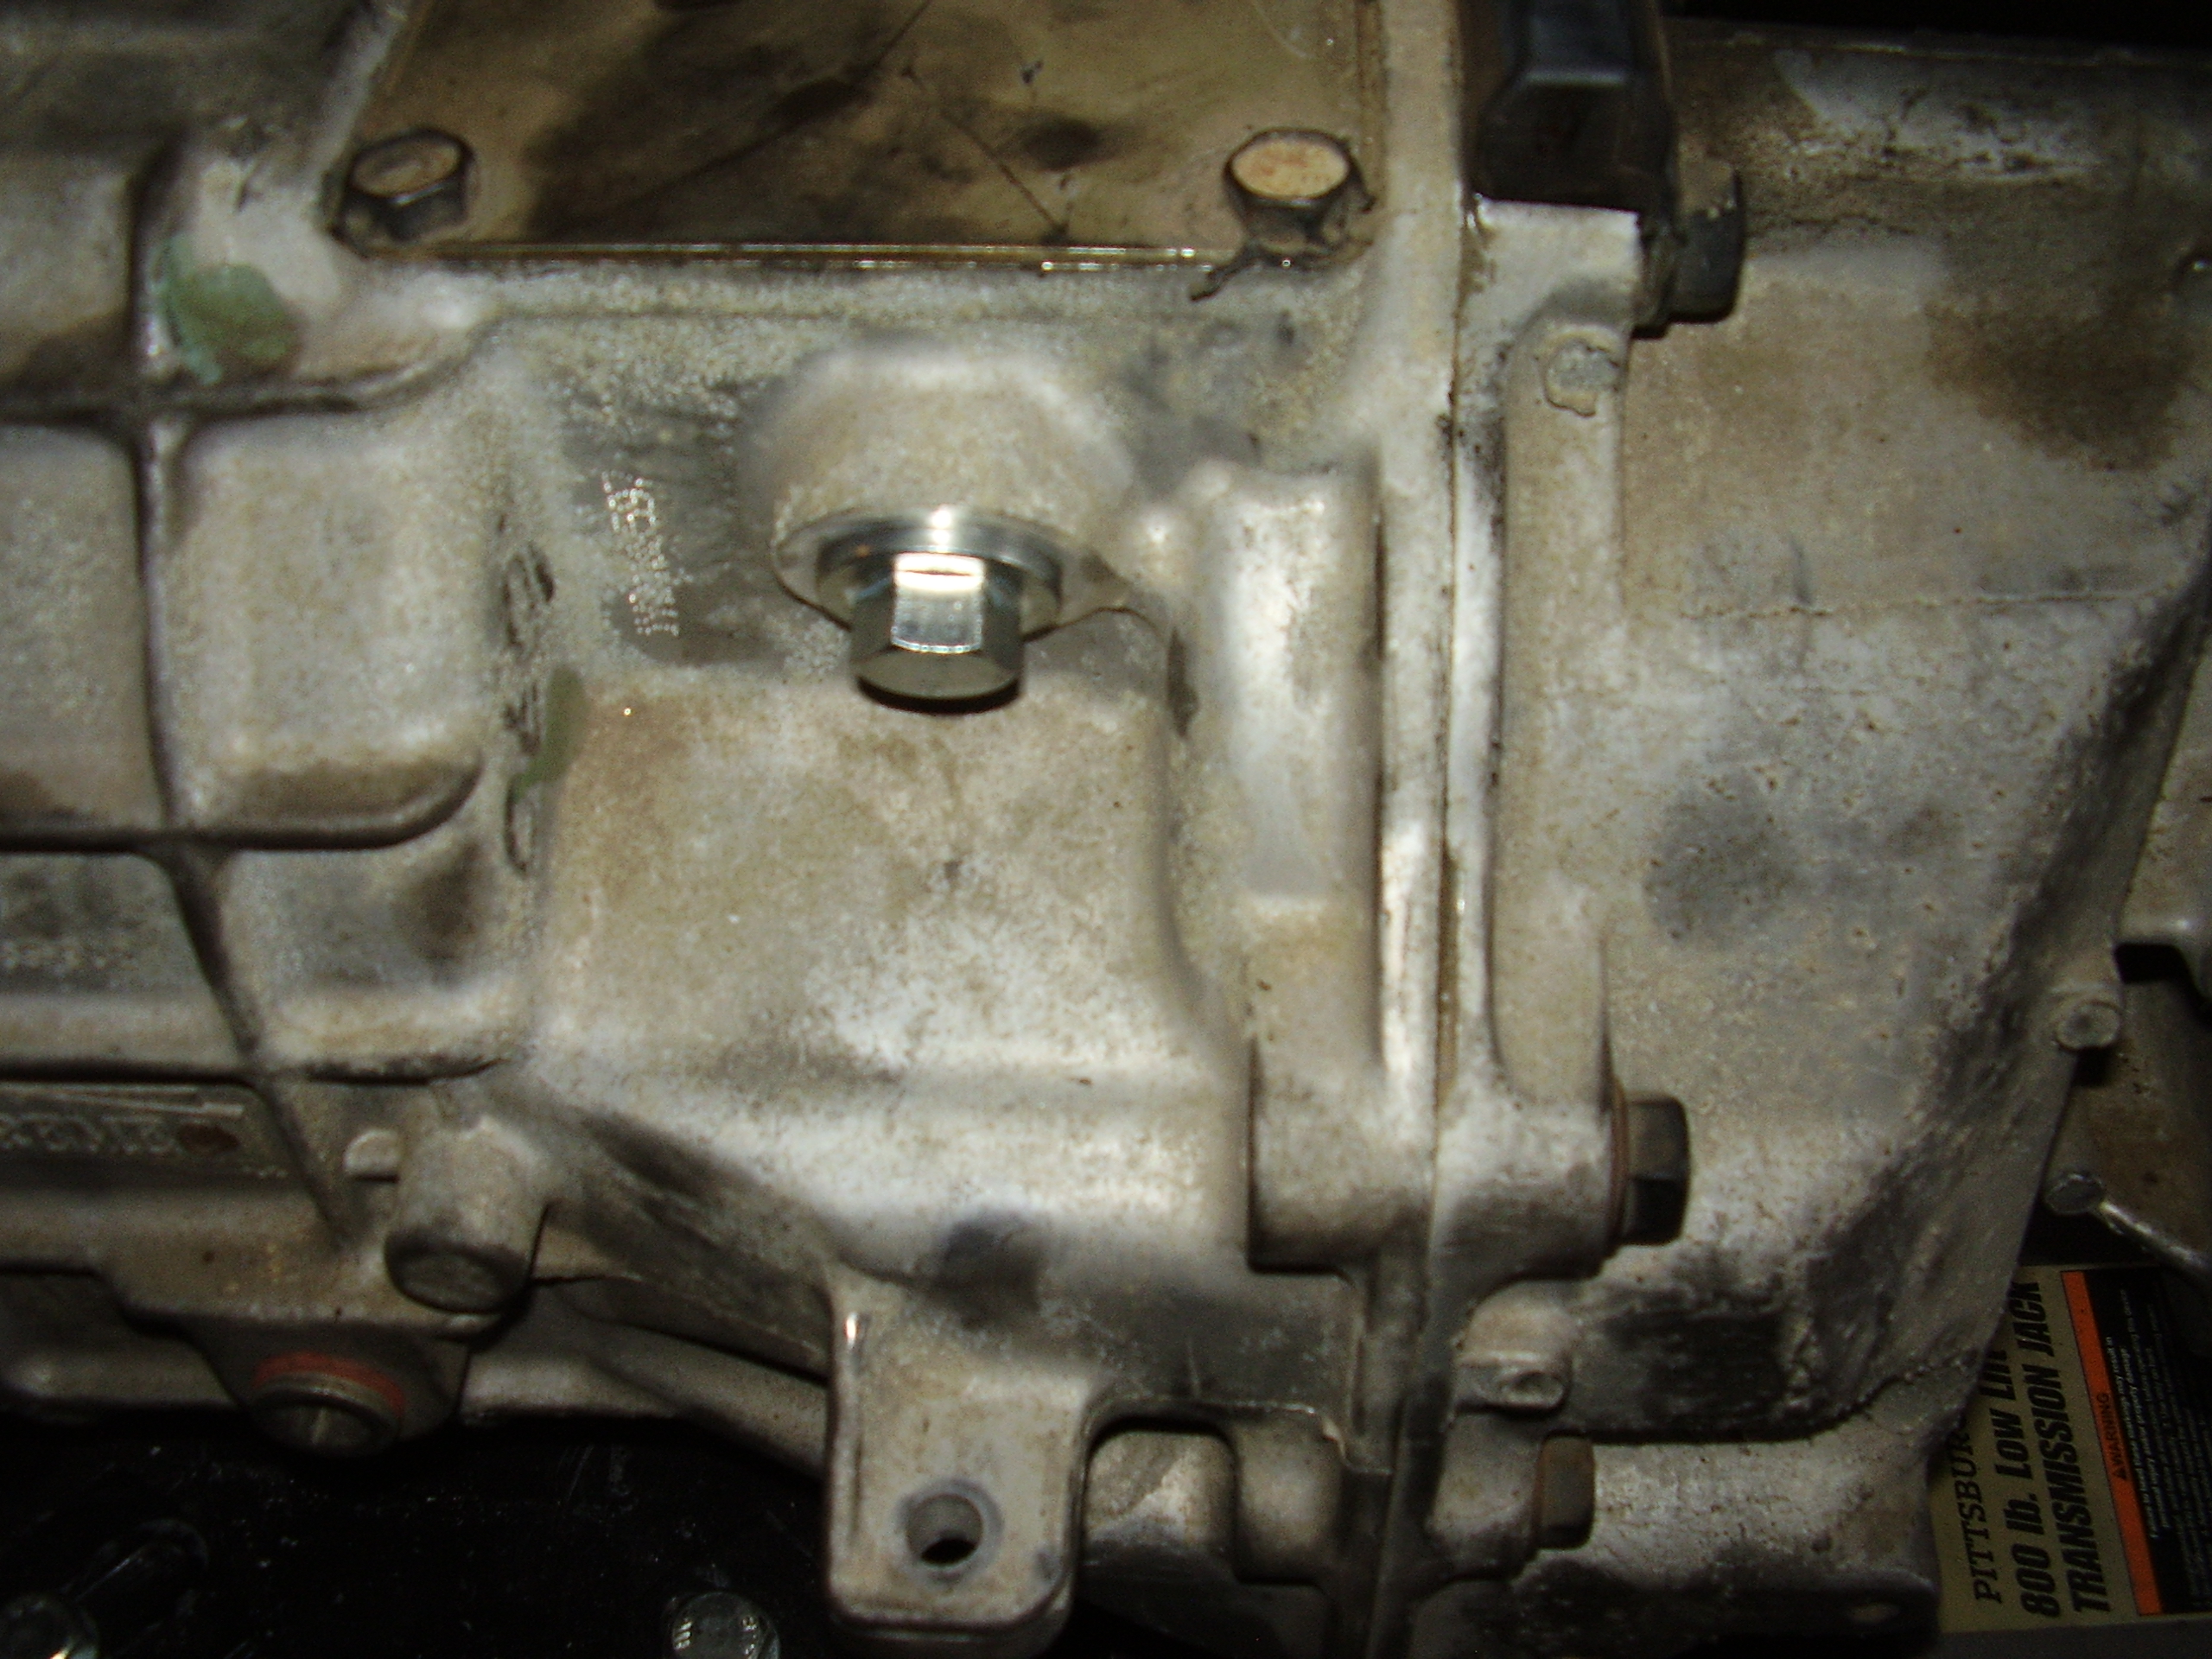
I took the rubber o-ring off the solenoid and put it on the oil plug to give it a little more sealing power and installed it. This cleaned up that side of the trans nicely.
I then slide the trans back under the car and re-installed it. I don’t understand why folks say they have such a hard time getting this one installed. To me it was much easier than getting the 4L60E dowel pins lined up on the block, maybe 10 minutes and I was putting the bolts in. It is now all torqued down and I just need to swap the trans mount over from the auto and then bolt the new crossmember into place.
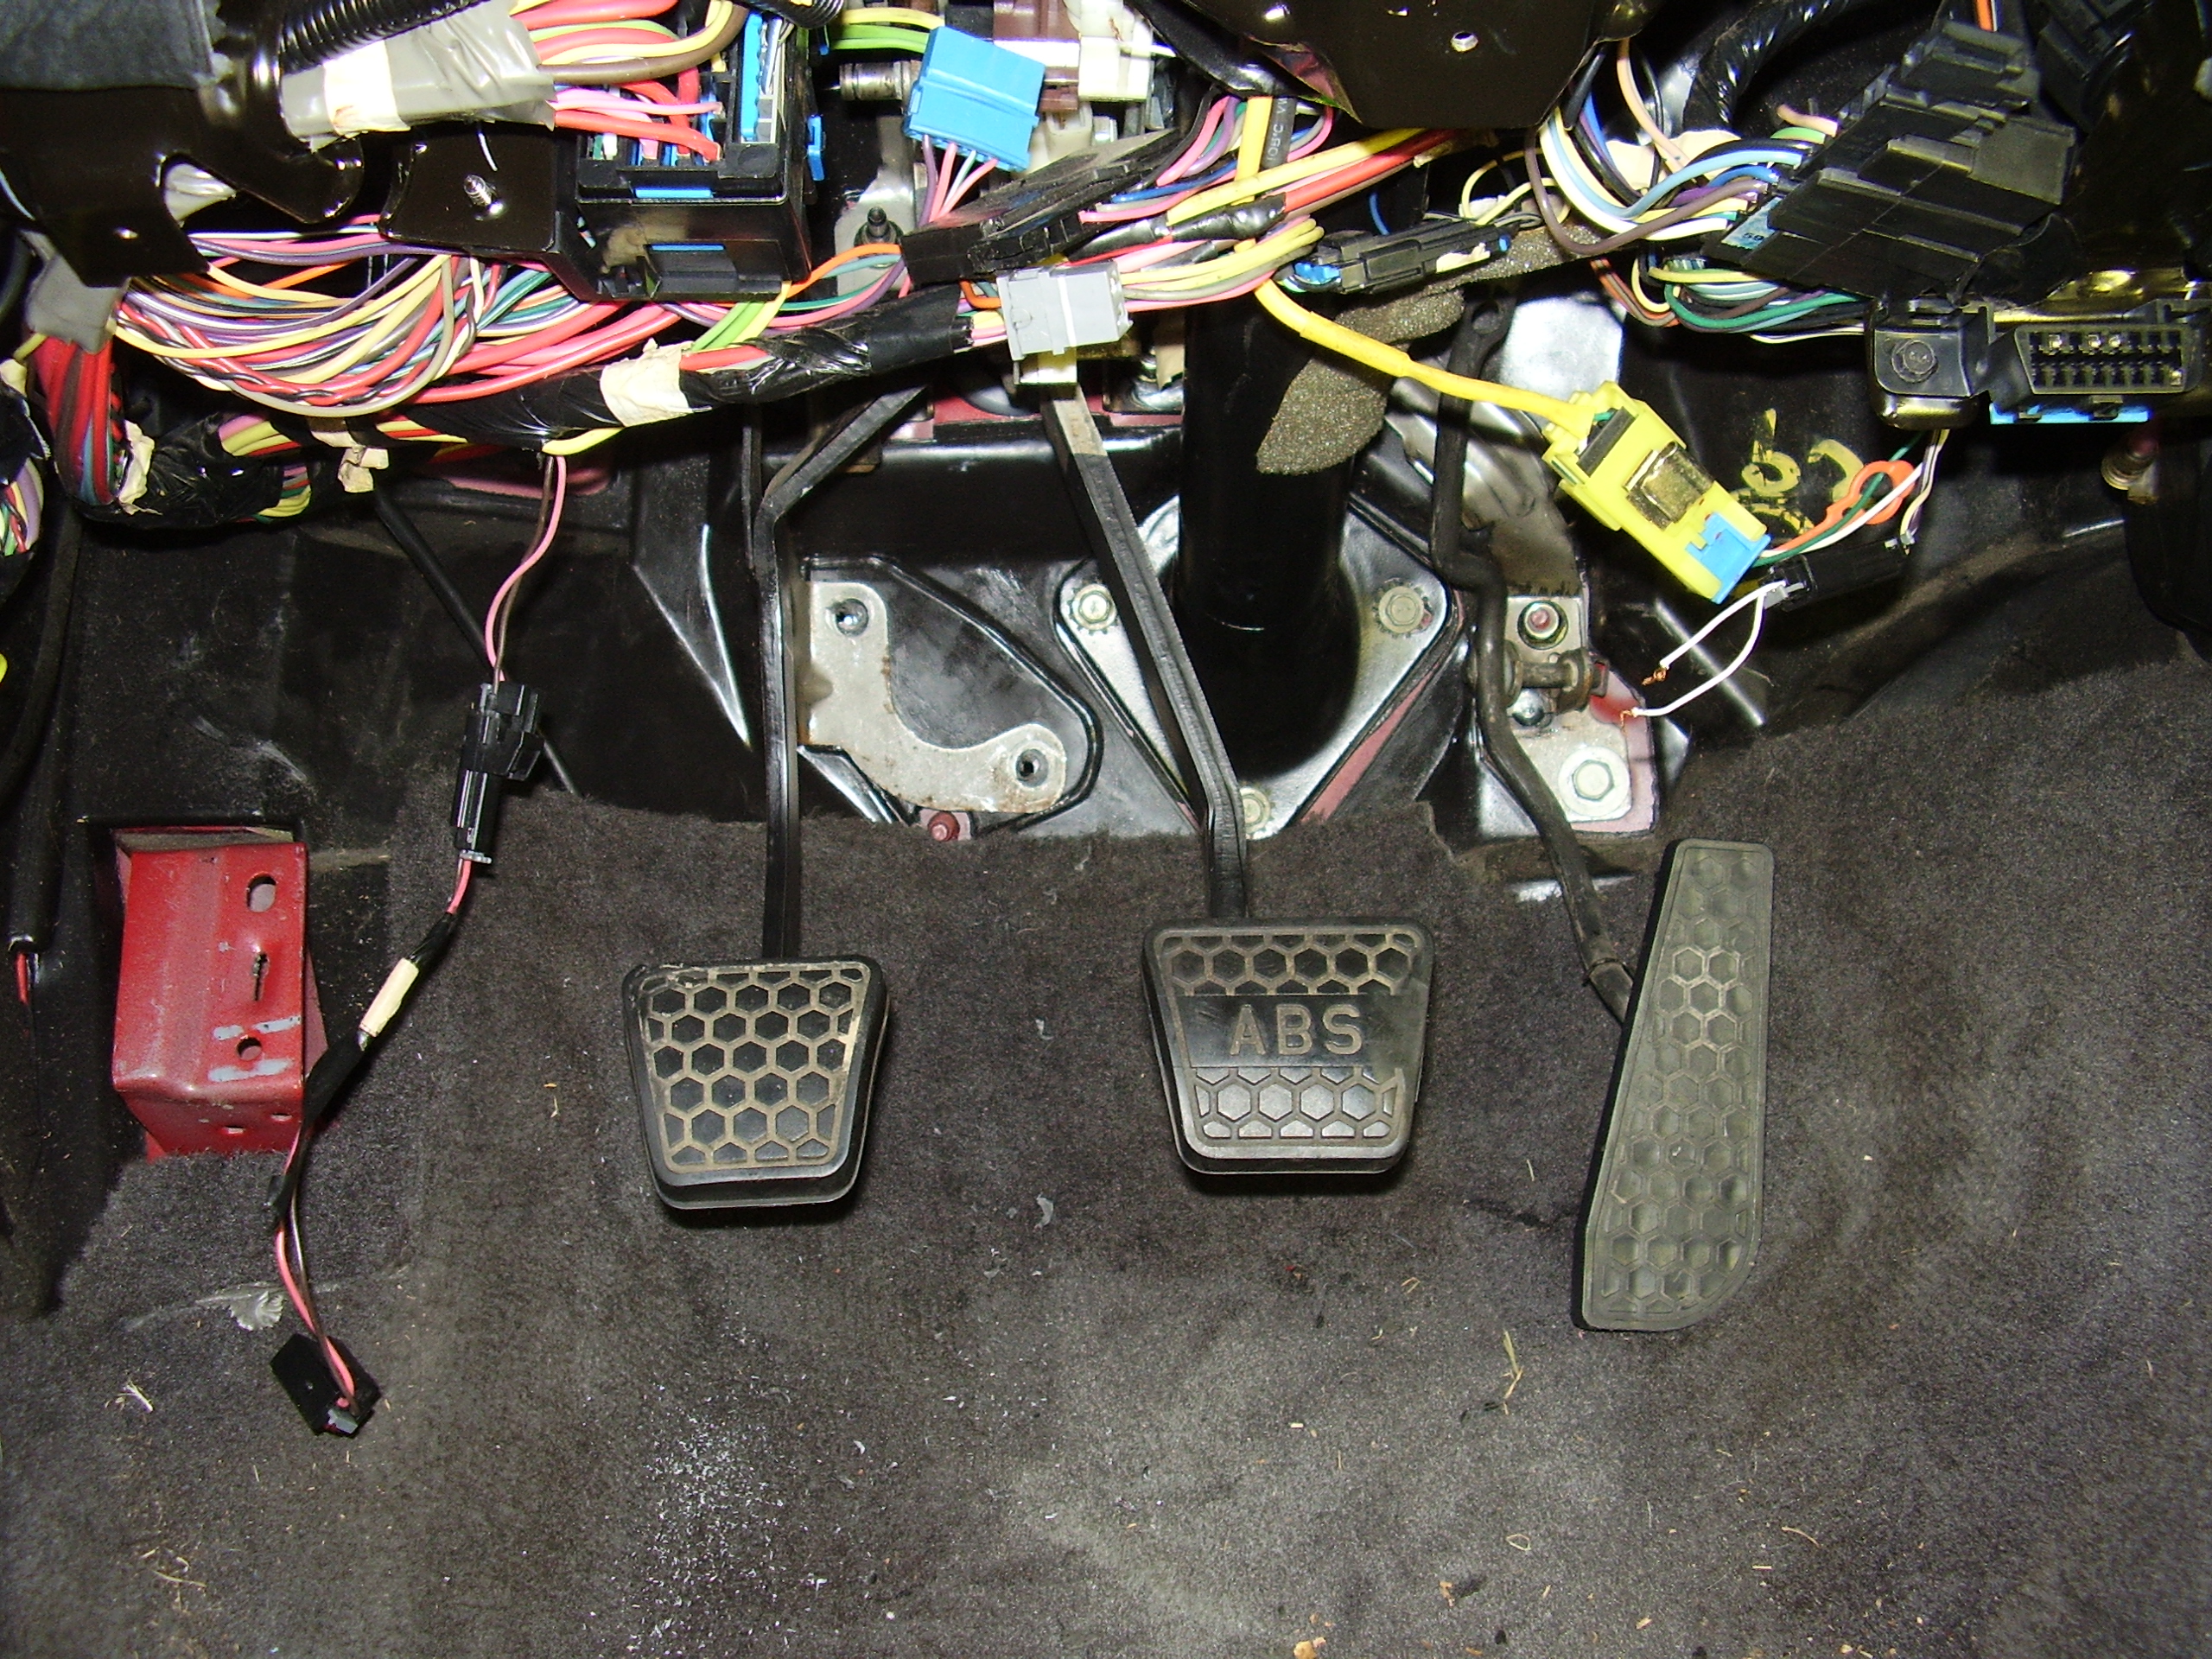
I also went ahead and bolted up the M6 pedals inside the cabin. They really weren’t as much of a nightmare as I thought that they would be considering how much of a pain getting the A4 pedals out was. Once they were all bolted up I pulled out the drill and made the bolt holes for the master cylinder but wasn’t able to cut the hole for the MC yet since I neglected to get an arbor for the hole saw I am using. I can tell that getting this MC installed by myself is going to be a long exercise in colorful language.
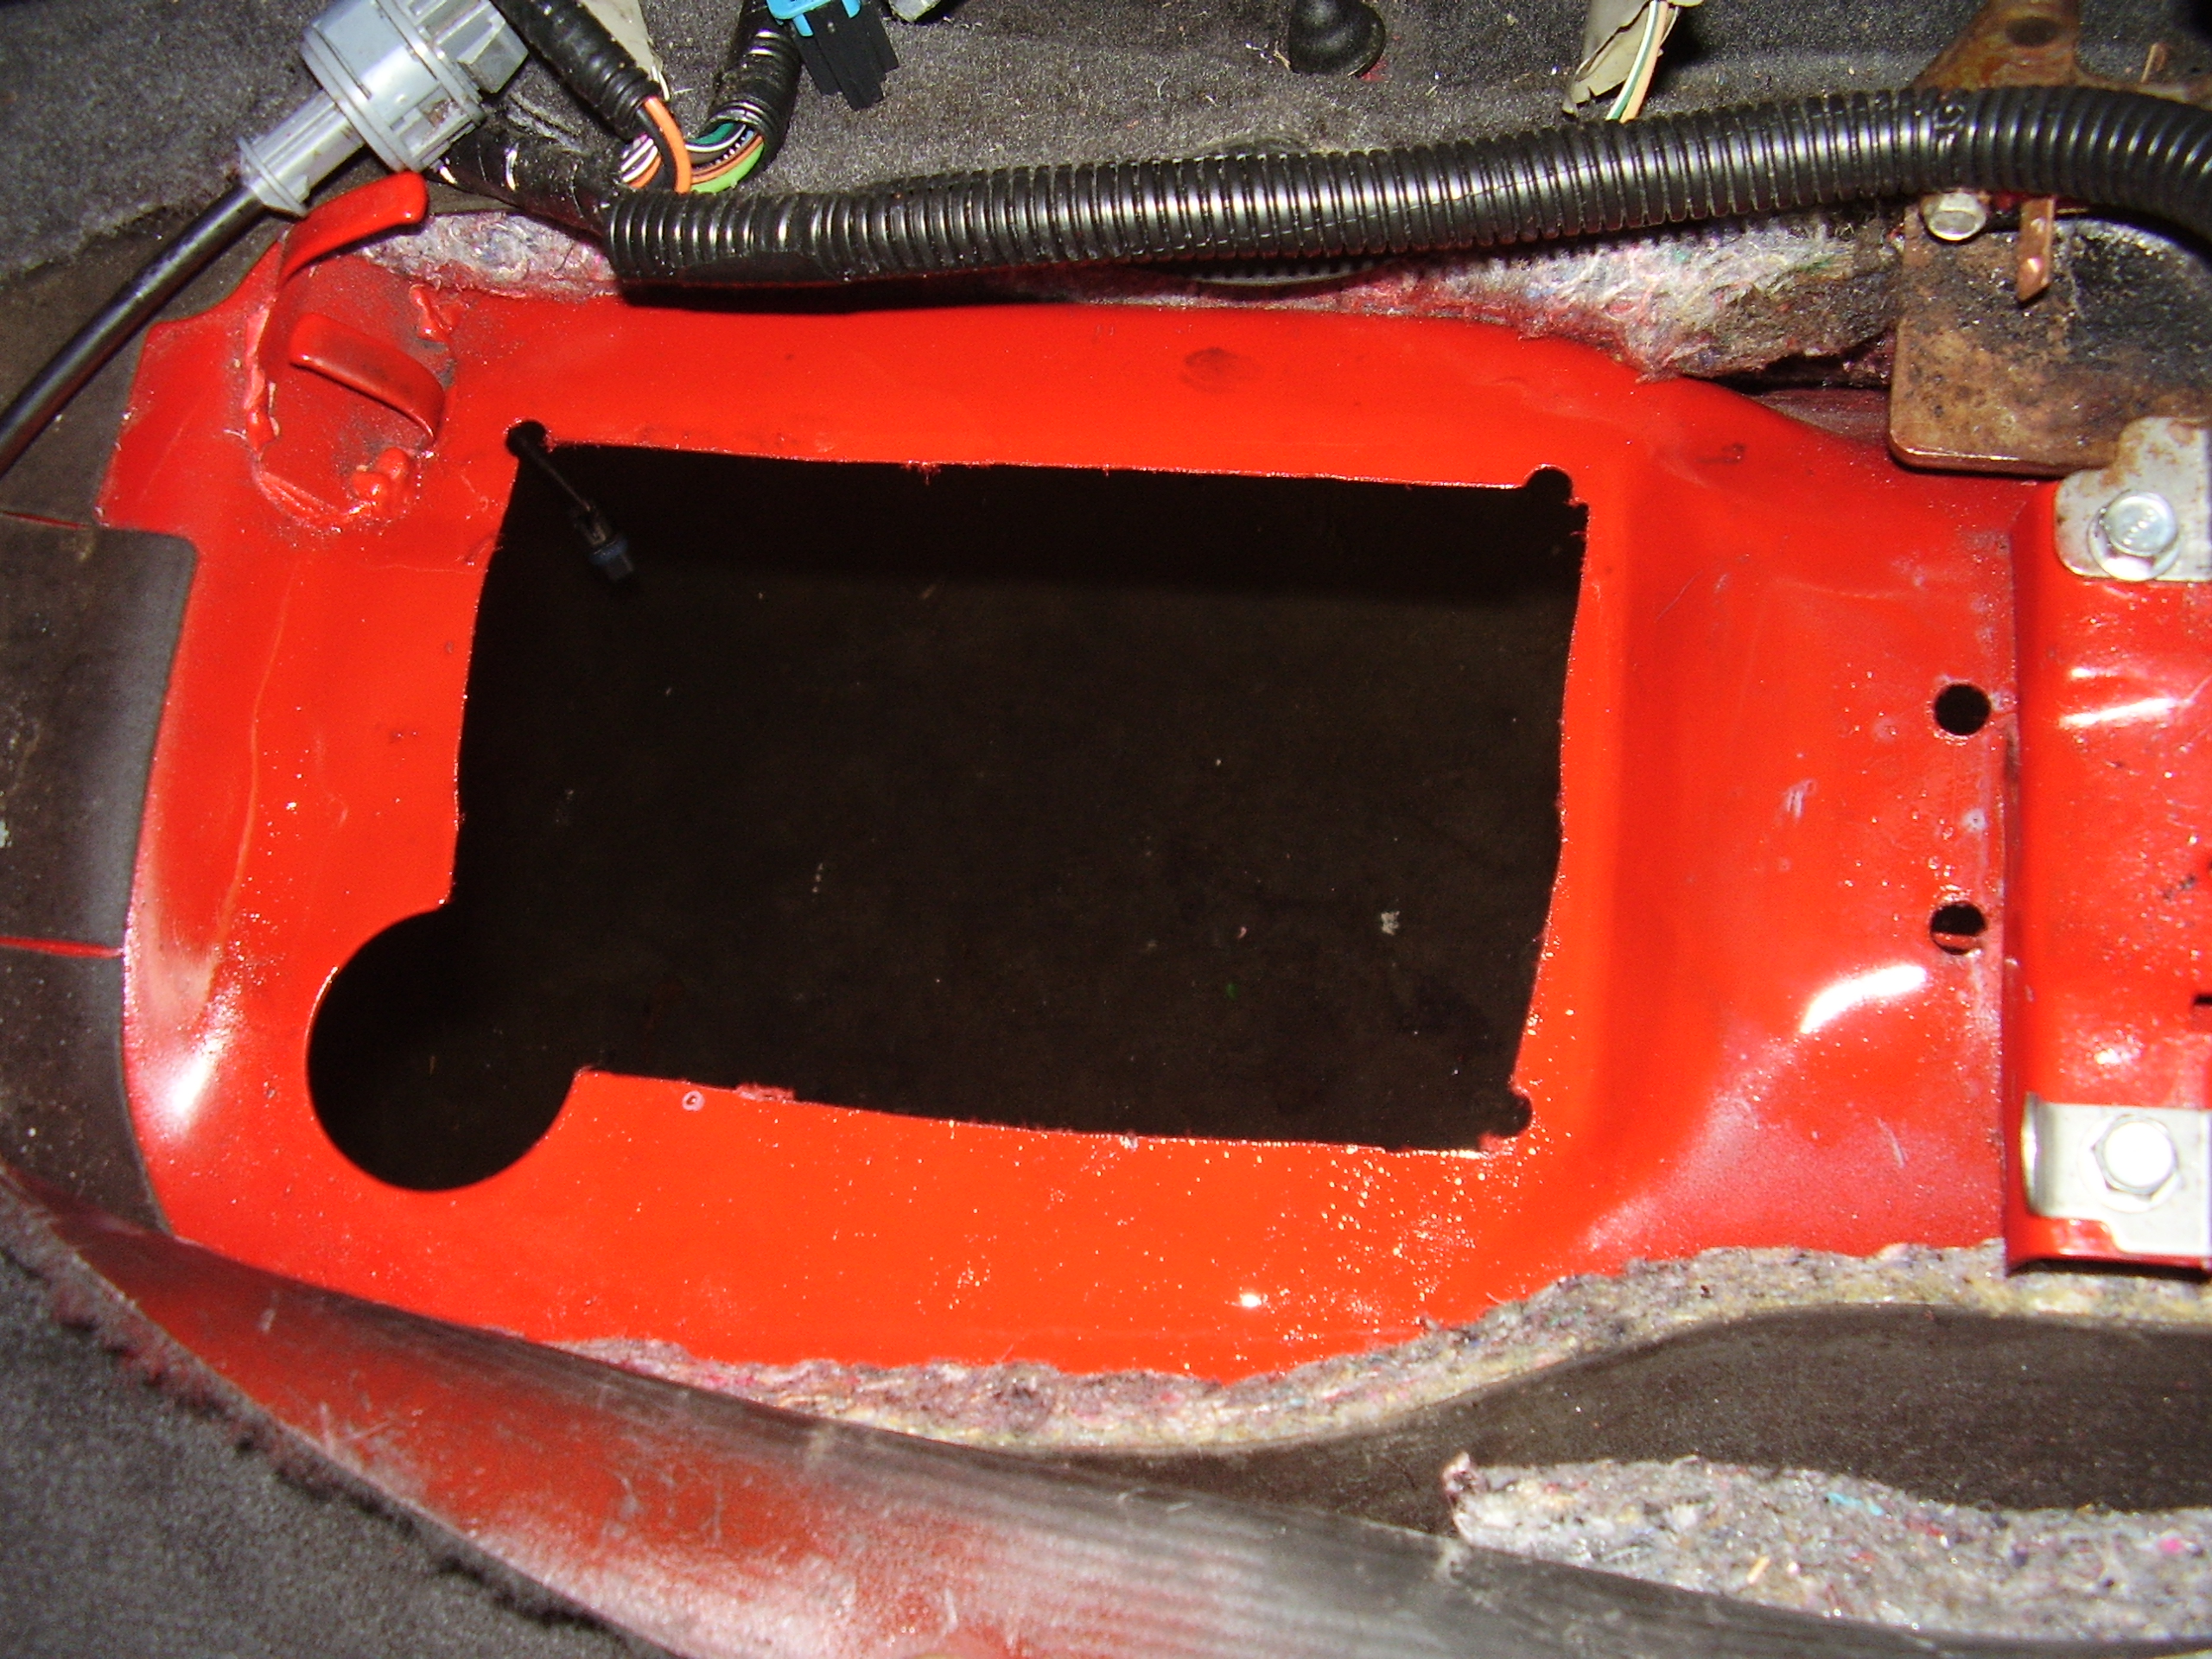
Since I couldn’t do anymore with the pedals today I decided to pull the triple gauge pillar pod out. When I originally installed it, I just used a bunch of crimped butt connectors to make all the connections. It’s an eyesore to look at and I think might be the cause of a grounding issue for the gauges that I’ve been seeing from time to time. I am going to solder the wires together this time and heat shrink them for nicer connections. I still don’t know what I am going to put in the 3rd slot on the pod now that the trans temp gauge is gone. Here is the giant rats nest of wiring that it is right now.

I’ll probably pick back up tomorrow with the MC install but if it irritates me too much I will probably move on to redoing the wiring and take it easy for the day.
Pingback: what did you do to your firebird today? - Page 87 - LS1TECH