The weather was decently nice this past weekend. Too bad I wasn’t able to cruise around some and enjoy it. This made me want to get this project done so that I could get the bird back on the road where she belongs. I’ve been working on this for a month now but only really being able to put in maybe 1 day a week toward actually getting anything done. I set myself a goal of putting in time this weekend to try and wrap it up.
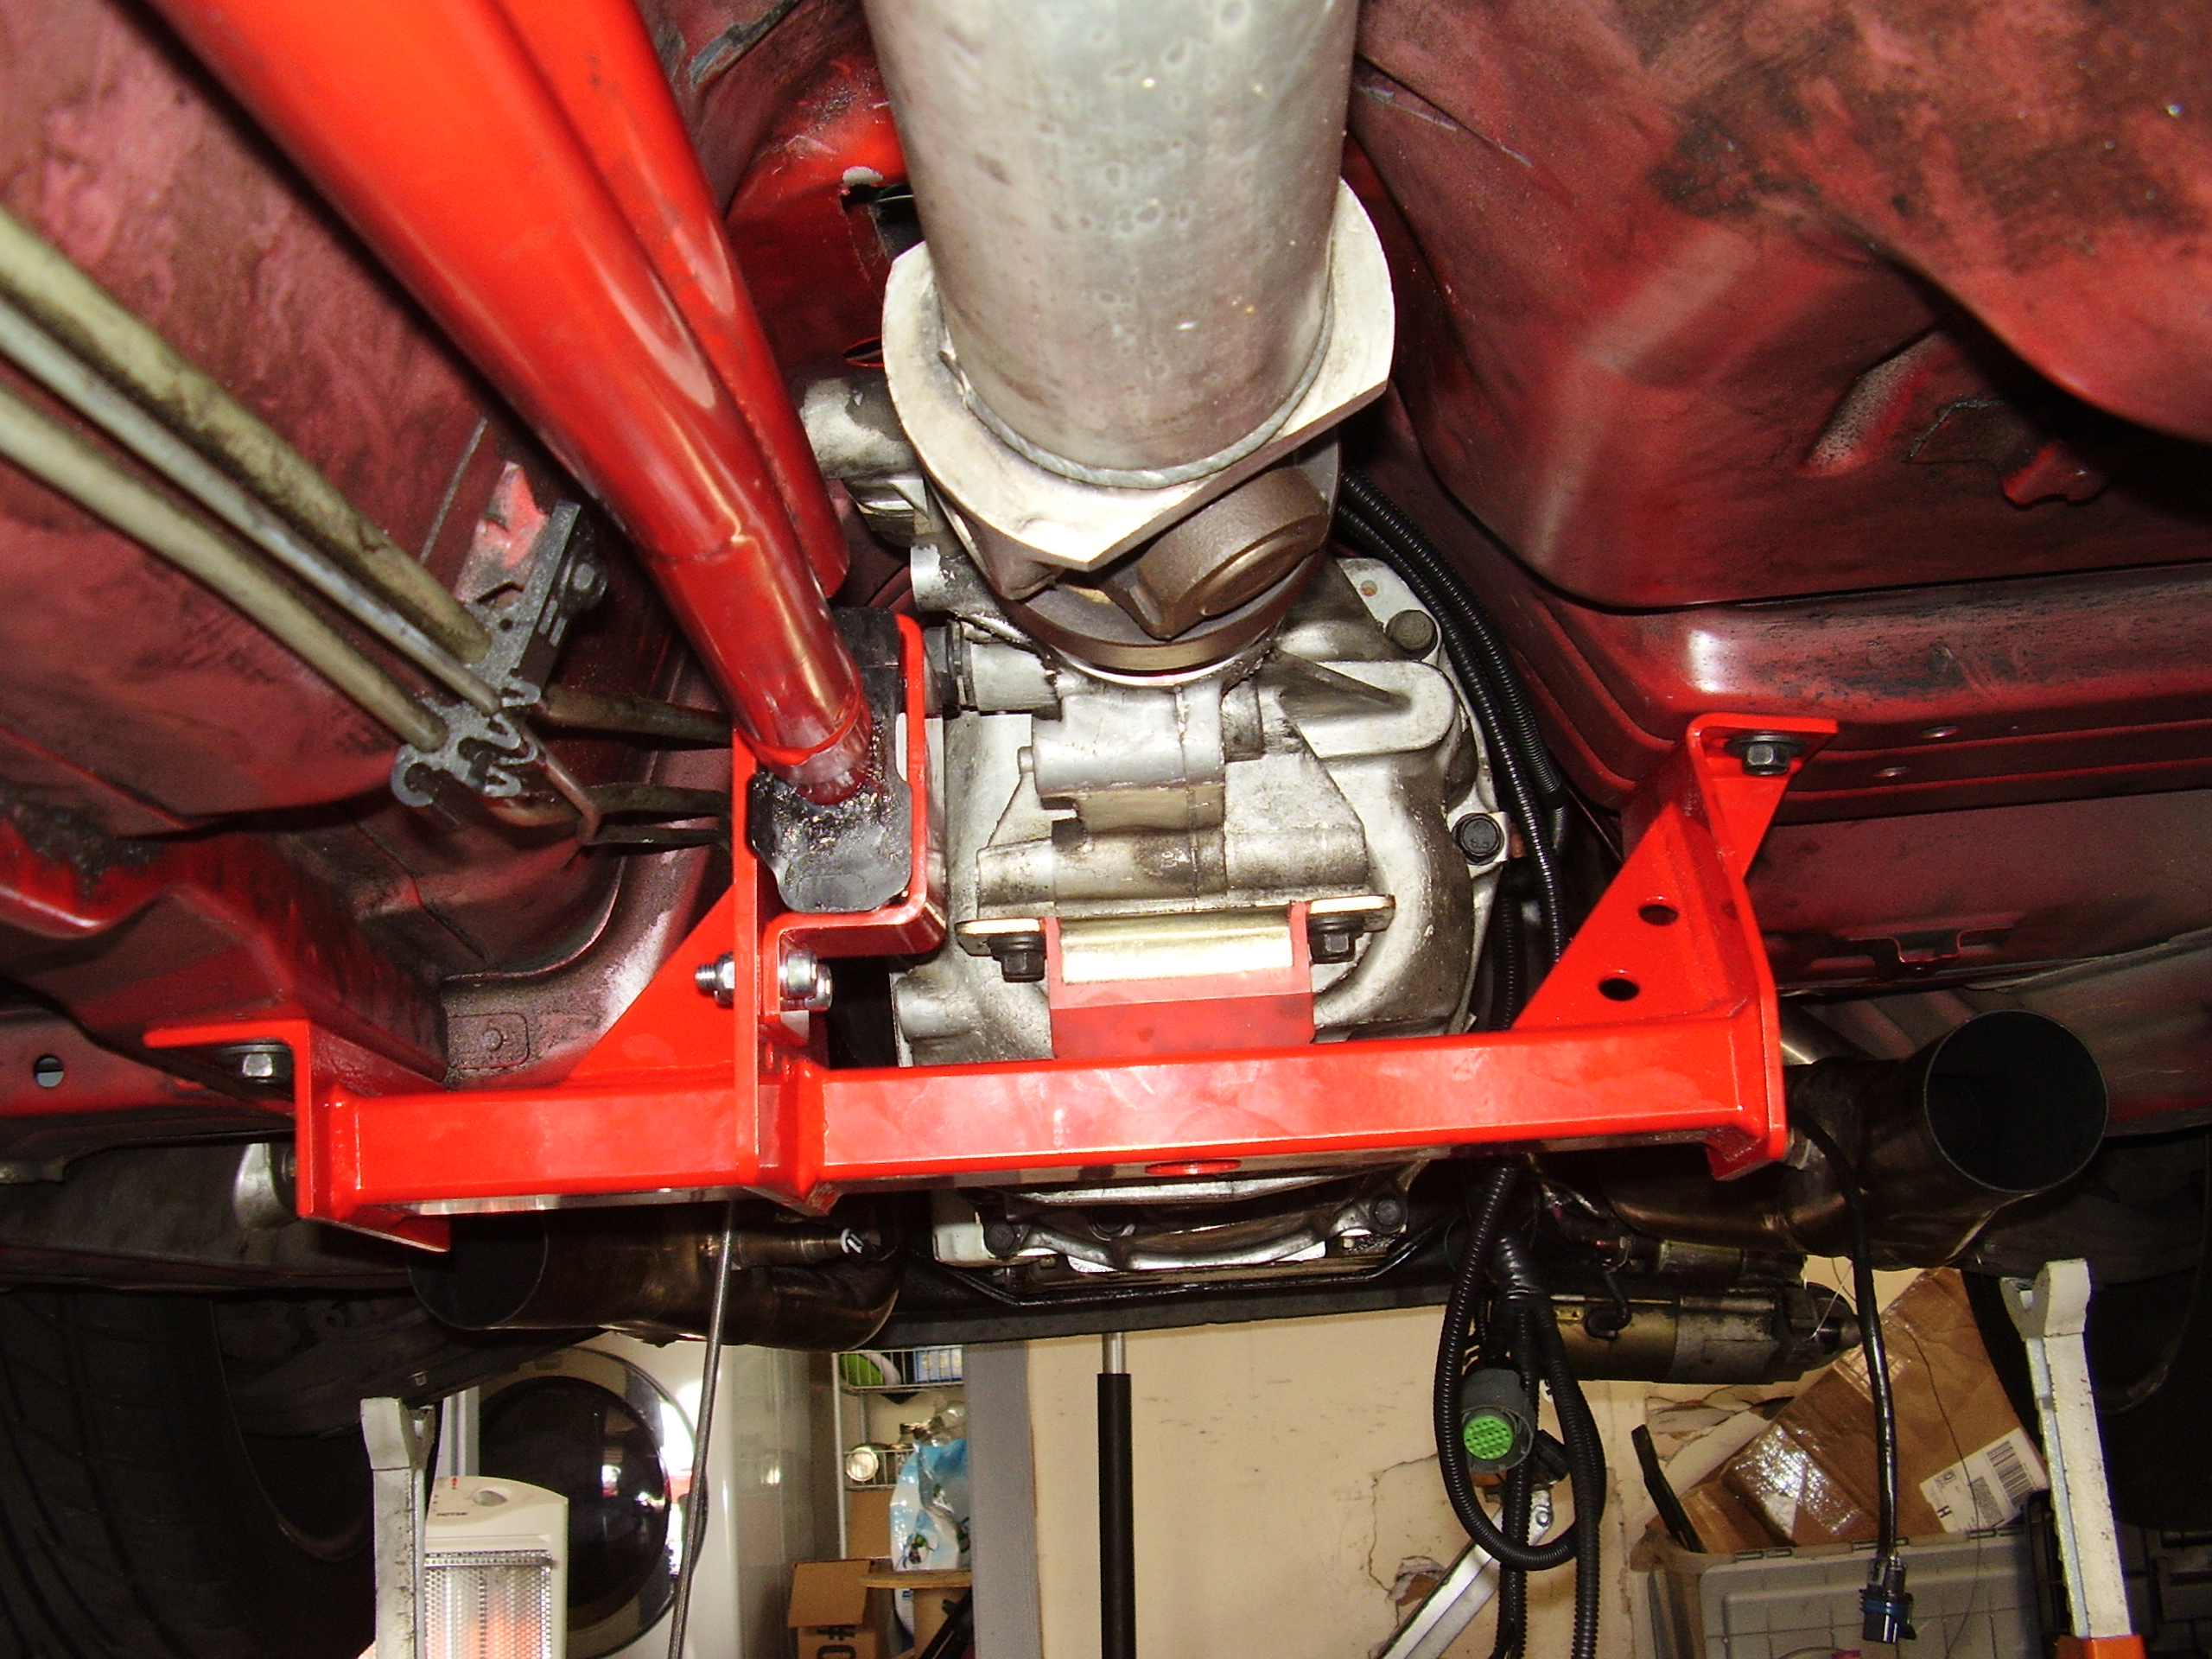
I started by crawling under the car and getting everything back in place. Installed the new UMI relocation crossmember in place and bolted the torque arm up. This was so much easier to do in with the T56. It took maybe 15 minutes to get the hard to reach bolts in and tightened where as I fought with the auto version for hours.
Next we move inside the cabin and start on some of the wiring. Here is the plug that used to go into the auto shifter for control. It needs to be hacked off and everything re-wired for the new transmission.
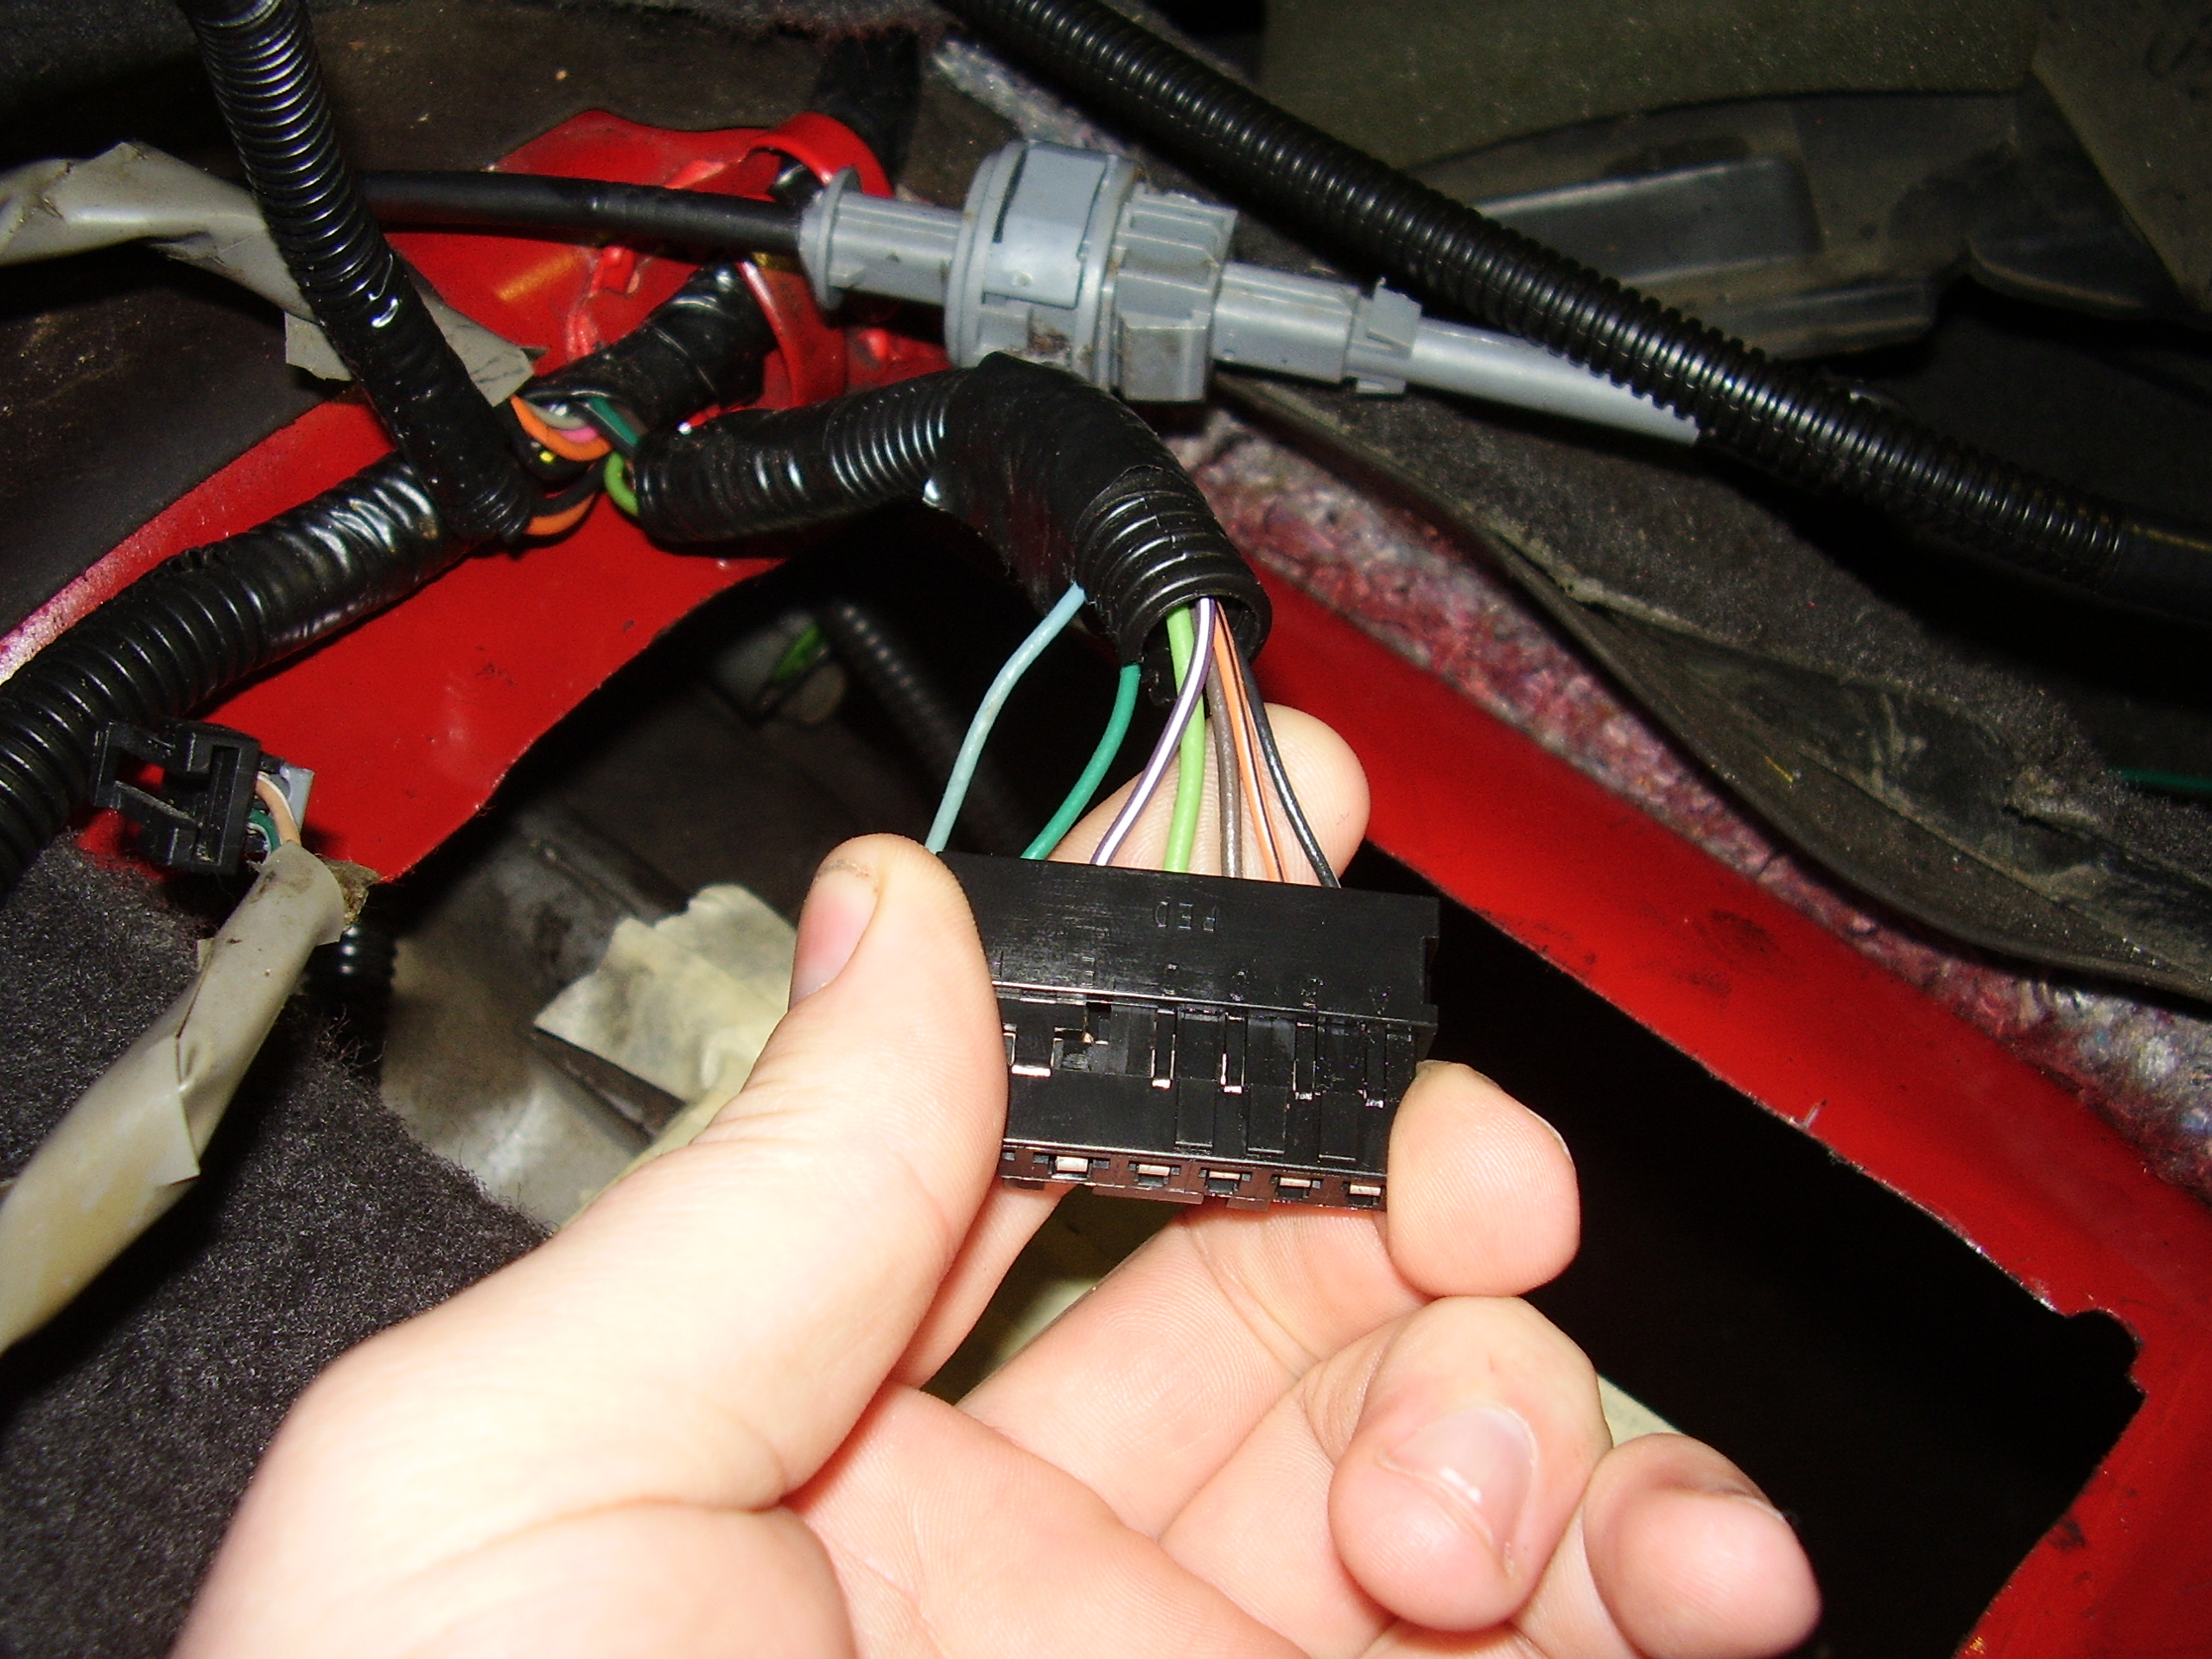
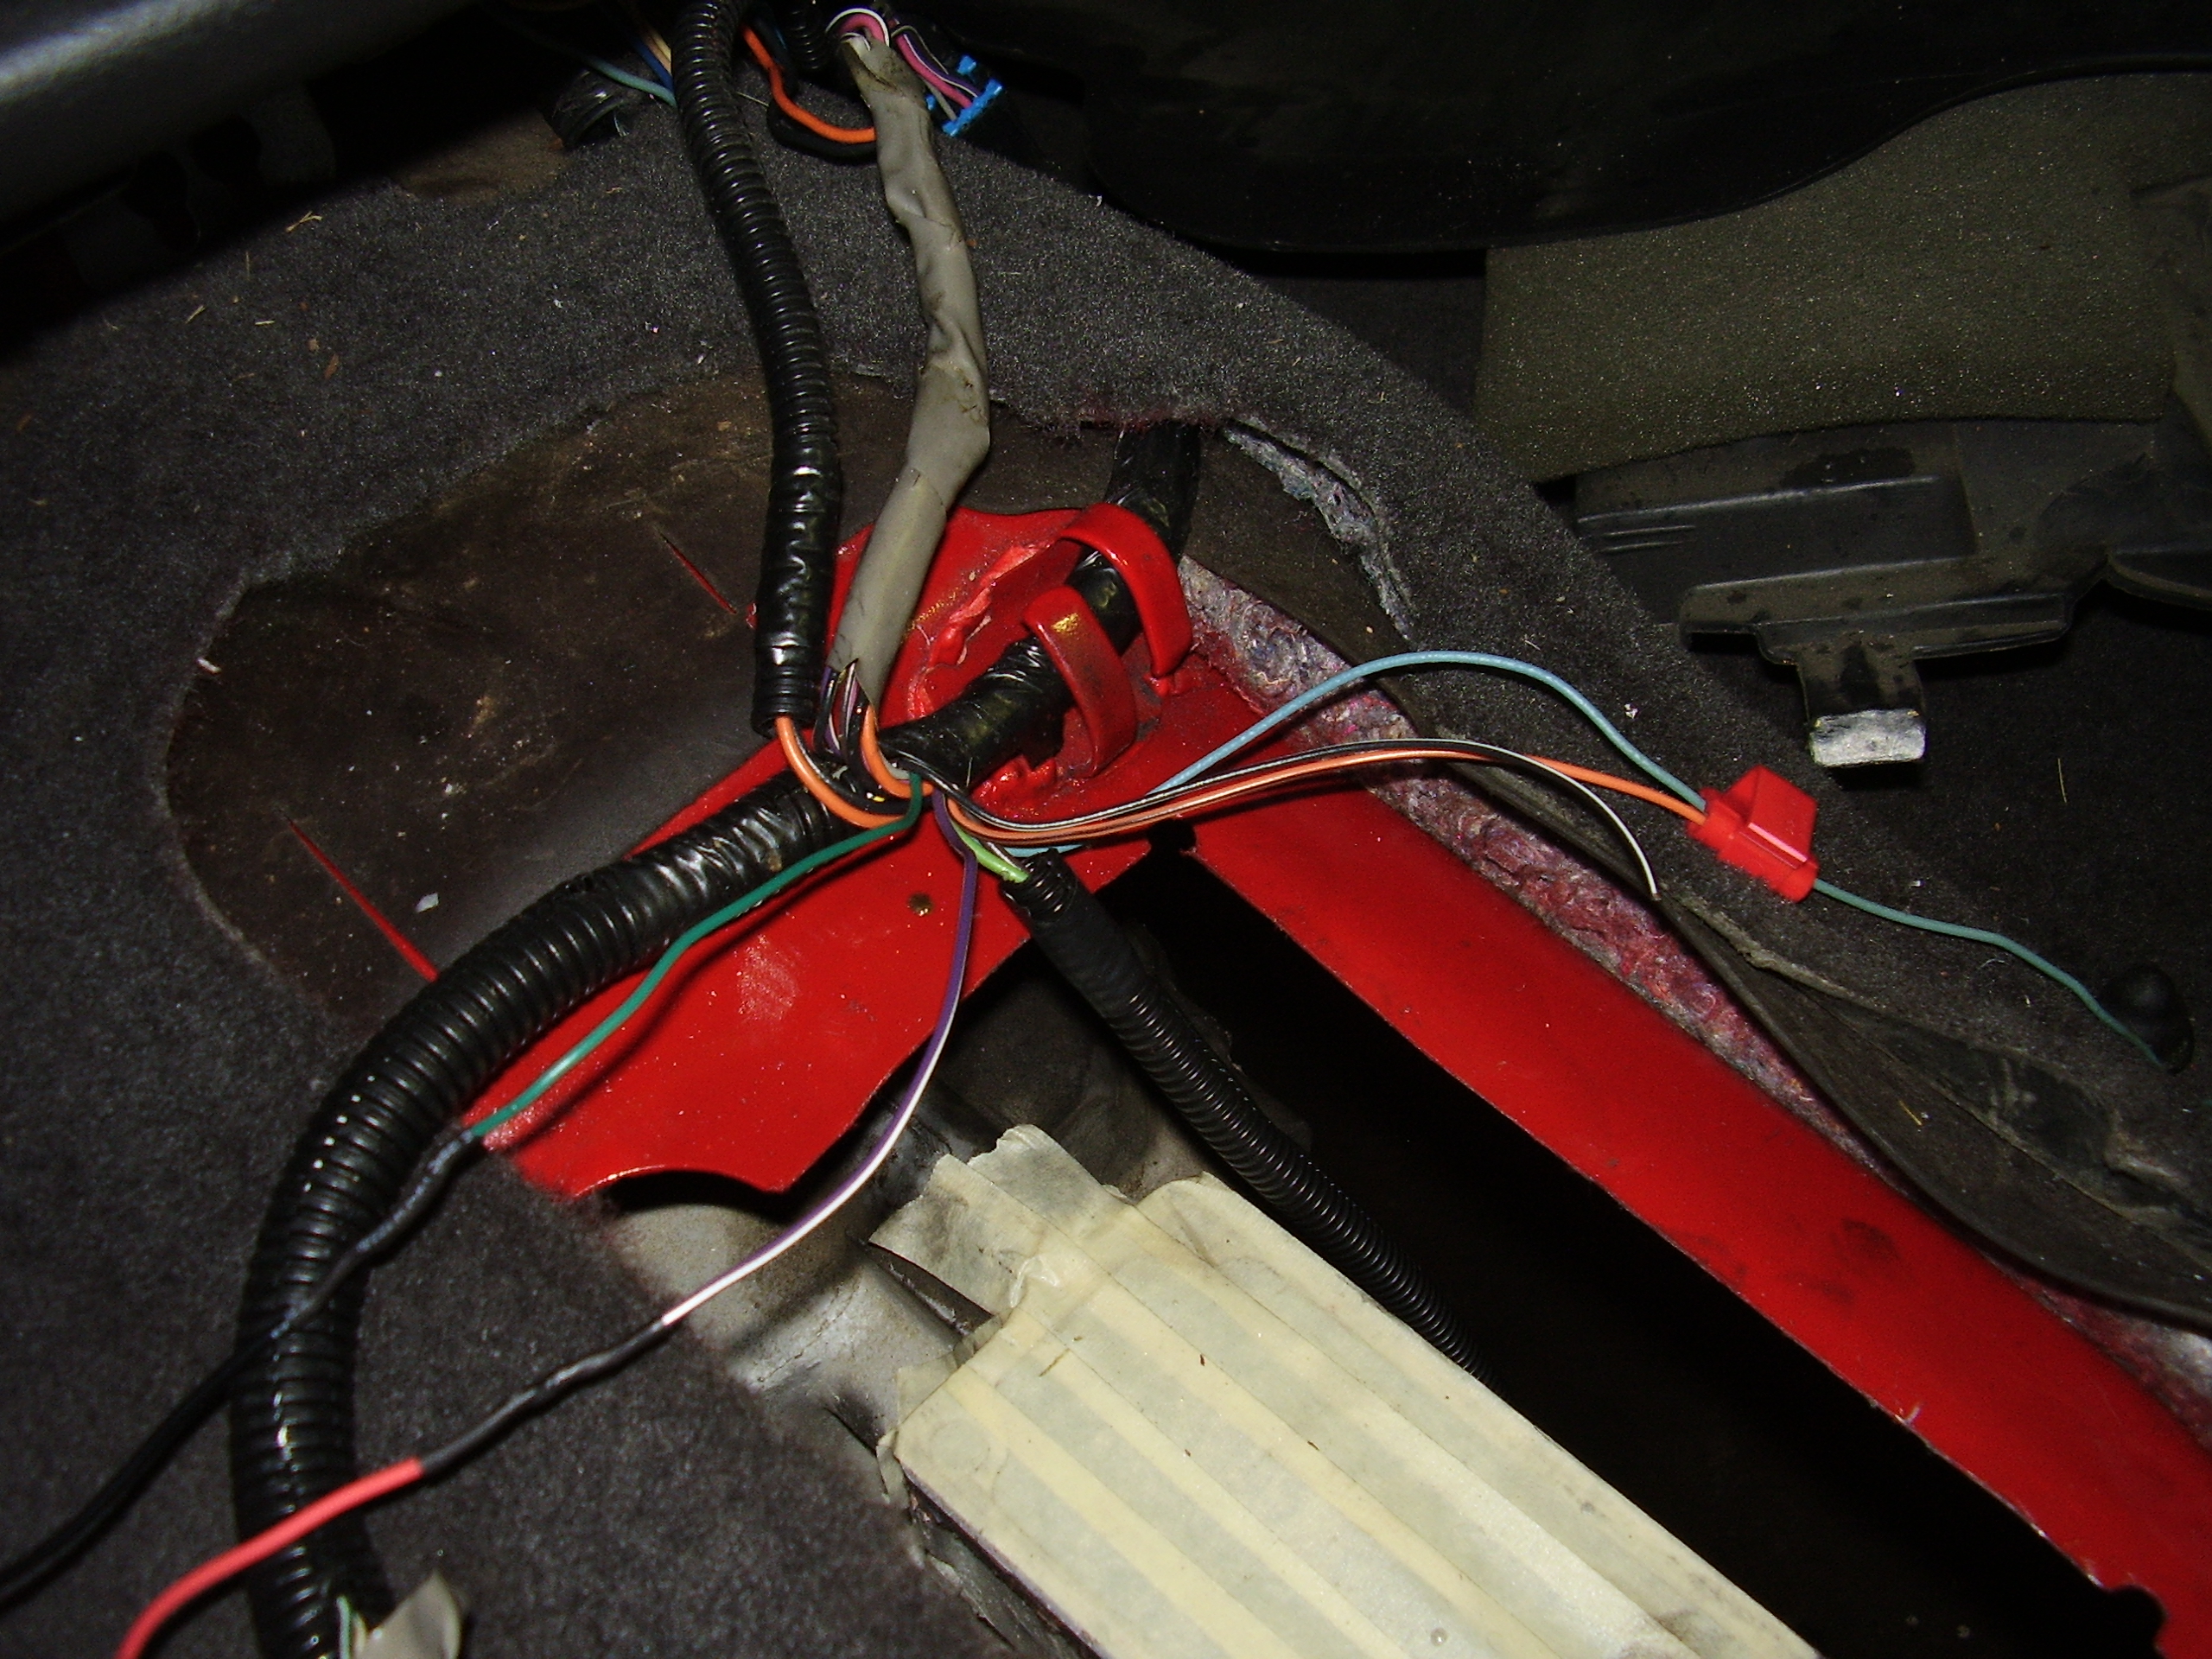
You end up with 6 wires but only need 5 of them, although some do use all 6. I had to add a pigtail to the light green & brown pair and run it down to the trans for the backup lights. Then the dark green & purple/white wires got run over to the pedal assembly and connected to another pigtail for the clutch neutral safety switch. It was hard to find confirmation of what the polarity of this should have been but I think I have it correct, time will tell. Here is where most folks simply wire the black/white & orange/black together to ground out the hatch release switch. However by doing this it will allow the hatch to be opened at anytime, such as when you bump it with your knee while doing 80 down the interstate. Instead I decided to splice it into the e-brake wire so that in theory it should only allow opening when the e-brake is engaged. The black/white is just a common ground so I tucked it under the dash.
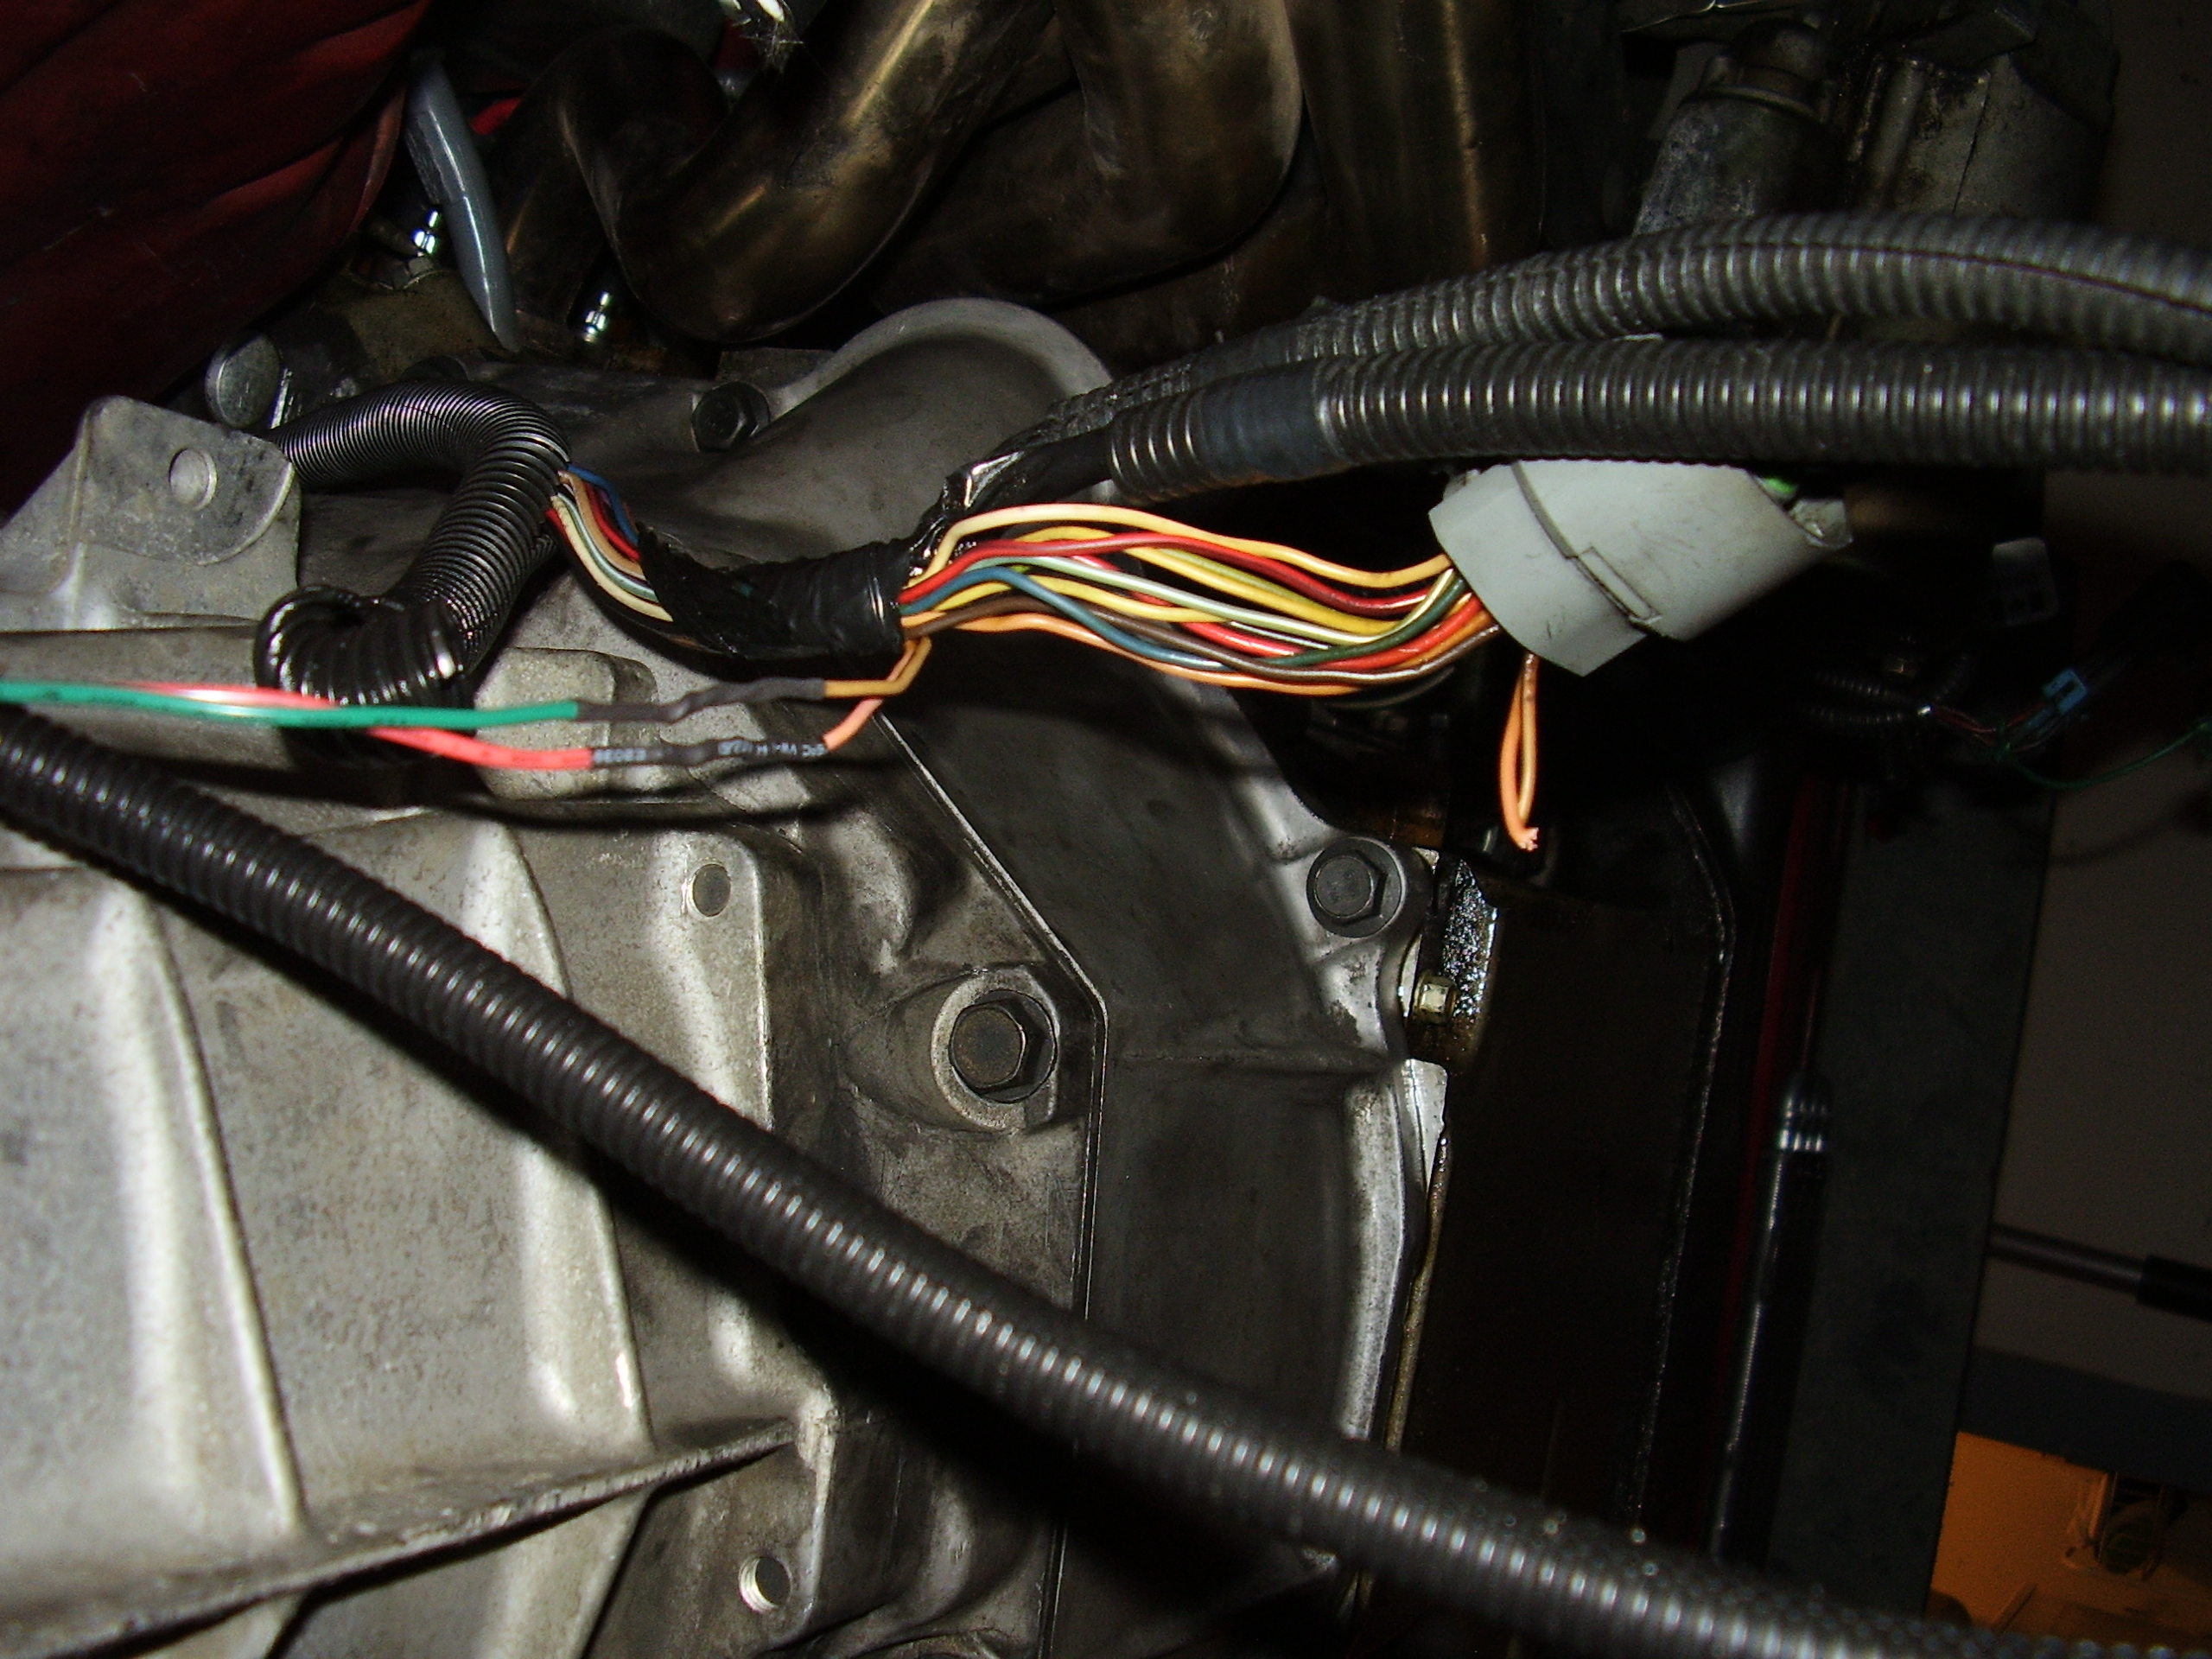
Next I headed back under the car to finish up the wiring. Here I had to borrow a couple wires from the 4L60E case plug for the reverse lockout solenoid. I dug through it and found a hot wire for power and one that lead back to the PCM that the auto used for TCC control. I spliced in the pigtail and then had to re-pin the PCM wire to another spot so that when I flash a 6 speed tune it will be able to control the solenoid. Many people just wire it straight to the brake pedal so that it energizes whenever the brakes are applied to ensure that they are depressed before allowing you to go into the reverse gear. I chose to try handling it the way a stock manual car would. This way the PCM will handle the energizing of the solenoid on an as needed basis and should extend the life of the solenoid itself by not being turned on/off every time I touch the brakes. I also needed to snip the VSS connector and extend it a little since the T56 location is a bit different than the auto. I also discovered soldering connections while upside down was a little more challenging than sitting at a table.
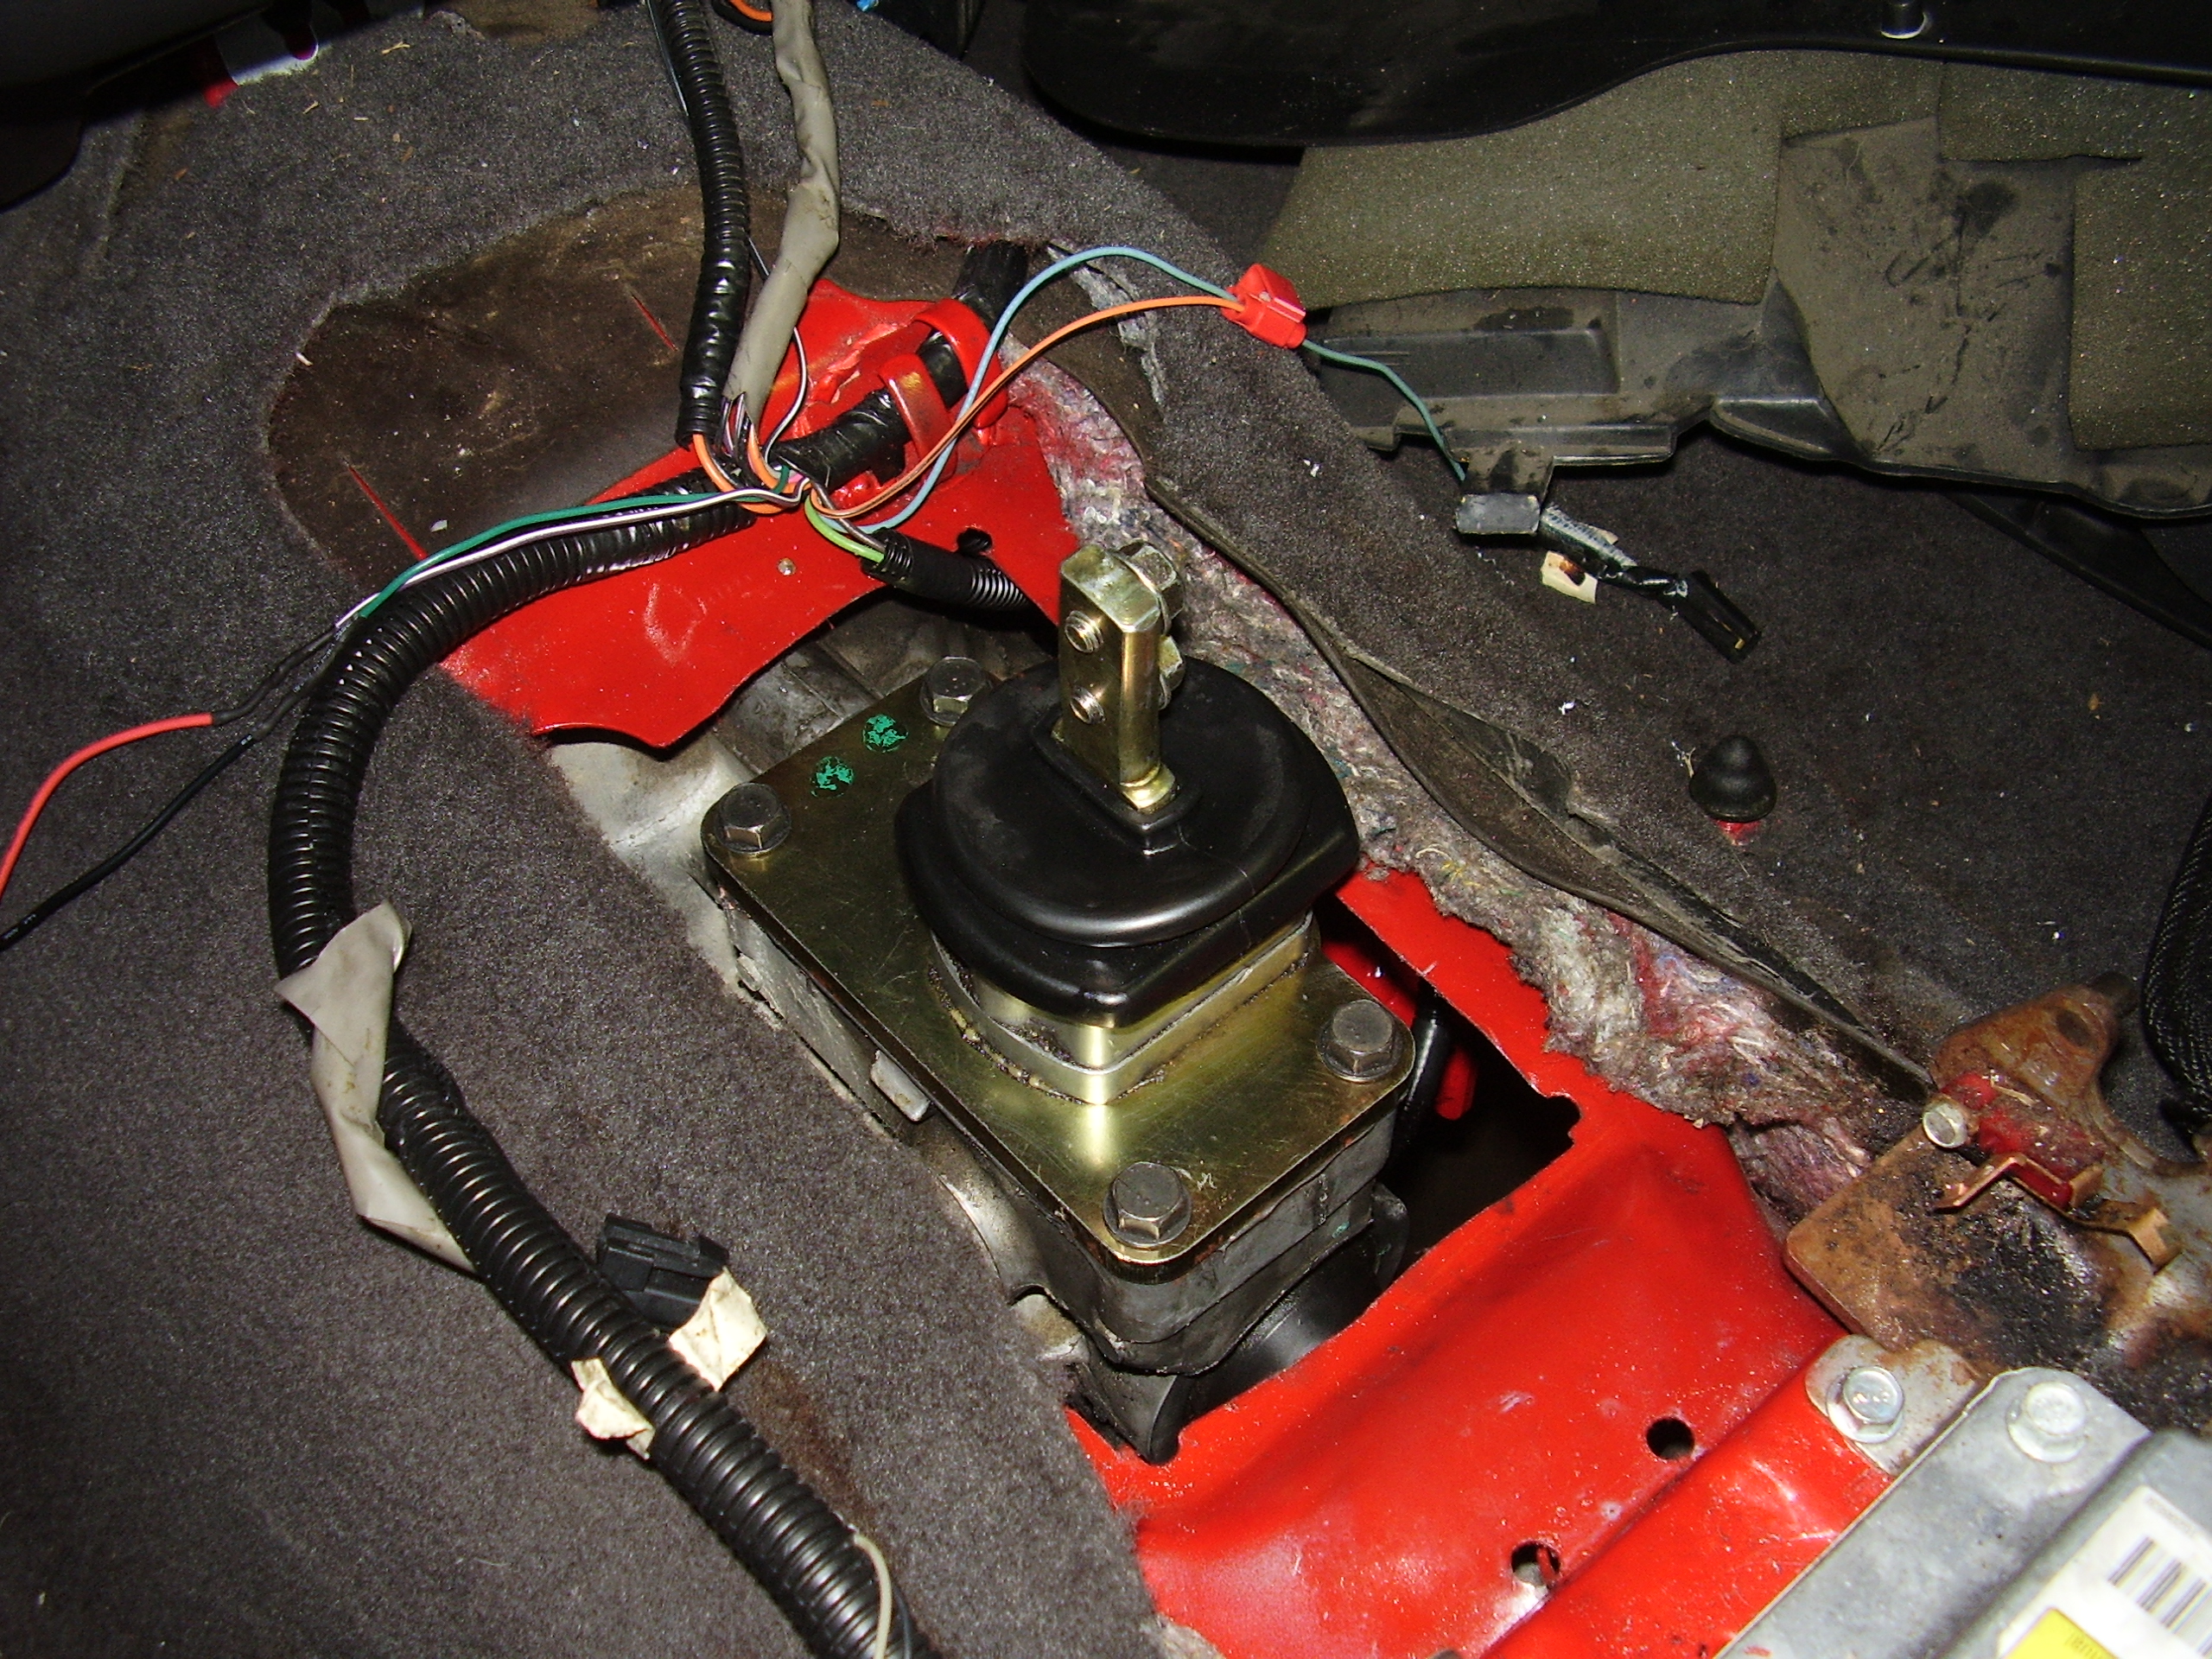
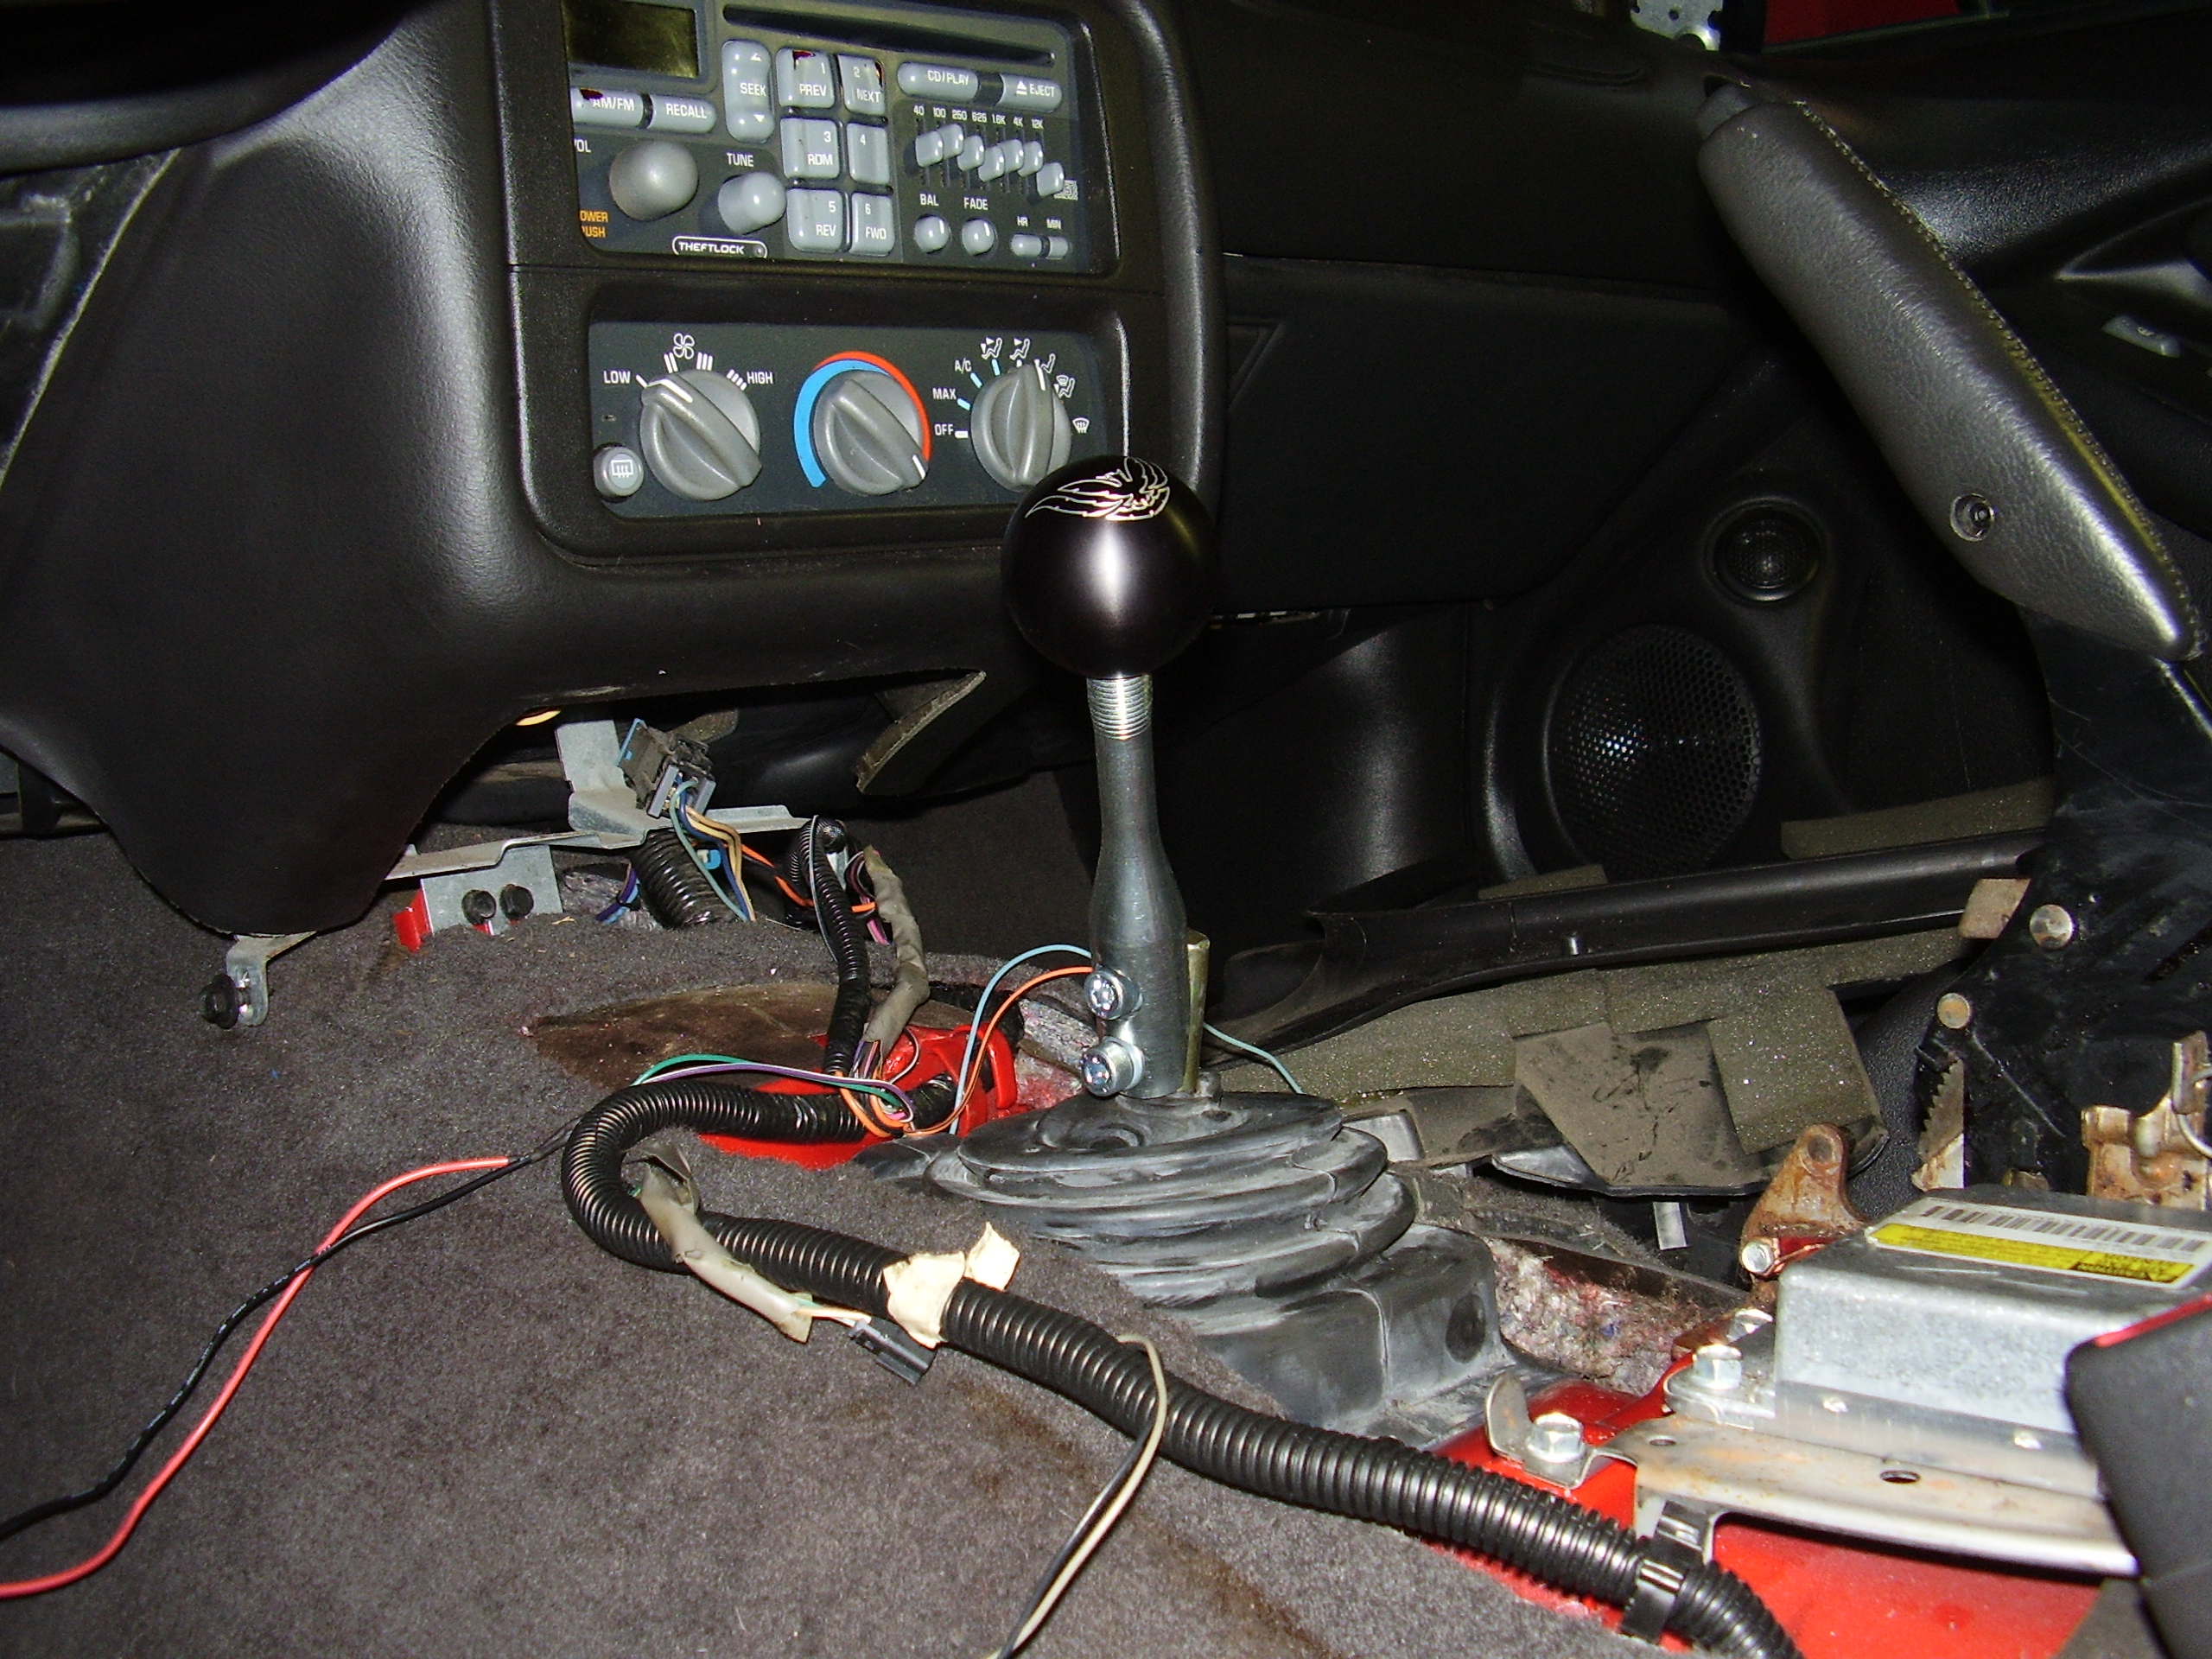
Next up I hopped back in the cabin and bolted the shifter to the trans. While normally this isn’t anything noteworthy, this case it led to a great deal of cursing. I clean up the surfaces real good and go to put a bead of RTV around the perimeter. I get about a third of the way around and POP, the back of the tube came unsealed and I end up with RTV all over my hand. I say ok to myself, clean up and grab a fresh tube. I get about three quarters of the way around and POP, this tube seal at the end comes open too spilling RTV all over the place. And this my friends is why even through cheap RTV from HFT will make an adequate seal, it should still be avoided. I clean all that off and find a new unopened tube of permatex black ultra in the cabinet. Score! Open it up and the first half of the tube is already set making the whole thing unusable. Apparently it had a factory defect where it never completely sealed the tube with the metal covering you normally have to poke through. So I had to head out and pick up another tube and finally got a bead on it and bolted down.
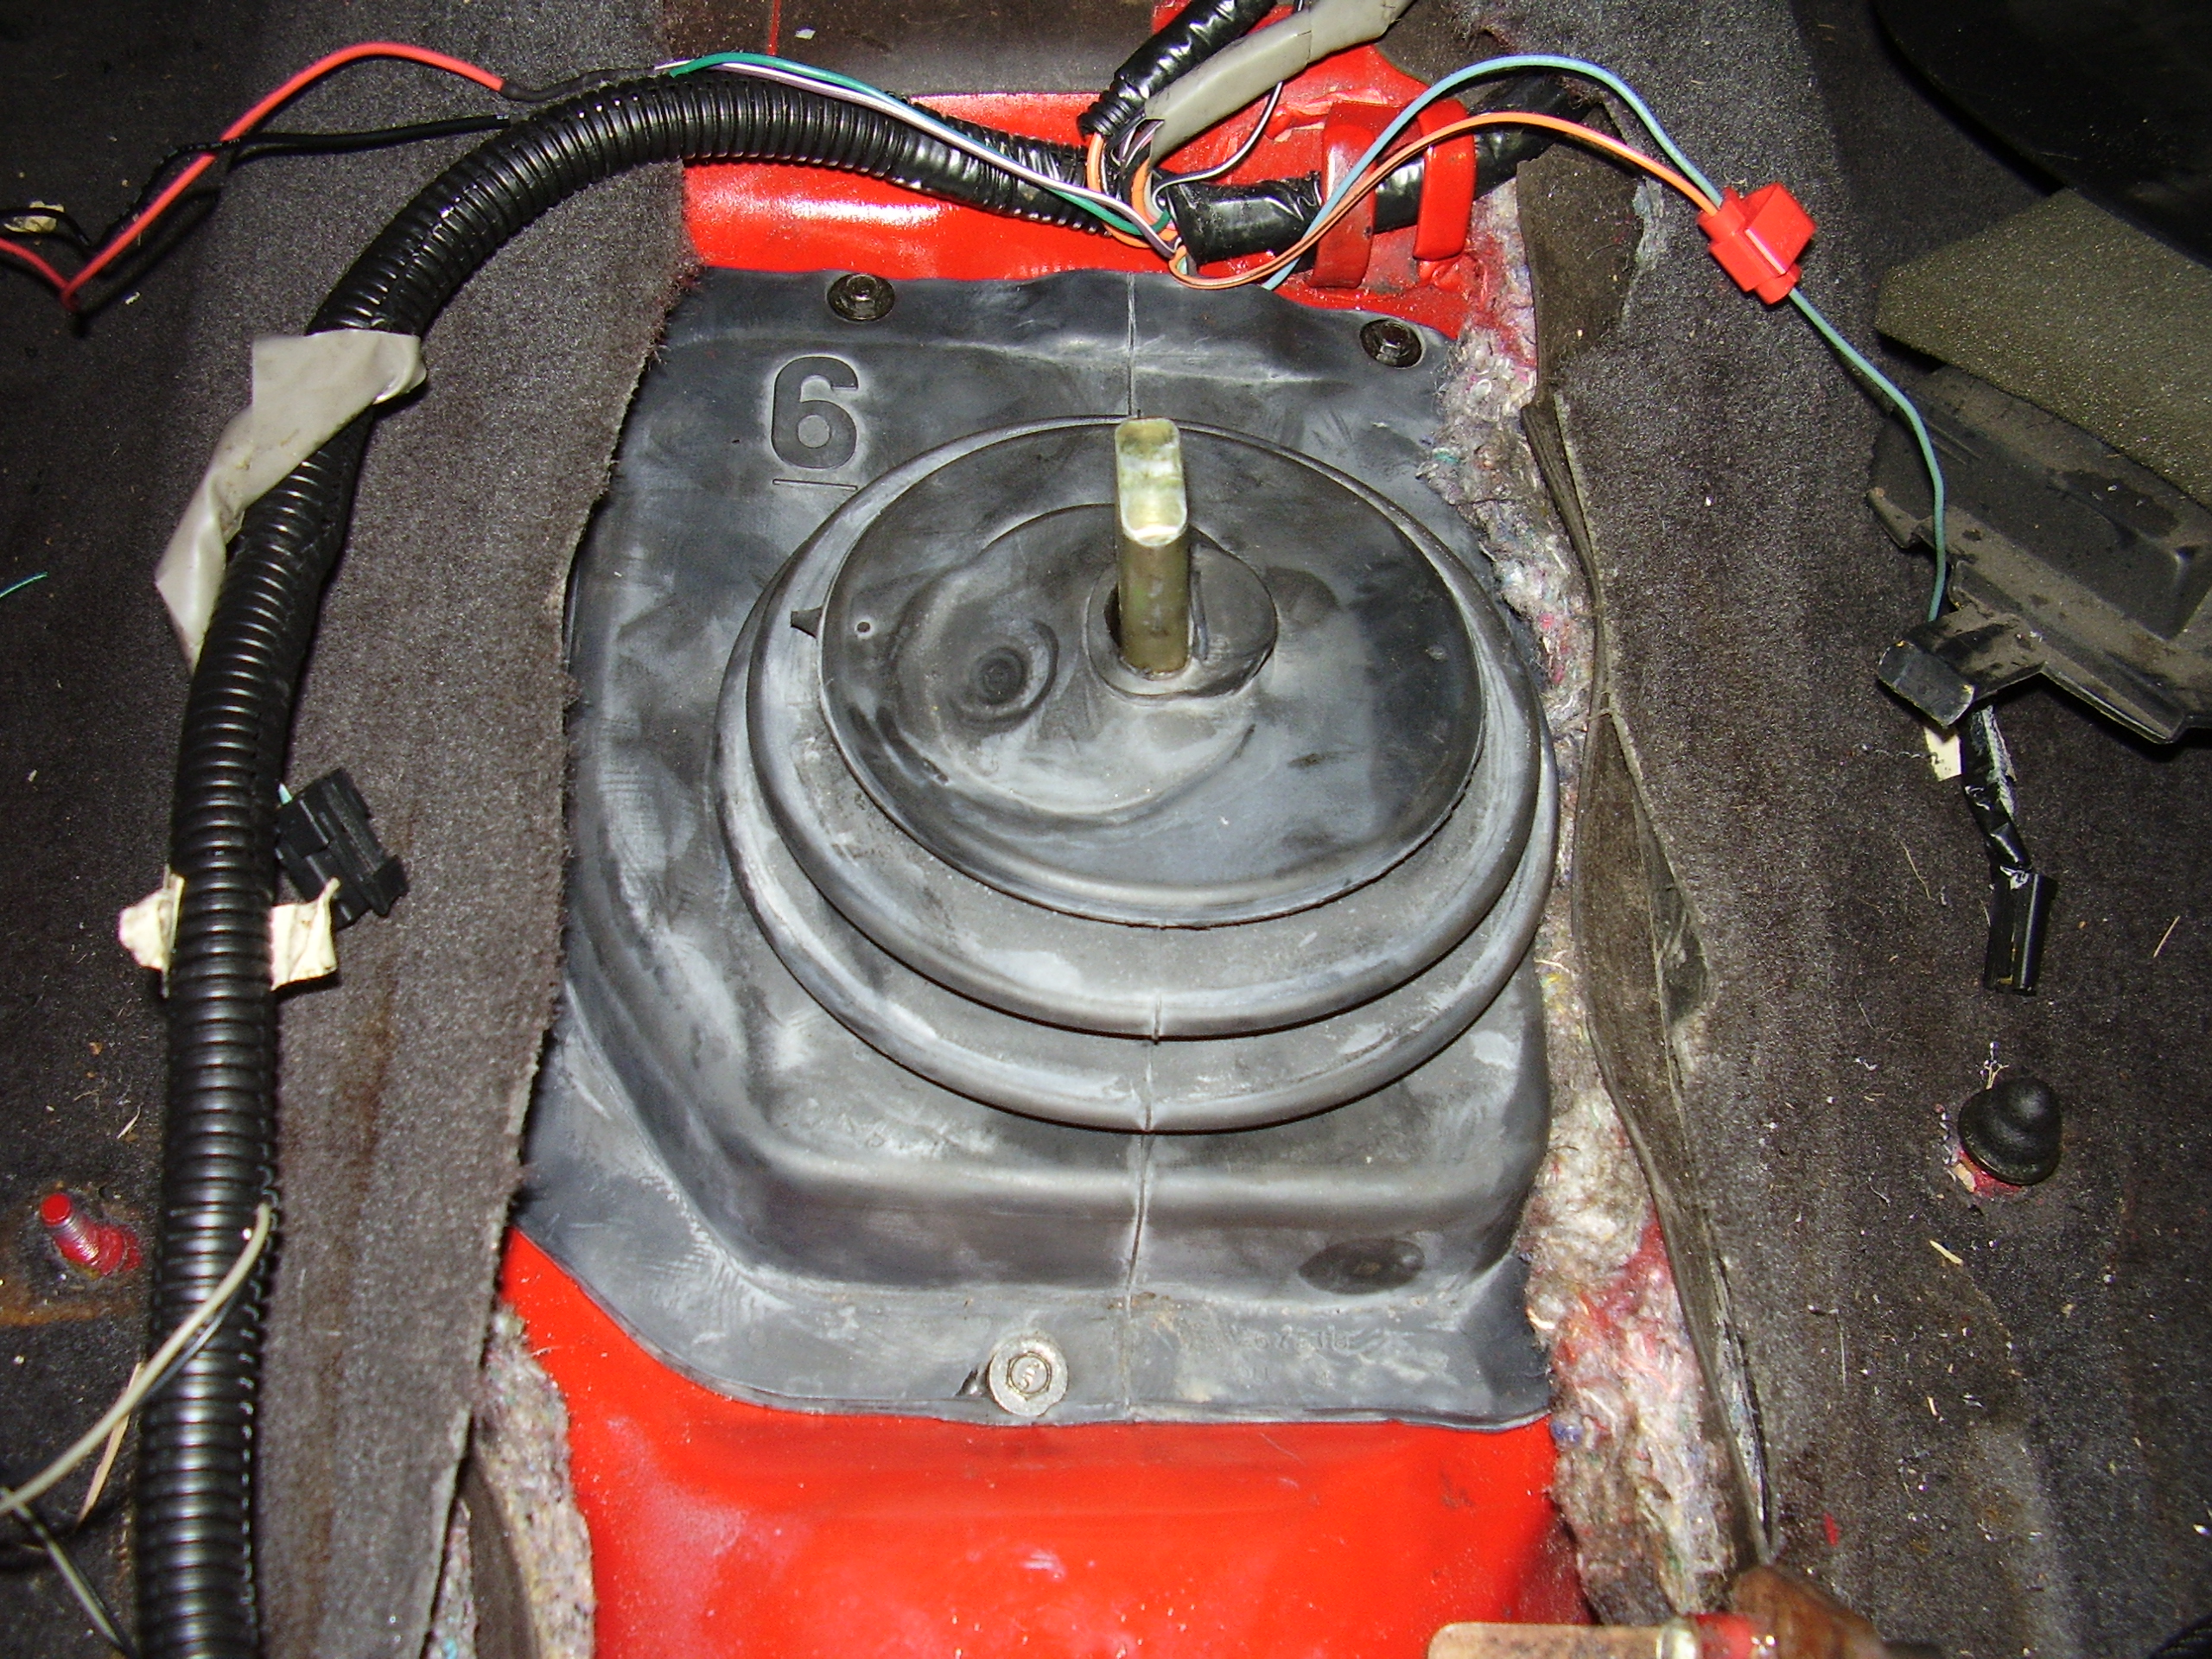
Next up was fitting the rubber dust boot in place, drilling some starter hole for the self tapping screws and getting it tightened down. This should help the road noise from the hole I had to cut in the tunnel.
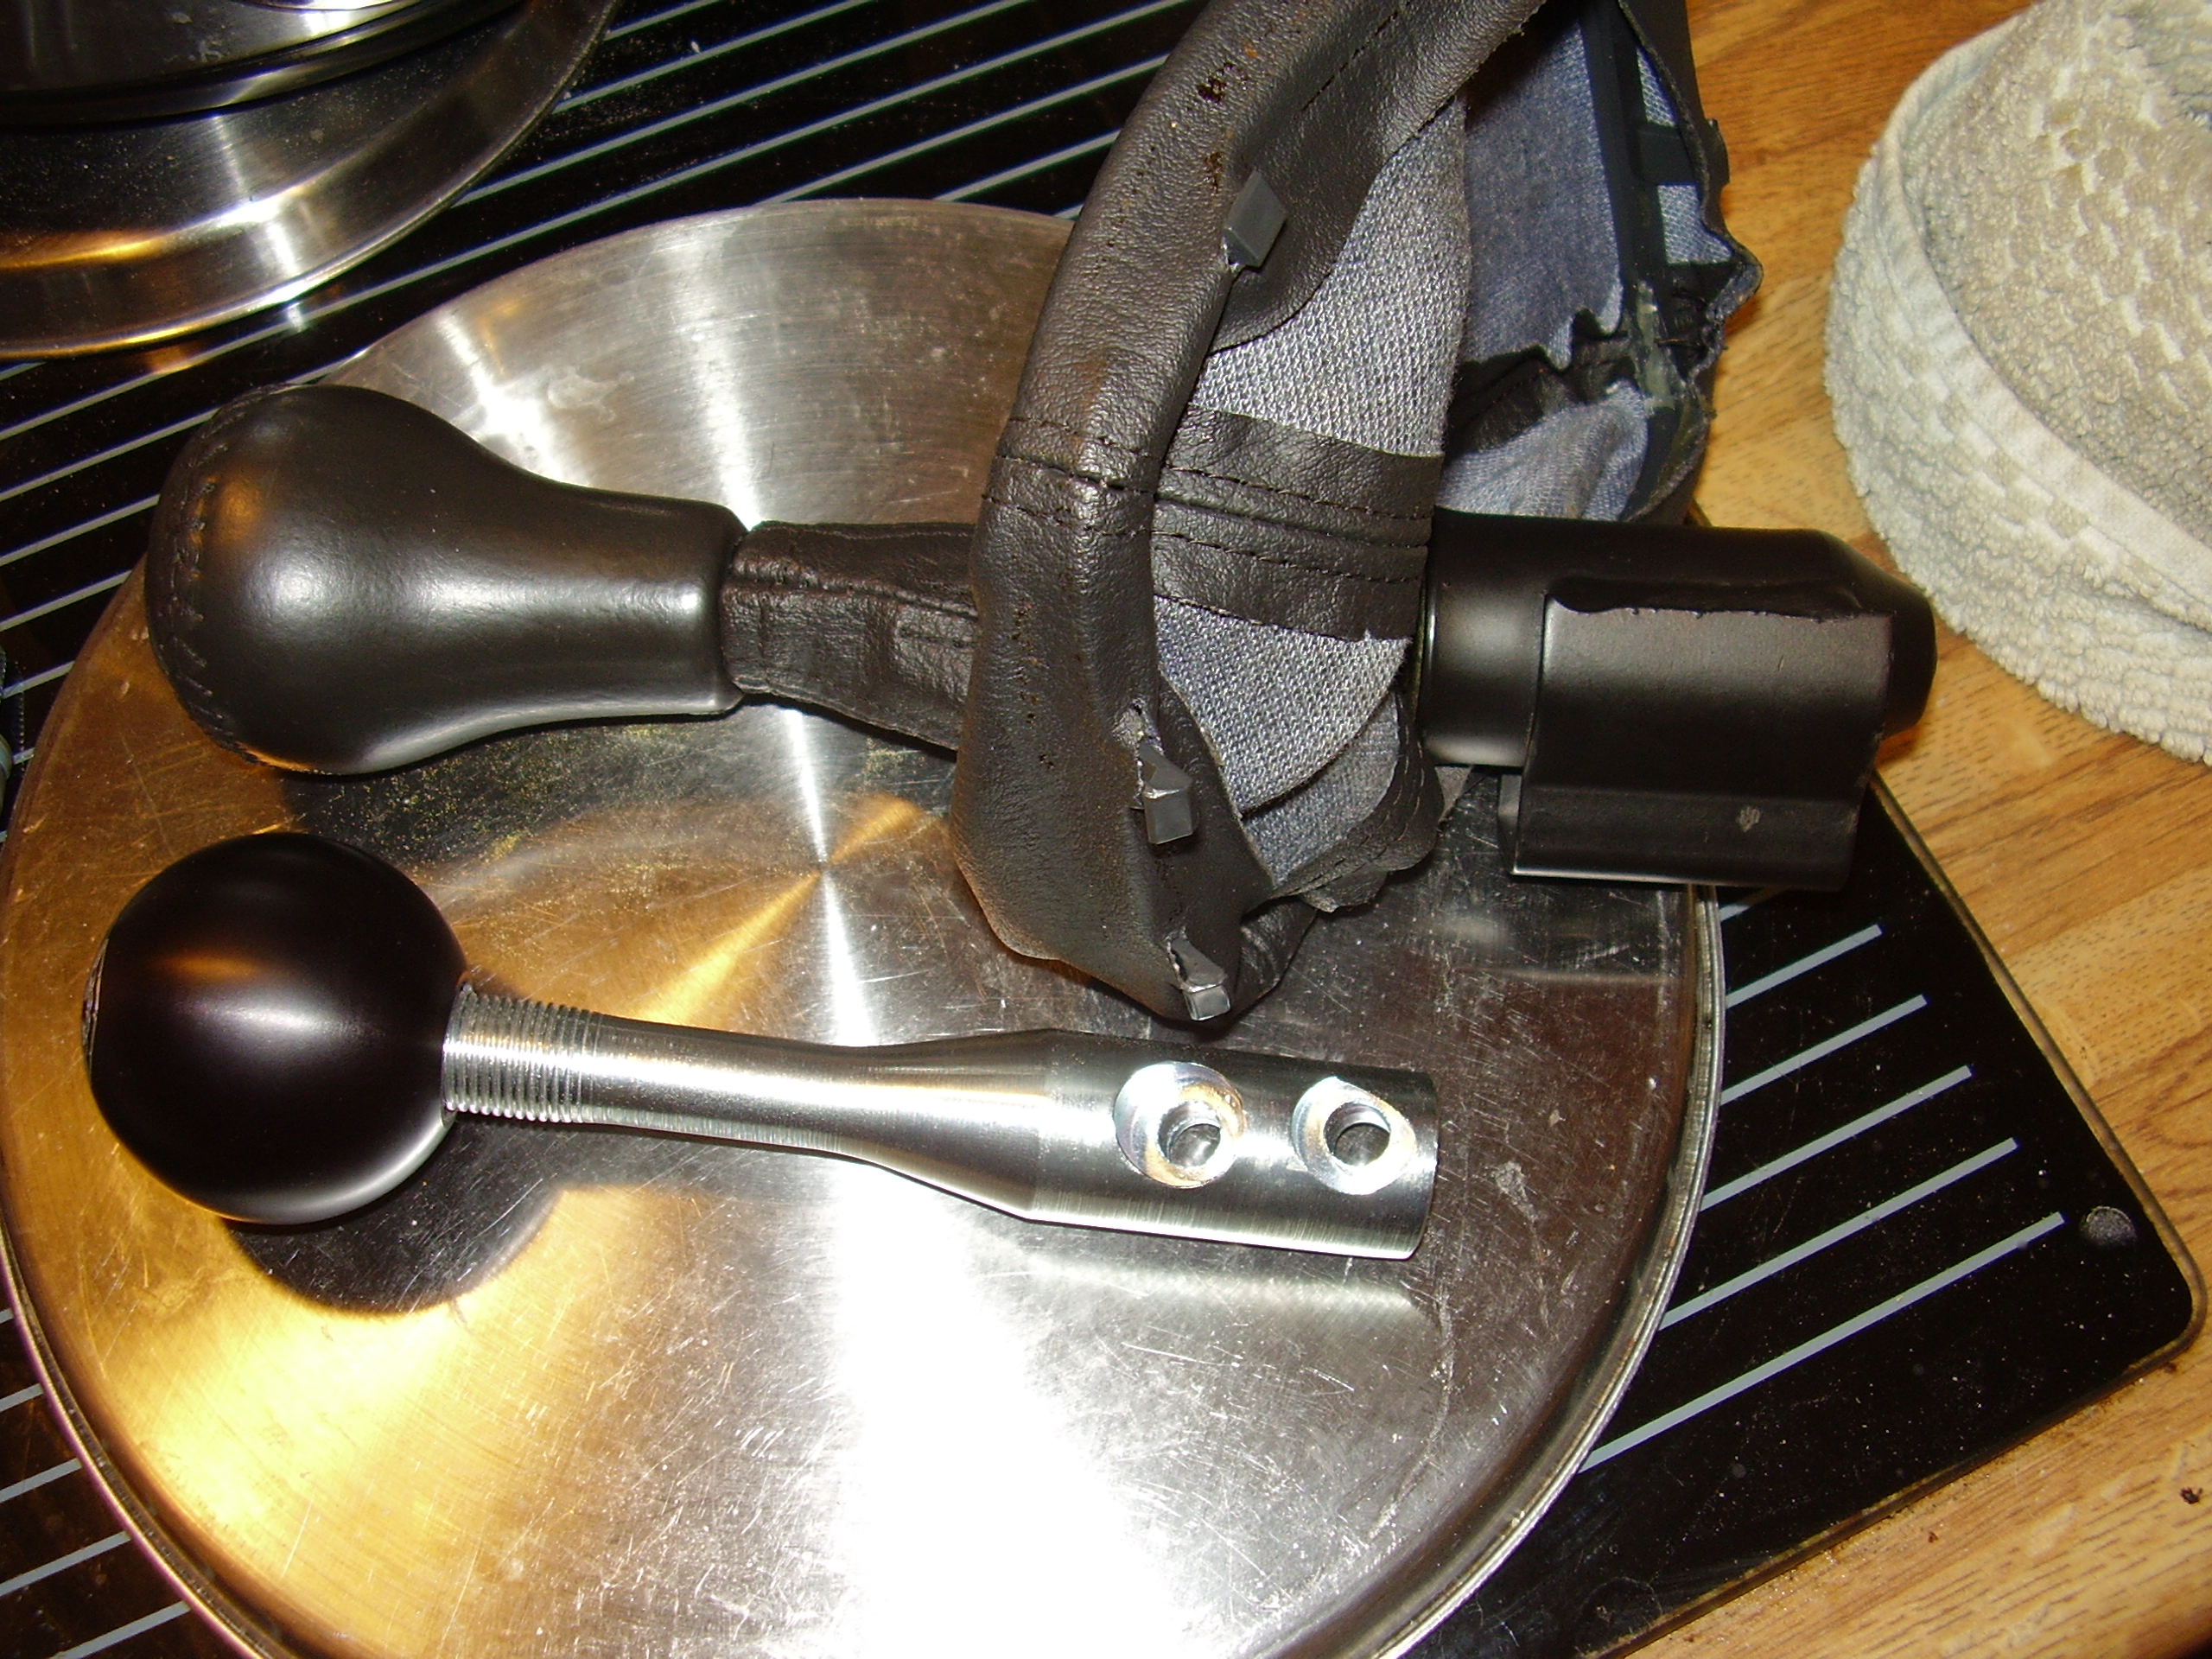
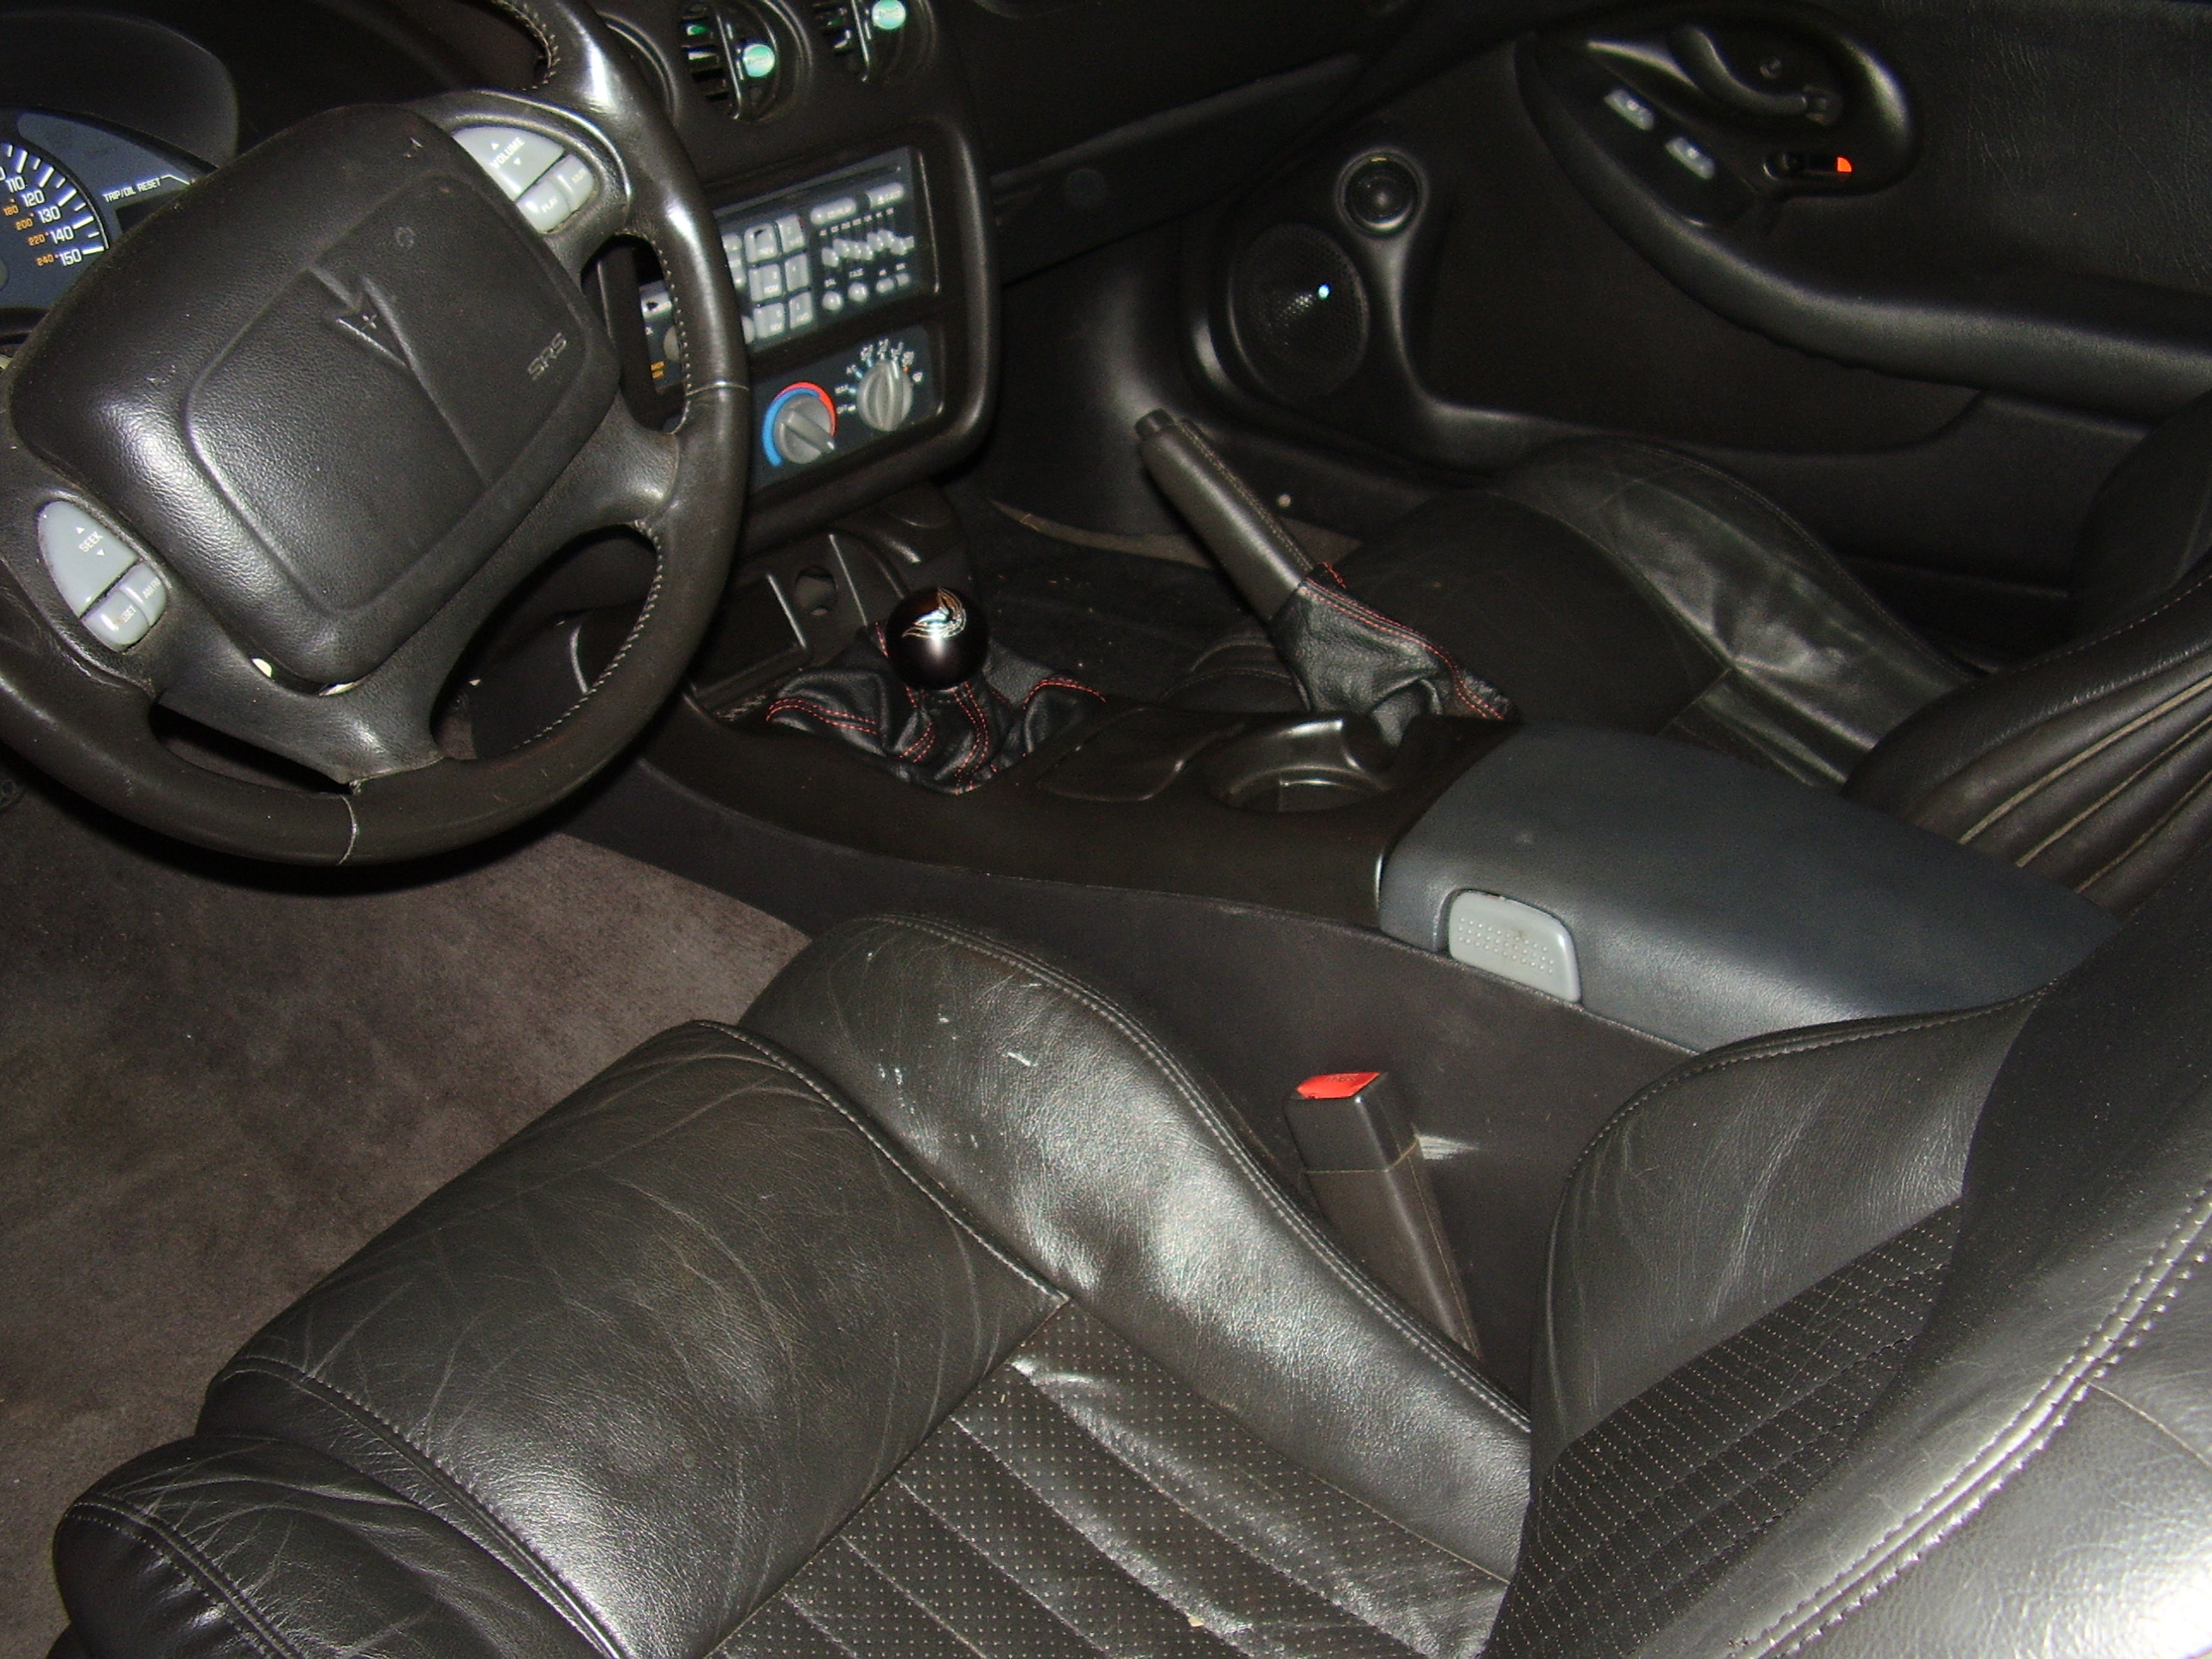
Next up was installing the shifter handle. Here is a side by side comparison of the stock hurst and the UMI short throw. The hurst knob absolutely refused to be taken off so much that the glue broke free and the leather covering was spinning on threaded handle. So I couldn’t remove the boot for a clearer comparison.
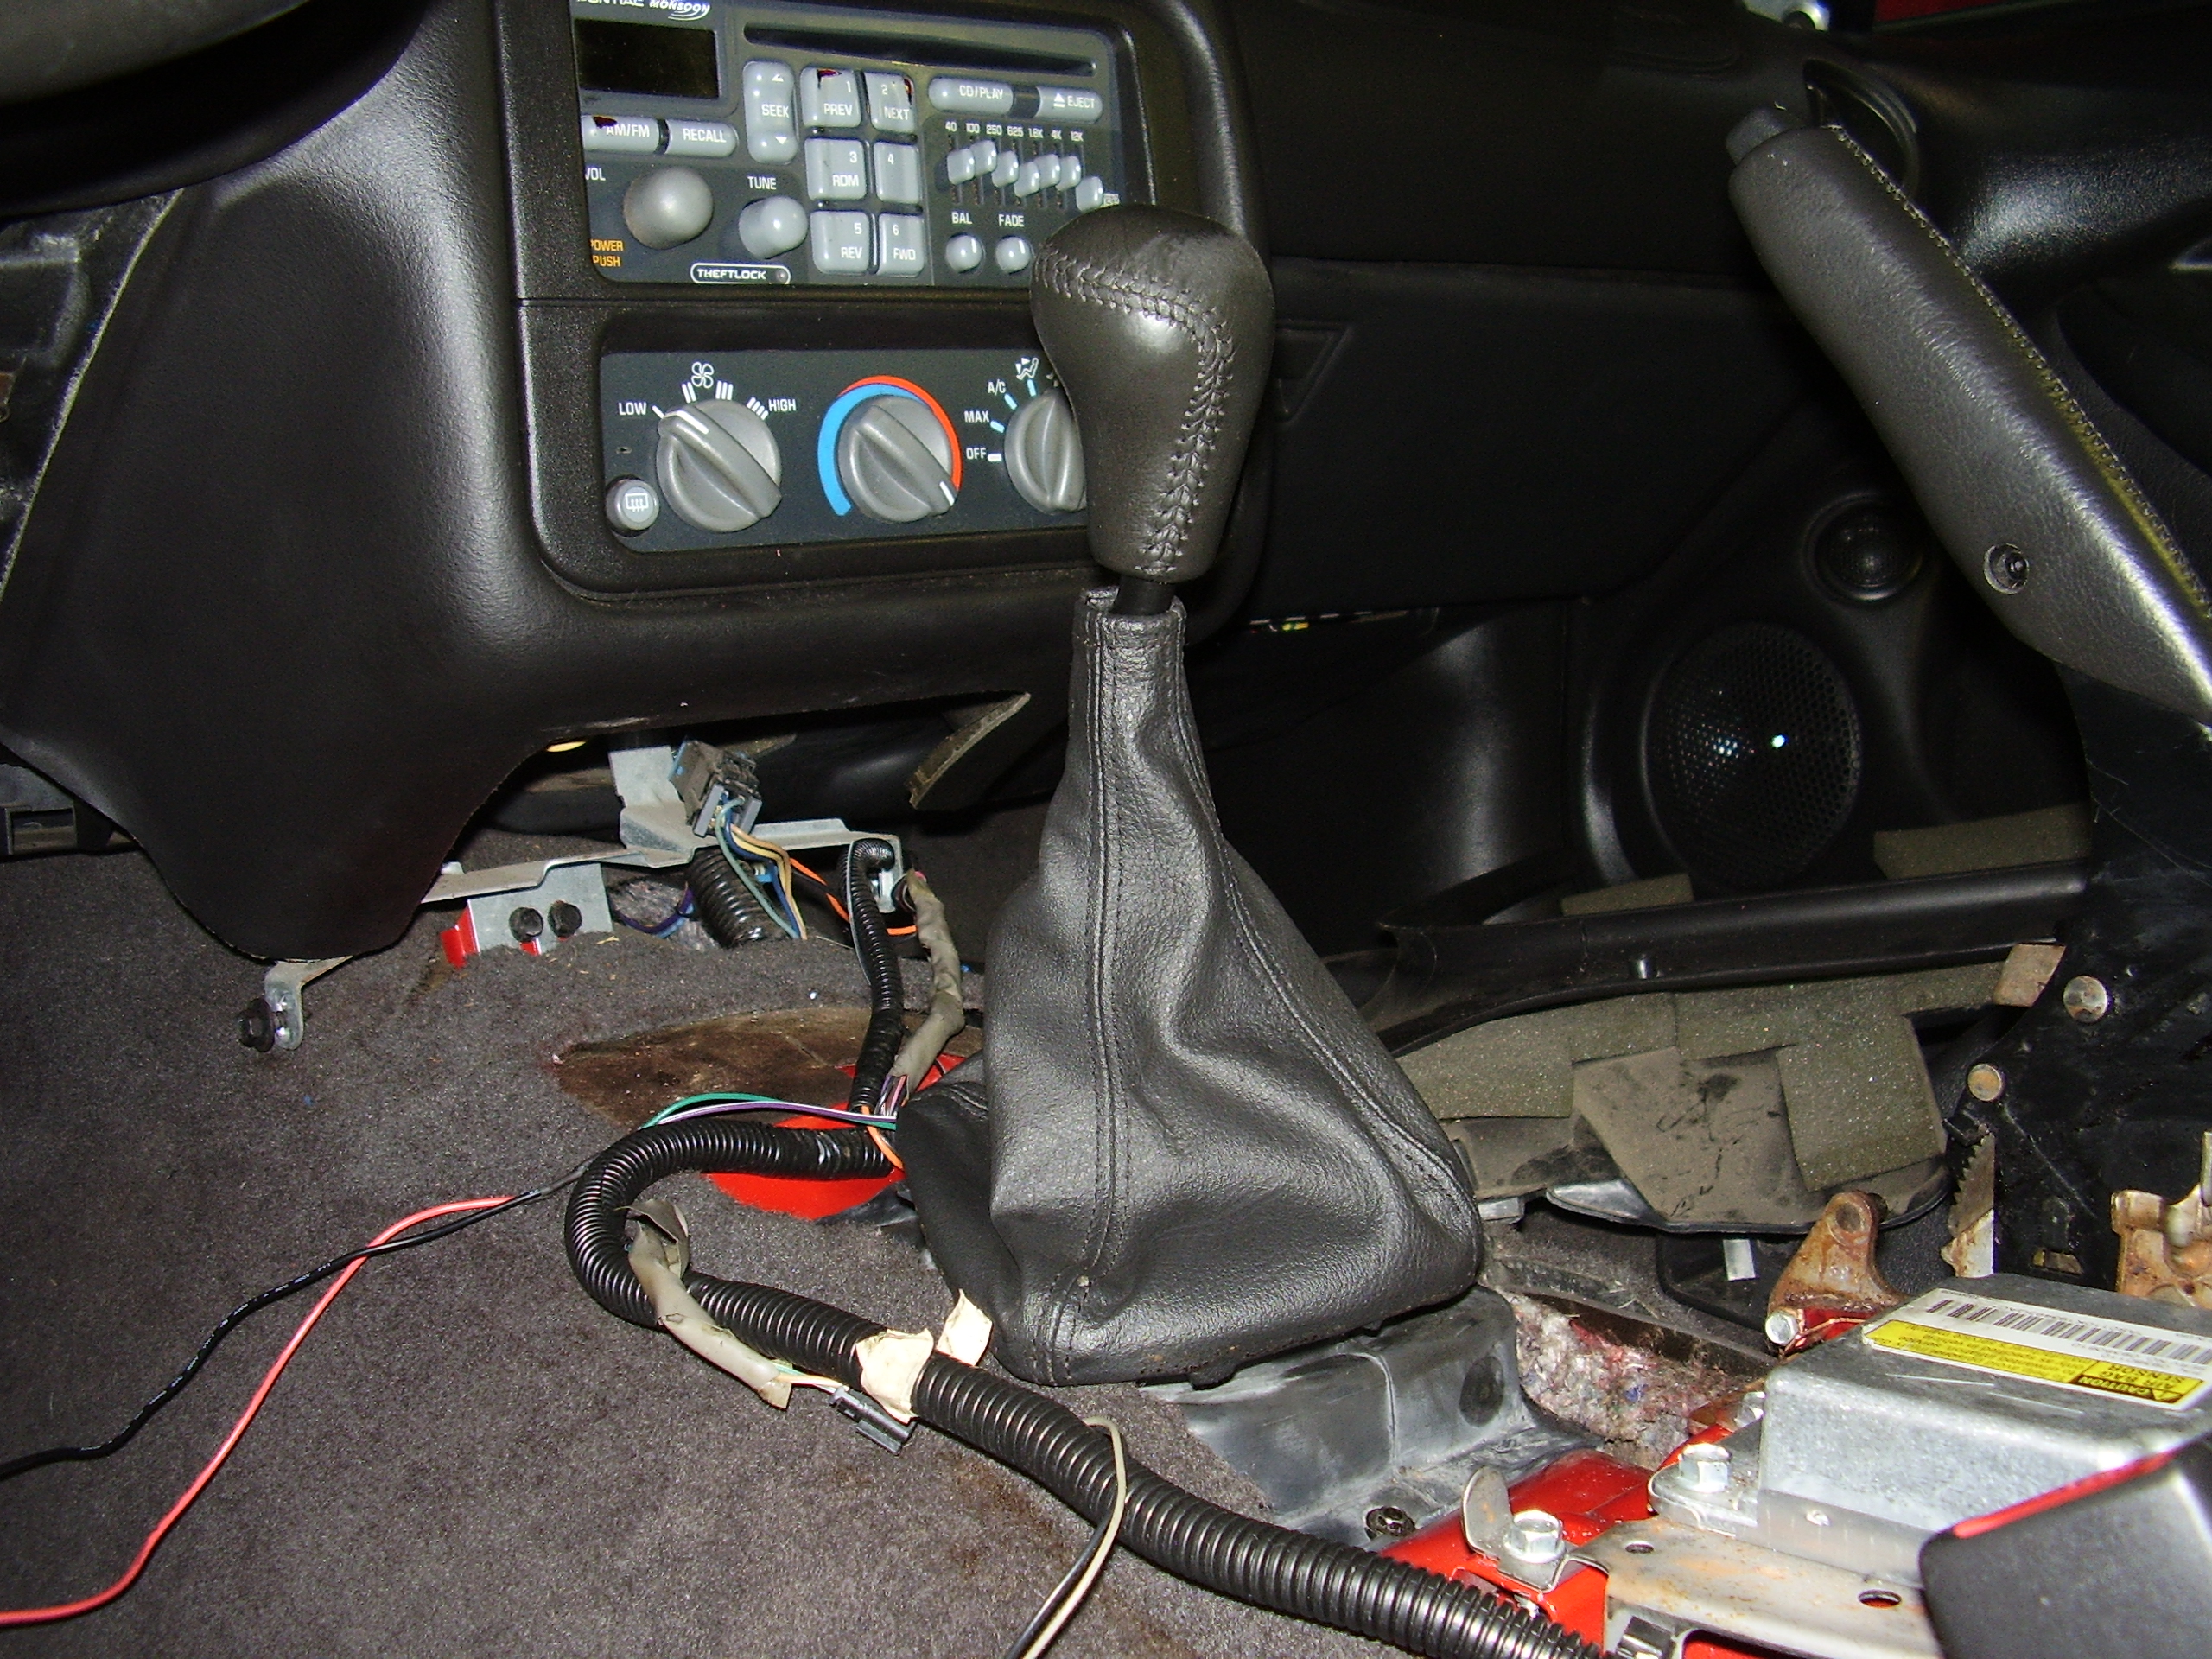
And here are a couple shots to show how much of a difference it makes when they are installed. The short throw handle also has a tilt toward the driver for a more comfortable feel.
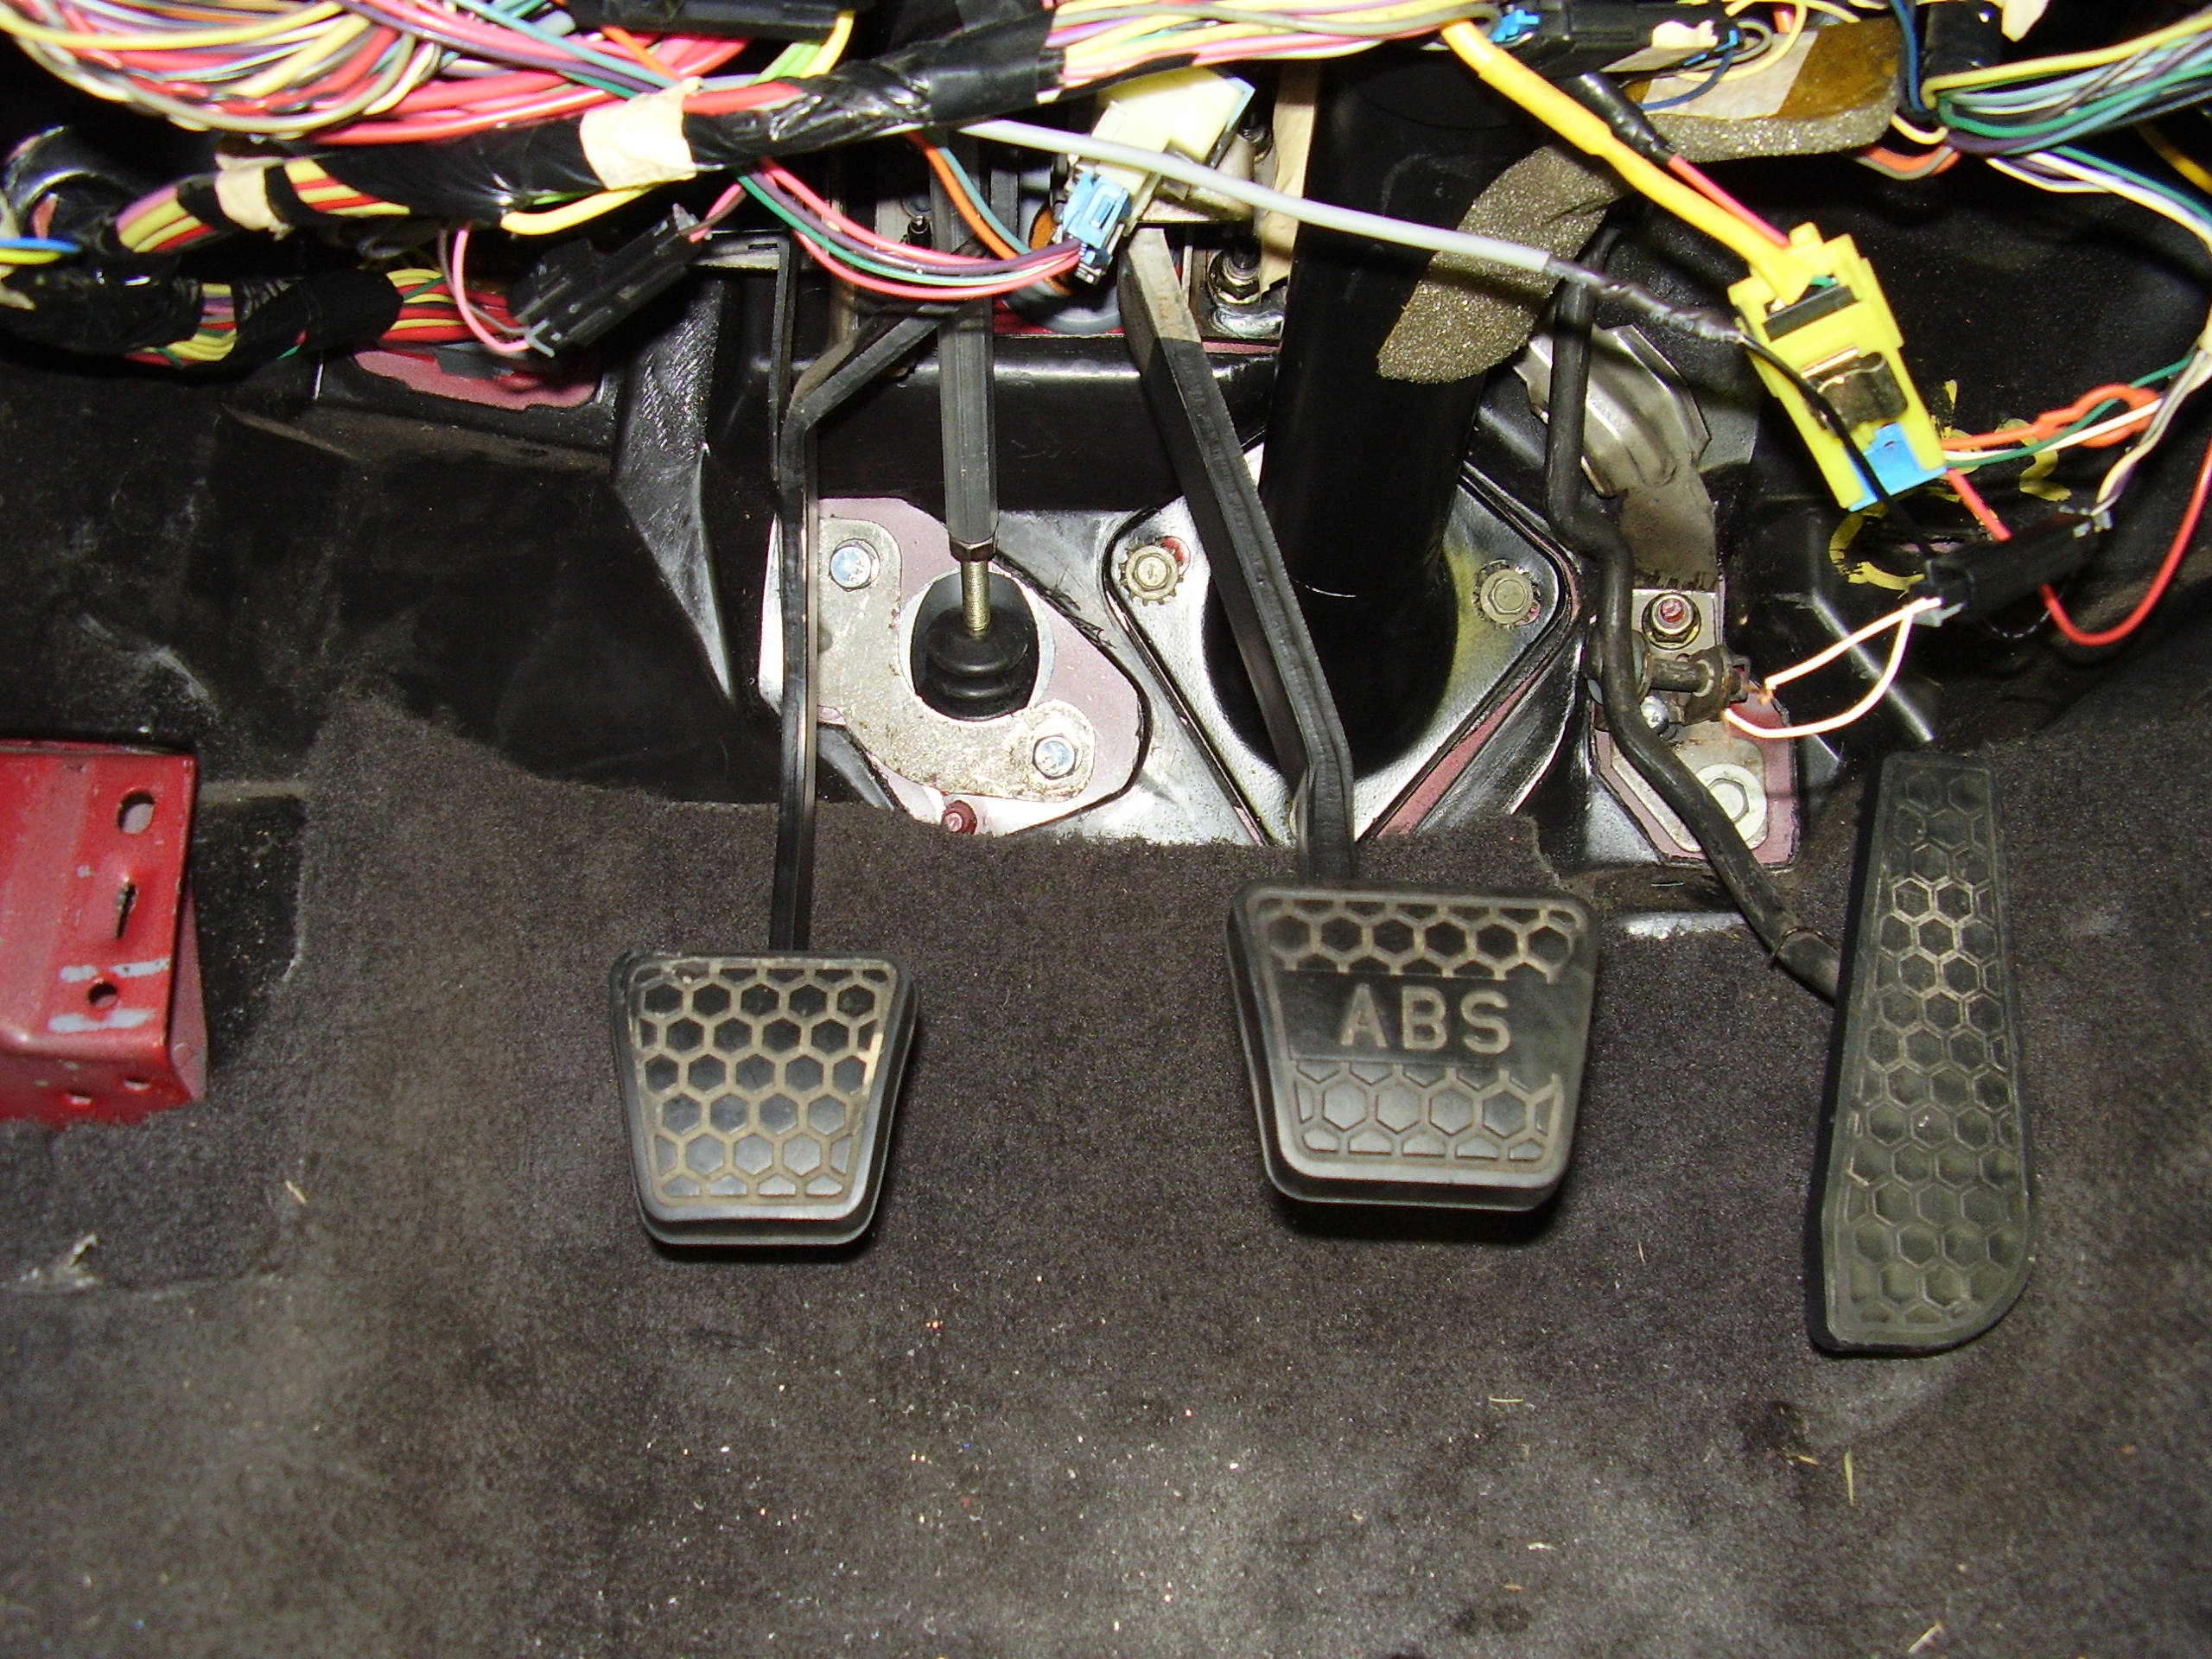
With that done I moved on the the part I have been dreading for the entire project. Installing the Tick adjustable master cylinder. Here we are prepping the firewall to accept the new part. I cut out the plastic piece where they go and holding the brace against the firewall tried to mark the best I could where the holes would need to go. I was able to get the 1-3/4″ hole for the cylinder rod without much issue but making the bolt holes was more challenging as the drill bit kept wanting to walk around. Unfortunately it is very cramped in that space with the pedals already installed and wasn’t much room to move around and the holes got a little messy.
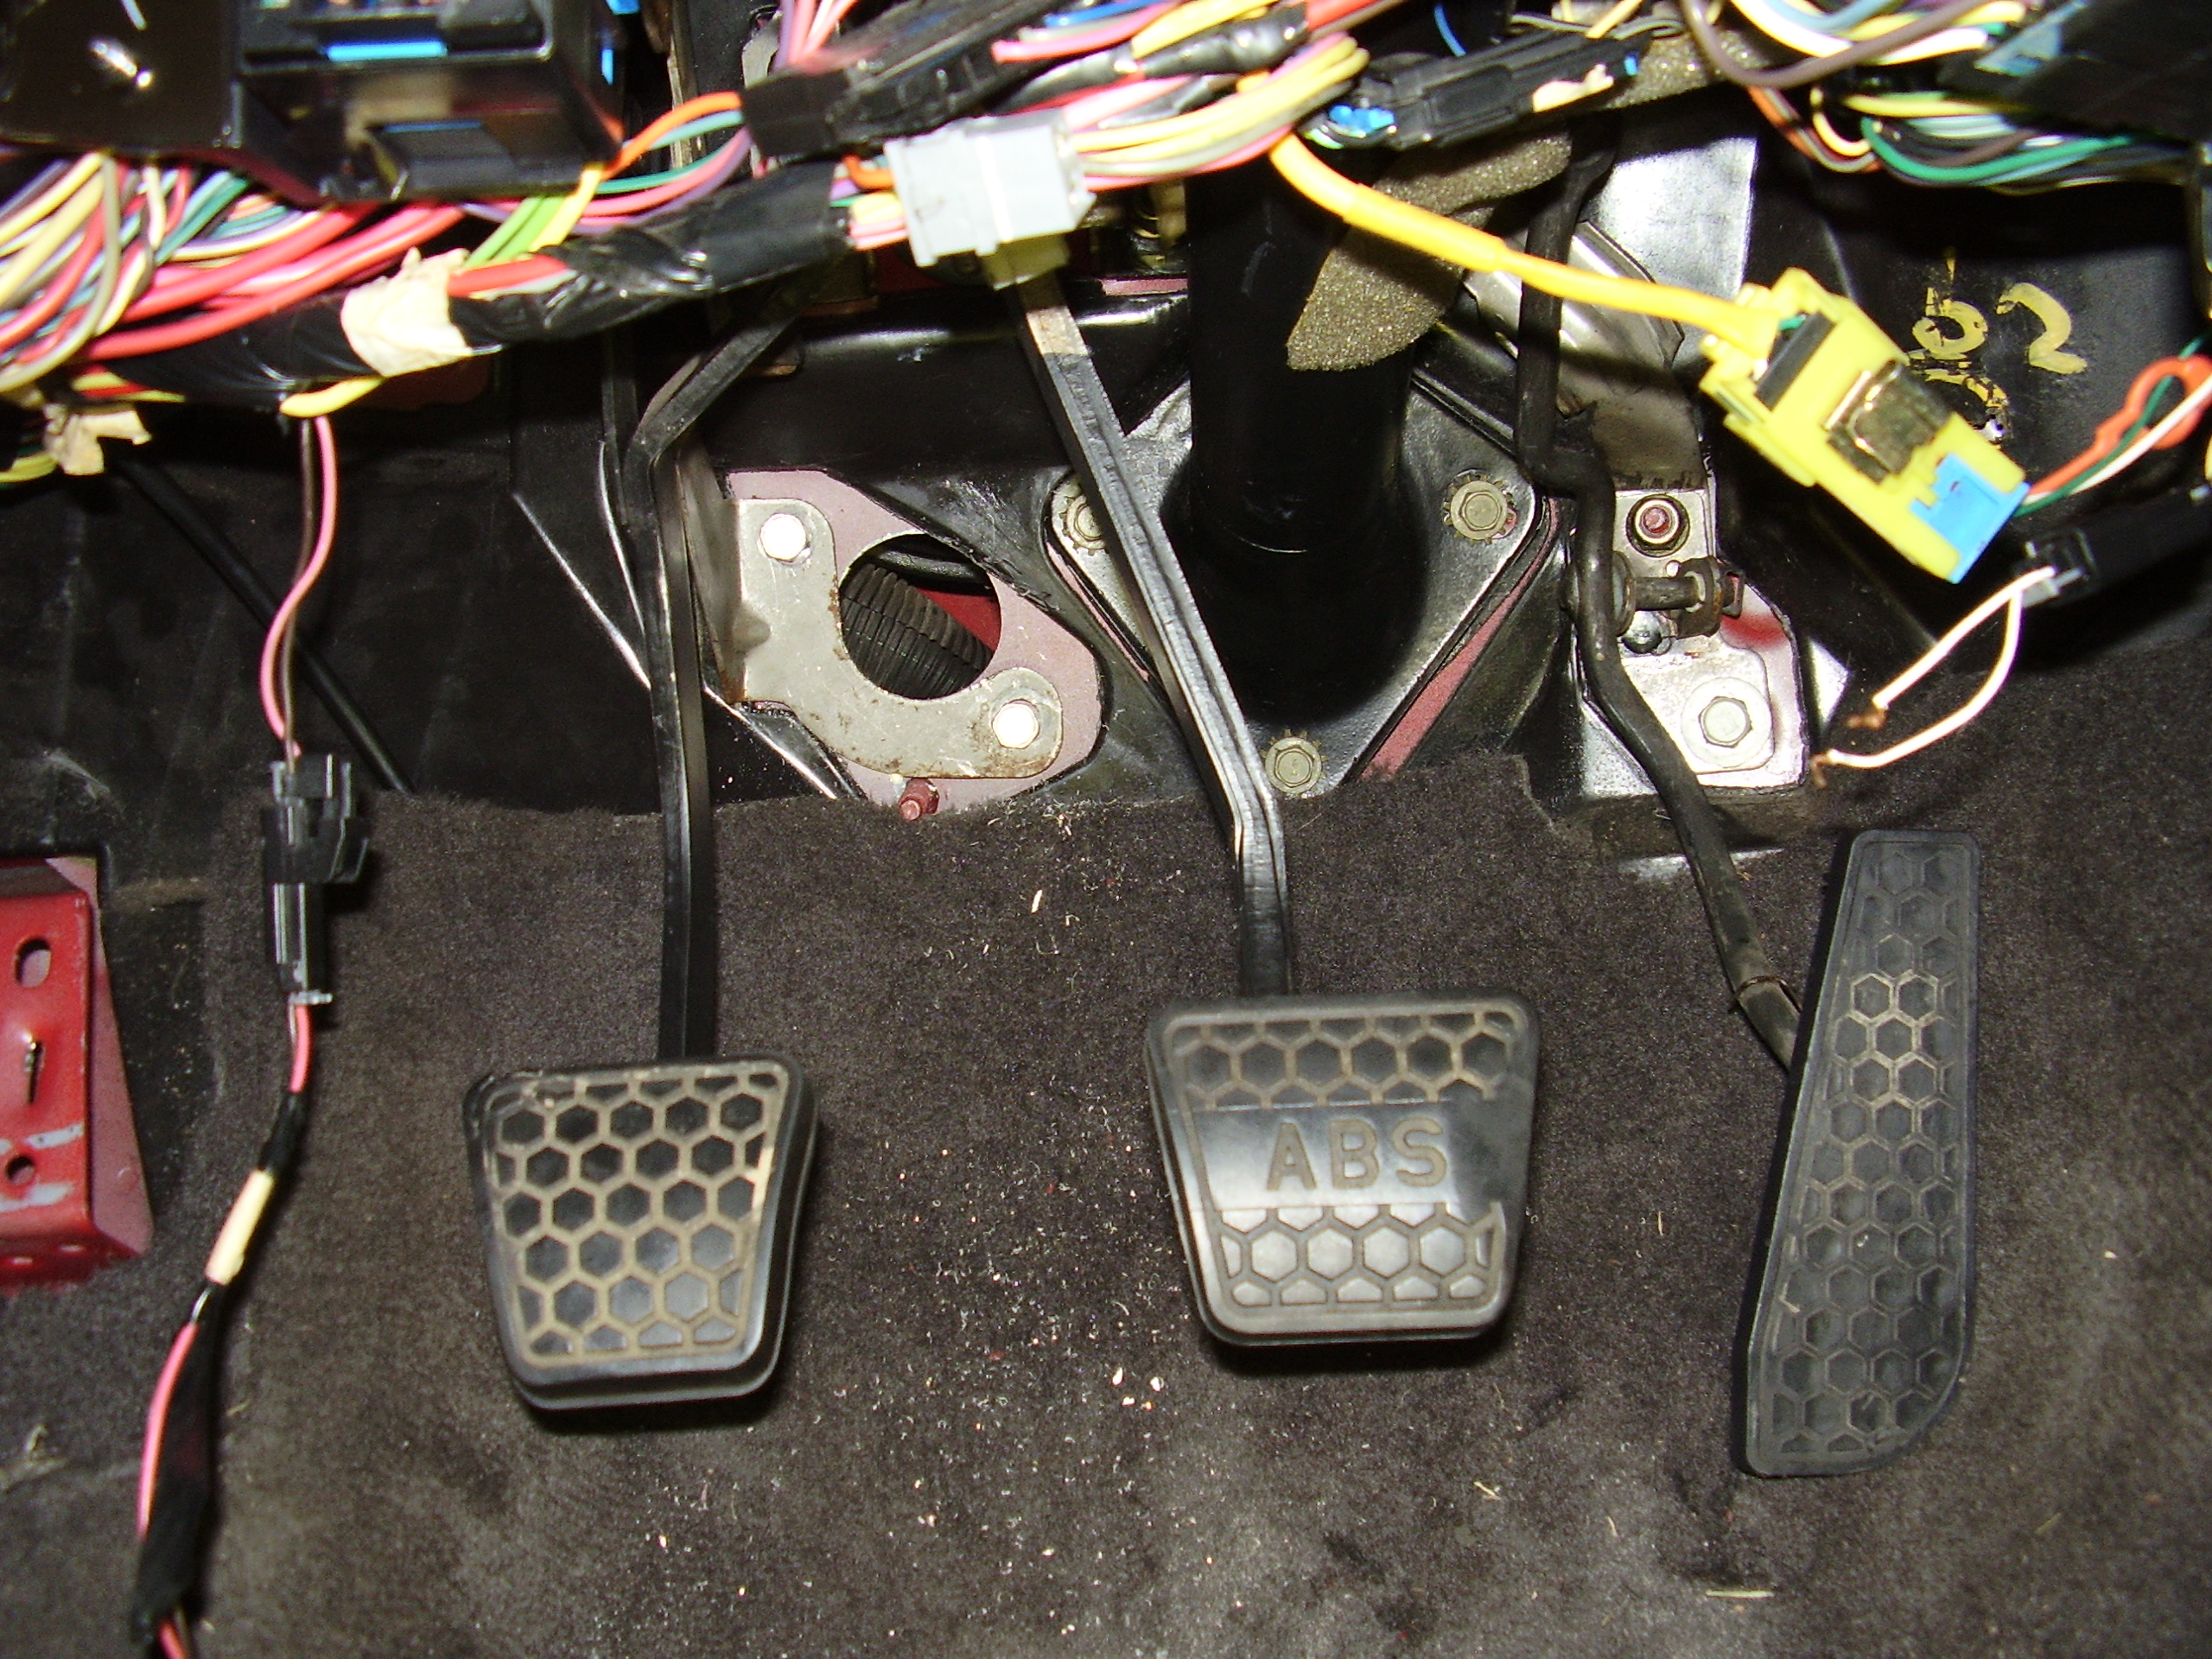
The new master cylinder is huge in comparison to the stock unit and I somehow had to wedge it between the steering knuckle and brake booster. In the end I had to remove the coil packs and manhandle a thick part of the wiring harness out of the way, but I finally got it in there. It was a bit of a challenge to get the rod through the hole as well since there was no longer any room for my hand down there. Some creative use of a telescoping magnet and a lot of guess work and it was done. I then went into the cabin to quickly screw the turnbuckle back onto the rod before it decided to fall back out of the hole. Next came the lengthy and curse filled process of trying to maneuver the MC block up against the firewall to put the bolts in. I came to the conclusion that the Tick provided bolts simply were not long enough. The ones that came with the cylinder were 5/16 x 1/2″ and I could not get them to thread in, no matter how hard I tried. I did have some spare 5/16 laying around and while still having to fight a lot to get one in, I was able to get it done. Only to find out that the longer bolts I had were a tad too long at 1-1/2″ in length. So I had to undo all that aggravating work and remove the bolts and headed to the hardware store to pick up some more in various lengths along with some lock washers. Having already been able to get the longer ones threaded in, it wasn’t so much of a challenge the second time and I was able to get them in and tightened using ones that were 1″ long. If I ever, and I mean EVER have to do that again it will be too soon.
With that done, it was just a matter of putting in all the fluids, bleeding the clutch and re-installing the interior pieces. And here we are, all buttoned up and ready to go!
So I hop in, push the clutch down and turn the key. Nothing. Car has power, the headlights work, ect but it won’t turn over. At that point I was too tired to even deal with it anymore so I just went to bed.
While laying in bed trying to sleep I remembered that I had pulled the gauge pod out for a make over and in the process, removed 2 expandable circuits from the wiring thus leaving 2 fuses missing from the block. I am hoping that is the entirety of the problem and I will be able to get it started when I get home tonight and maybe get it flashed with a 6 speed tune so everything will work properly. Another cause might be the clutch safety switch could be wired in backwards. So close, yet so far away.
Pingback: what did you do to your firebird today? - Page 88 - LS1TECH