New Icon

I haven’t been doing much on the car lately.  It’s not that I don’t have thing TO do or the parts handy to do them, I have just been enjoying actually driving the car around with the new T-56 too much to bring it down to do any of the other mods I have planned right now.

Although, about a month or so ago I came across Kelley West who was starting an imagining company that was focused on the f-body platform.  I really didn’t think much of it at first but I followed his feed.  And as he asked for suggestions I put one in and he decided to use it.  I was enthused by the idea an image I submitted was going to be cut into a nice large piece of metal that I could hang on my wall.

It finally came in today and here are the preliminary results.  I am very satisfied with the work and it is a solid piece.  I can’t wait to put the polisher to it and get it on the wall.  Or perhaps try my hand at painting to see how firey I can make it turn out.  Anyway, enough beating around the bush… here is the piece I got from Kelley.

20140610_153441


It is a version more influenced by tribal design than your standard firechicken but I really liked it and I appreciate Kelley for take the time out to cut one out for me.


Tear Down Complete

I decided to spend some more time today to finish up the LQ4 tear down.  I was having issues being able to get the crank bolt off, even with my 350 ft lb electric impact wrench.  So I had to end up putting the flexplate back on to lock the crank into place.  Breaker bar and a little muscle later it was off so I pulled the flex plate back off.  Went to pull the crank pulley off and remembered just how much the HFT 3 arm pullers sucked.  Went to Advance Auto and rented the nice jawed puller they have that I used when I did my cam swap.  Of course I had jumped the gun by pulling the flexplate off again since the puller was spinning the crank so I once again installed the plate.  Couple minutes later the pulley was off and I went to down on breaking it all down.  Couple hours later I ended up with a nice bare block ready to be re-molded into a nice power plant for the future.

LQ4 Bare Block

And on a plus note for the build, I received the first on a long list of parts that will end up going into the build.  A set of Brian Tooley Racing Slow Leakdown Rate lifters.  Let the pile of parts begin!

BTR SLR Lifters


MAP Sensor Troubles

For around the last week or so I’ve been having some troubles with the bird occasionally having somewhat violent misses in the motor.  I spent a few days trying to track down any vacuum leaks or other issues that I might have caused when I recently put the gauge pod back in.  After a few days it then began to throw a code for low circuit on the MAP sensor.  While it was plausible that I had done something during all the electrical work to bork up the sensor wires but I was doubting that.  My money was on the fact that when I replaced all the top end sensors in March of last year while doing a lot of cleanup and de-greasing, I had poorly chosen to use a cheaper unit instead of authentic AC Delco or GM pieces.  And here is something to back up that belief.

First of all I hate how you have to pull the entire intake off just to get at the MAP sensor on these cars.  It really shouldn’t take an hour and a half just to swap a sensor.  After pulling the intake I tried to pop the existing MAP out and while trying to pull it out of the intake it simply came apart.  The top and bottom pieces separated so I was left staring at the guts of the sensor.  Then as I tried to pull the plug out of the intake it just started breaking into pieces.  This is what I was left with.

Broken MAP

Fortunately I had recently picked up a complete motor from a truck that I plan on rebuilding and it still had it’s MAP sensor.  Now the truck sensor is a bit different physically than the car version and in it’s stock form would not fit on the LS6 intake.  On the left is the LS1/LS6 style with the truck version on the right.

MAP Sensor Comparison

So I took some snips and cut off the retaining clips on one side and then filed it down to the sensor body.

Truck MAP Modified

Afterwards it popped right into place.  After getting everything else re-installed I went cruising around to put some miles on it and after about 50 miles in various traffic conditions it gave me not a single problem.  And that is why from this point on I won’t be using anything other than official sensor parts.  On a side note I had my scan tool hooked up while driving around and noticed that my LTFT on both banks are reading around +20 – +22 so the system is just dumping fuel and in all likelihood destroying my O2 sensors.  I’ll have to tend to that in the very near future unless I want to replace even more expensive sensors soon.

Powerplant Project

So last weekend a great offer popped up on a local facebook page for a complete LQ4 engine.  Not the precise one I was looking for but since it uses the same block as the LQ9, it really didn’t matter that much except the LQ9 comes with better heads.  After some back and forth haggling we came to a price and on tuesday evening he swung by and dropped it off.  Here is the new base for the future powerplant upgrade for the bird.  A 6.0L LQ4 from a wrecked 05 Silverado 2500.  When the seller said it was a complete engine I expected a longblock with intake or something of the sort.  Instead he gave me something that looks like the hulk just ripped it straight from the truck.

LQ4 engine


So after work today I did a few things in the yard then decided that I wanted to get a little work done on the tear down so that I can start parting out all the pieces to make back some of the base cost.  After a little sync work between the stand and hoist I got it successfully transferred over.

Complete LQ4 on the stand


I then spent the next several hours tearing into it and getting everything off.  This motor was a mess.  It had gunk and dirt eeeeverywhere and build up so thick I had to dig around with a screwdriver just to find some of the head bolts.  It also had some pretty significant internal oil leaks with a few of the center bolts on each head coming out completely coated.  Although I don’t know if that was a prior issue or a cause of the impact loosening some gaskets and letting oil by.  Although I am leaning toward pre-existing condition due to the large amount of oil that was in the intake along with the massive carbon buildup in the head runners, chambers and all over the pistons.  There was so much build up that when I pulled the old head gasket the carbon stuck out over the cylinder like a shelf.  Everything looked good after pulling the heads except for 2 cylinders which had some rust and what felt like scoring on the cylinder walls.  I am hoping that they won’t be an issue when having it machined.  The only real things left in there is the rotating assembly, camshaft and some sensors.

LQ4 shortblock on stand


I will probably have the block bored out to 4.030 and put in a 4″ stroke crank to make it a 408.  If that won’t be enough power for a daily driven toy then there really is no hope for me.


Gauges Re-Installed

I took a little time to re-install the pillar gauge pod today,  I was tired of looking at the metal.  But first I wanted to fix the cruise control so it would work properly.  Unfortunately I got wrapped up in the work and neglected to really get any good pictures this time around.

I had to order a second brake switch and pigtail to put on the clutch since the factory M6 cars used a bit different switch that would have been more of a pain to wire in.

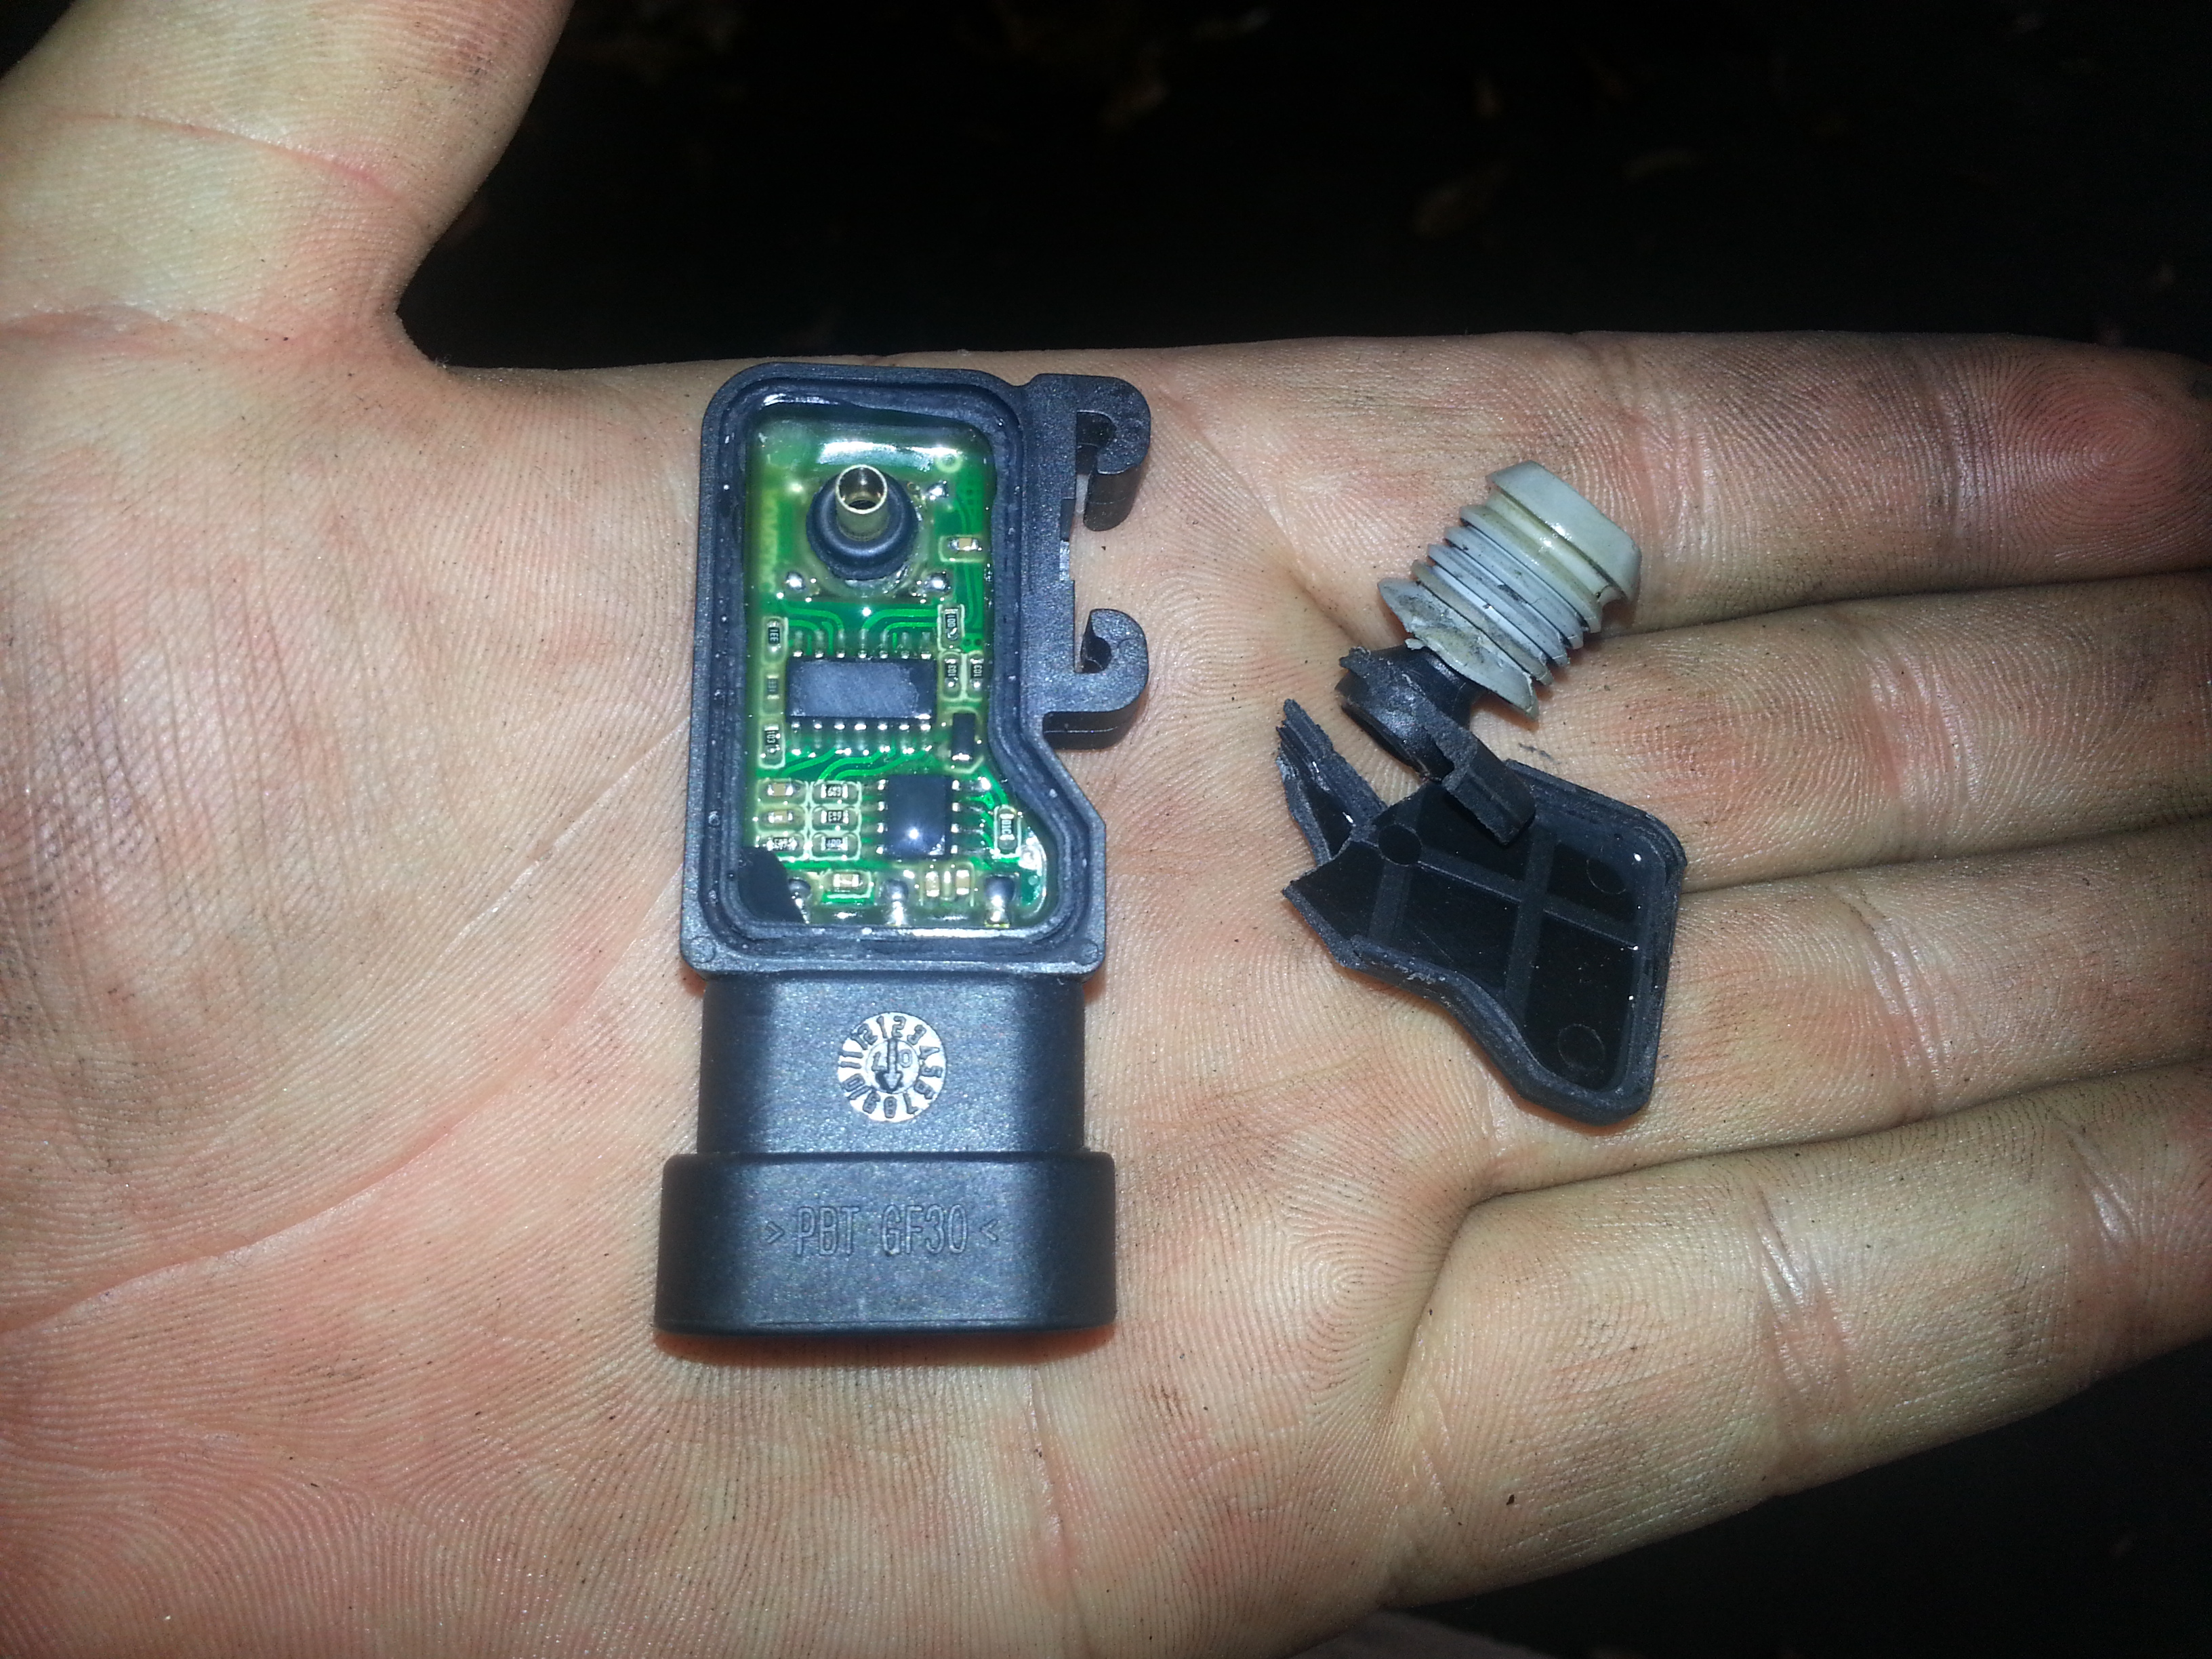
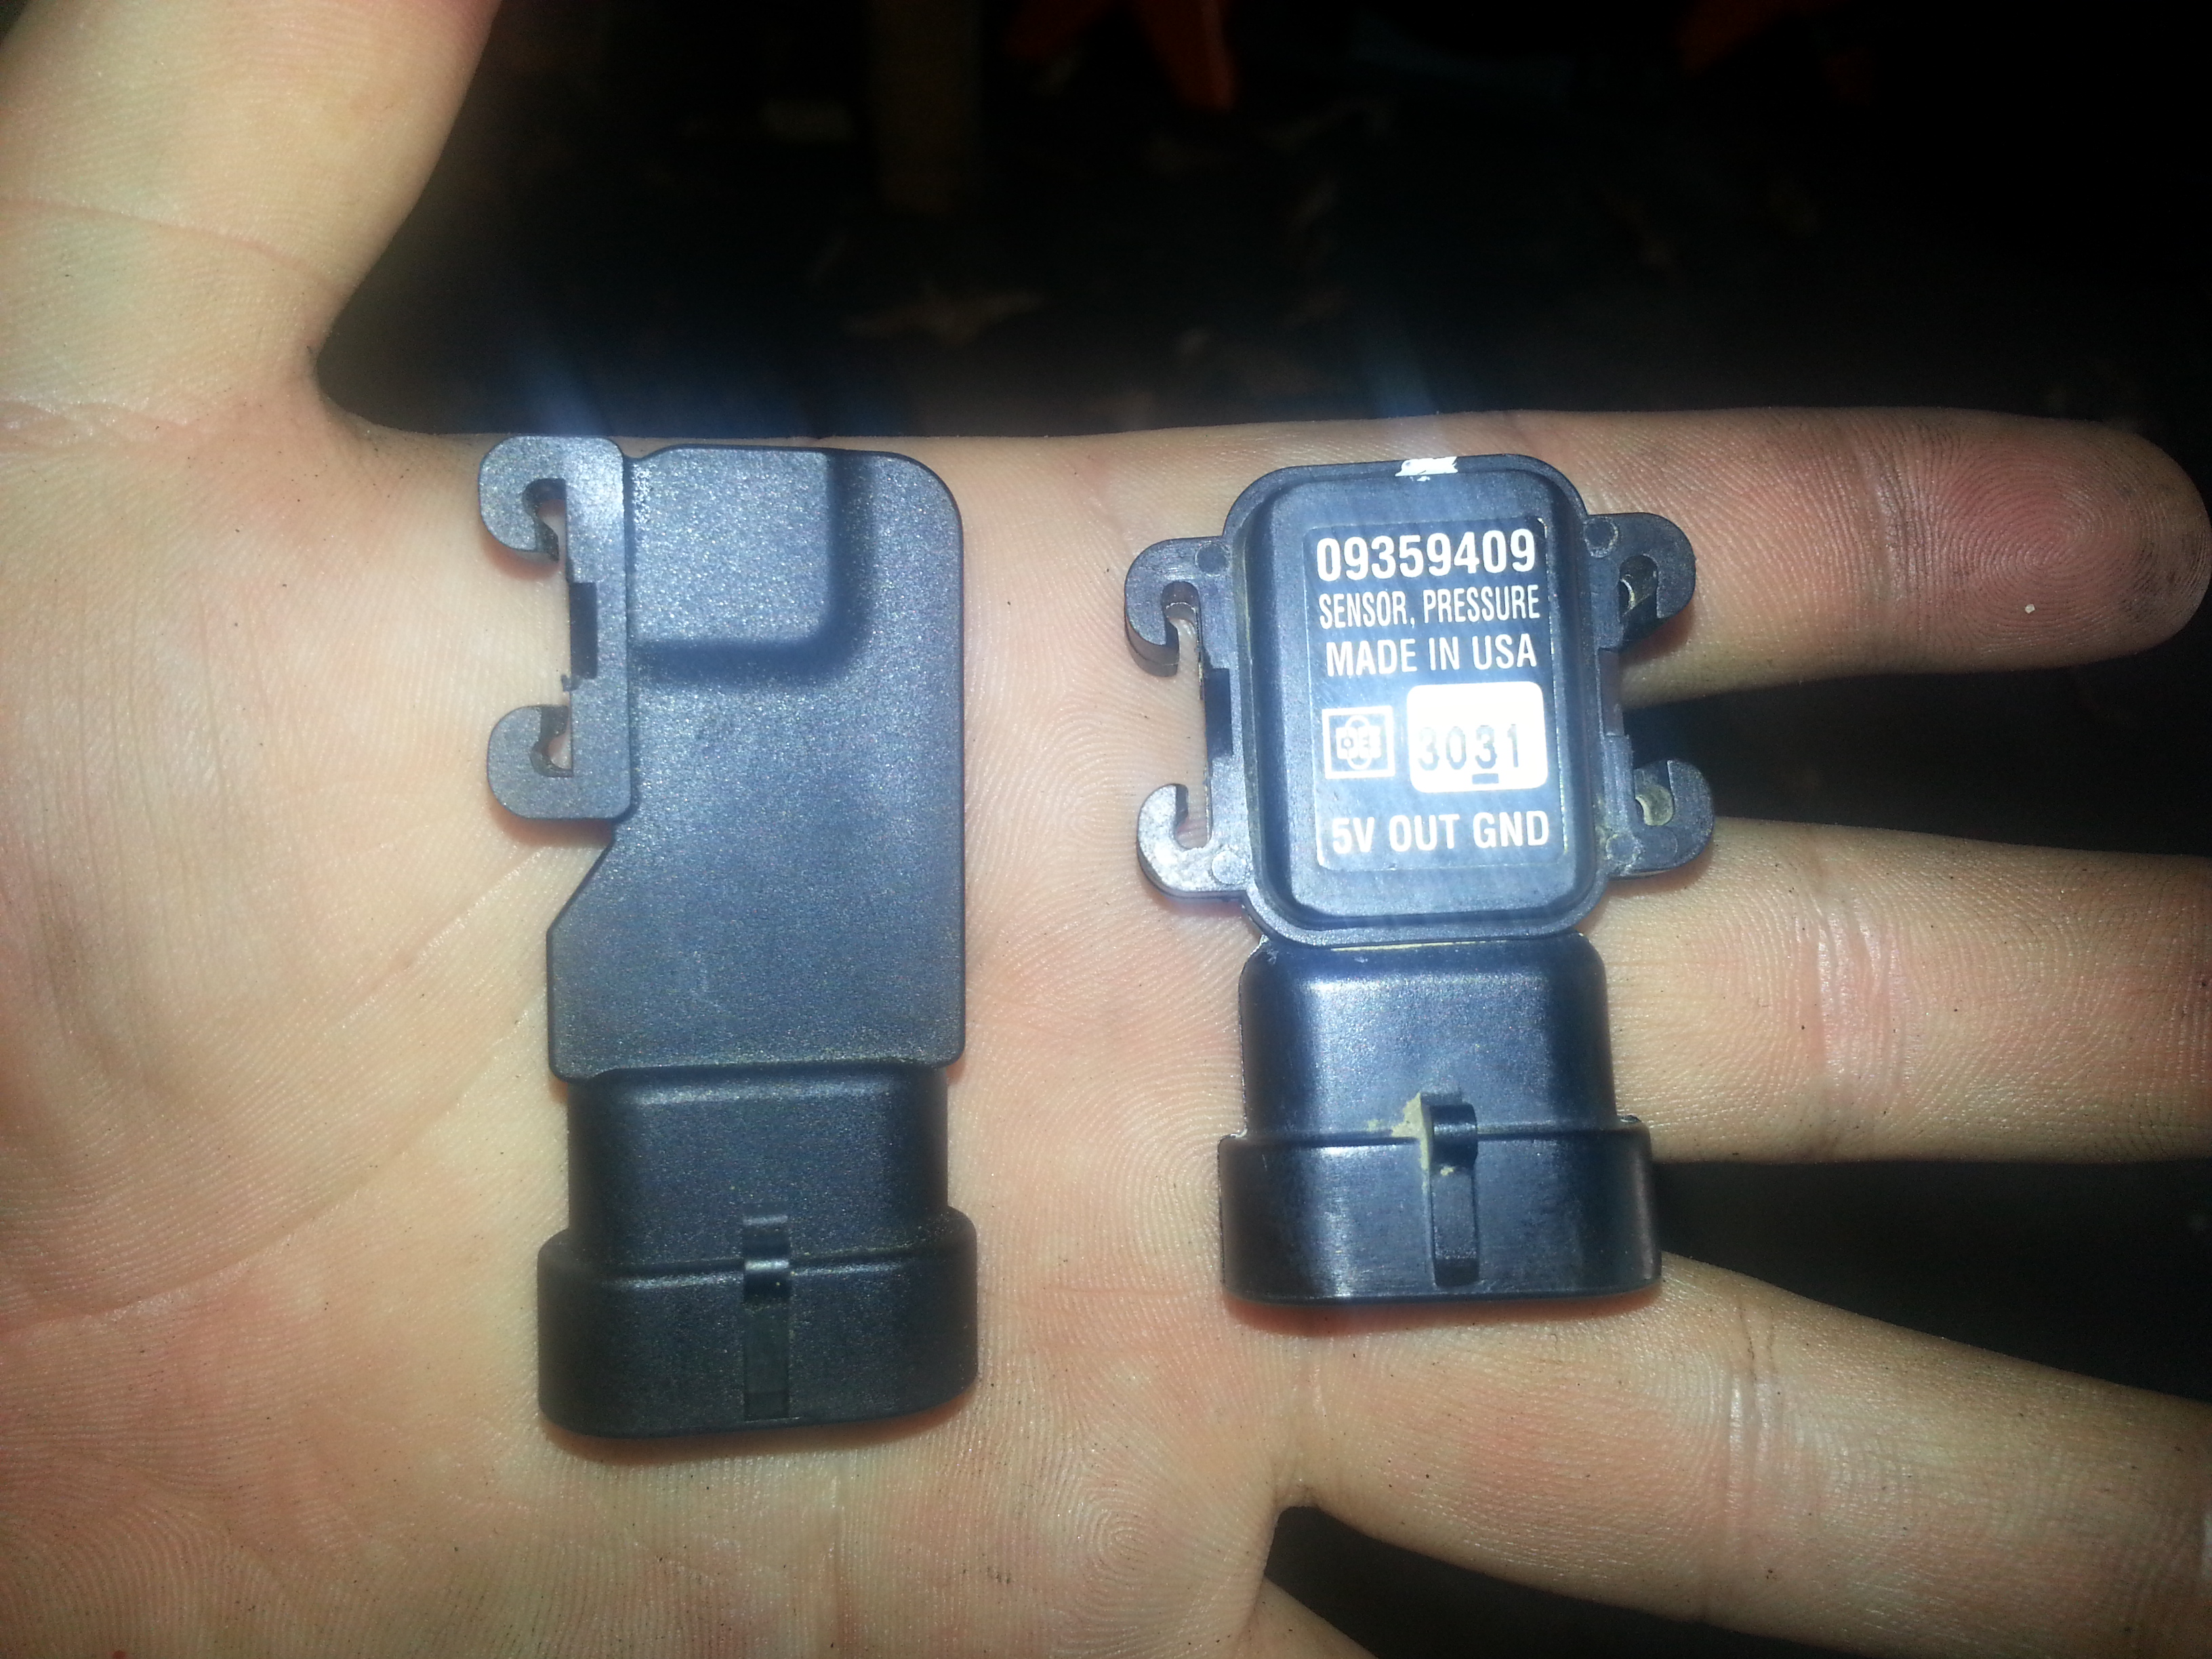
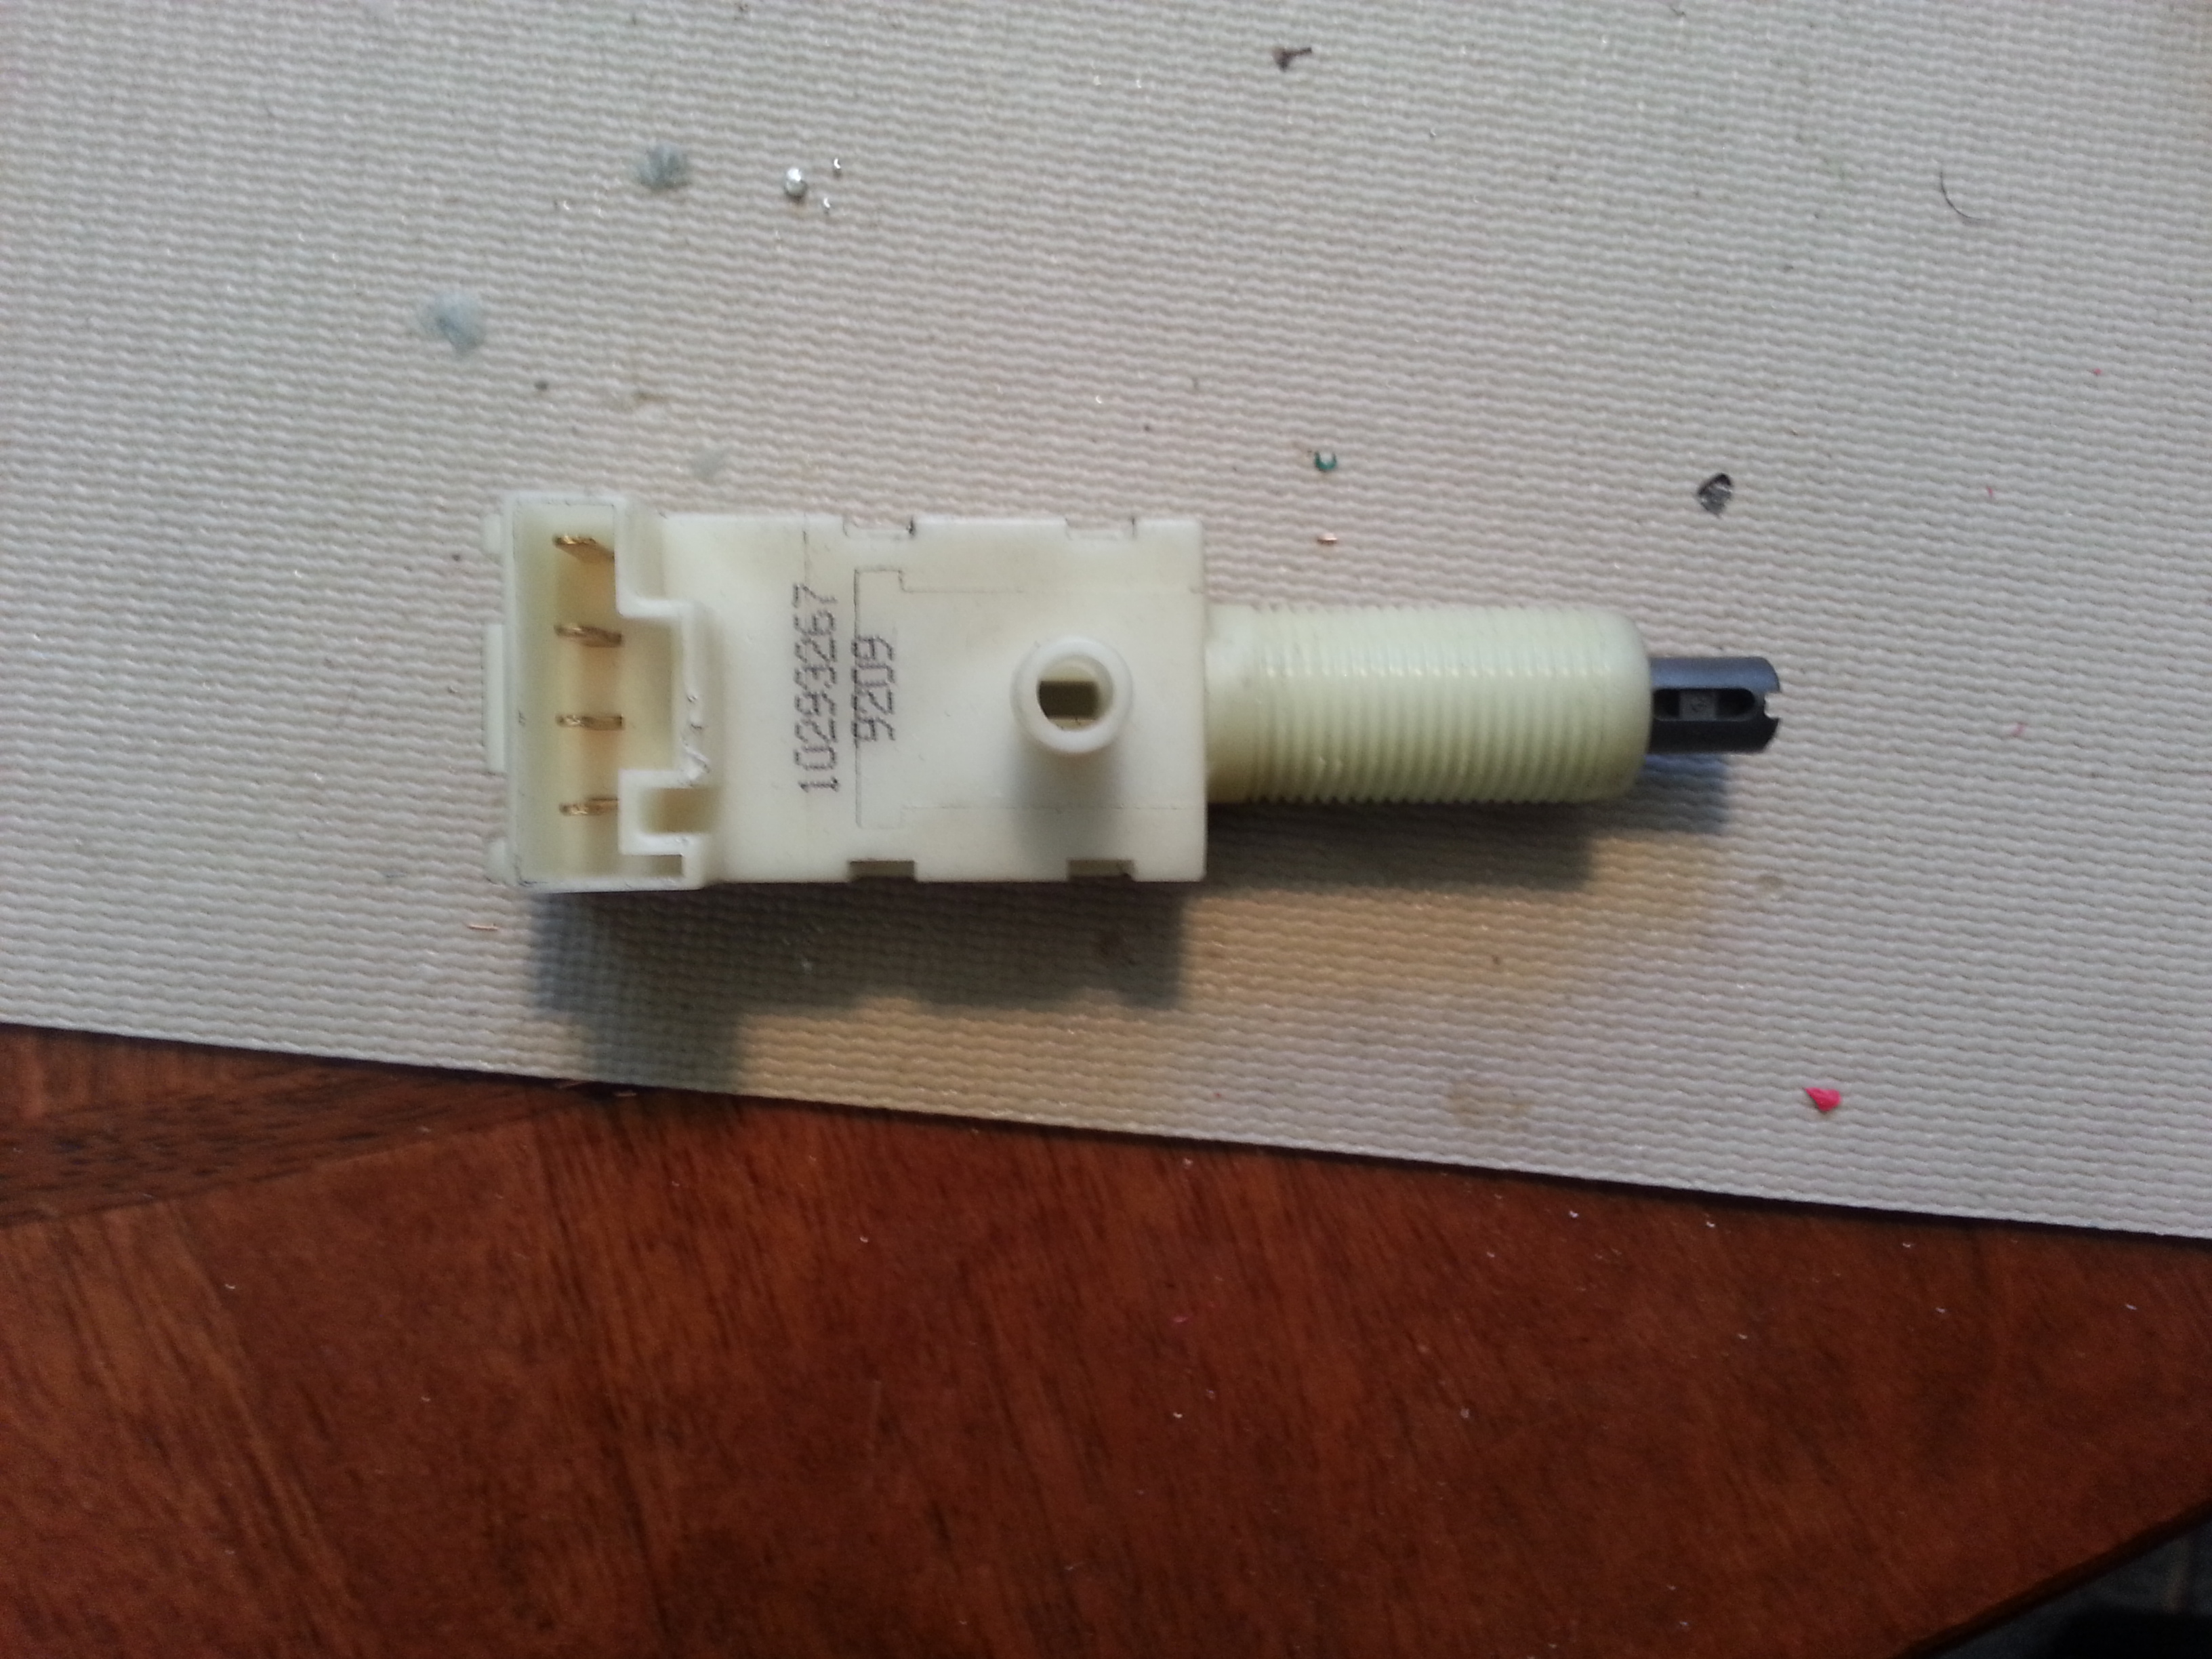
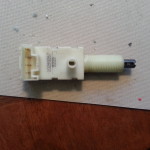
Factory M6 clutch switch.

Factory Clutch Switch


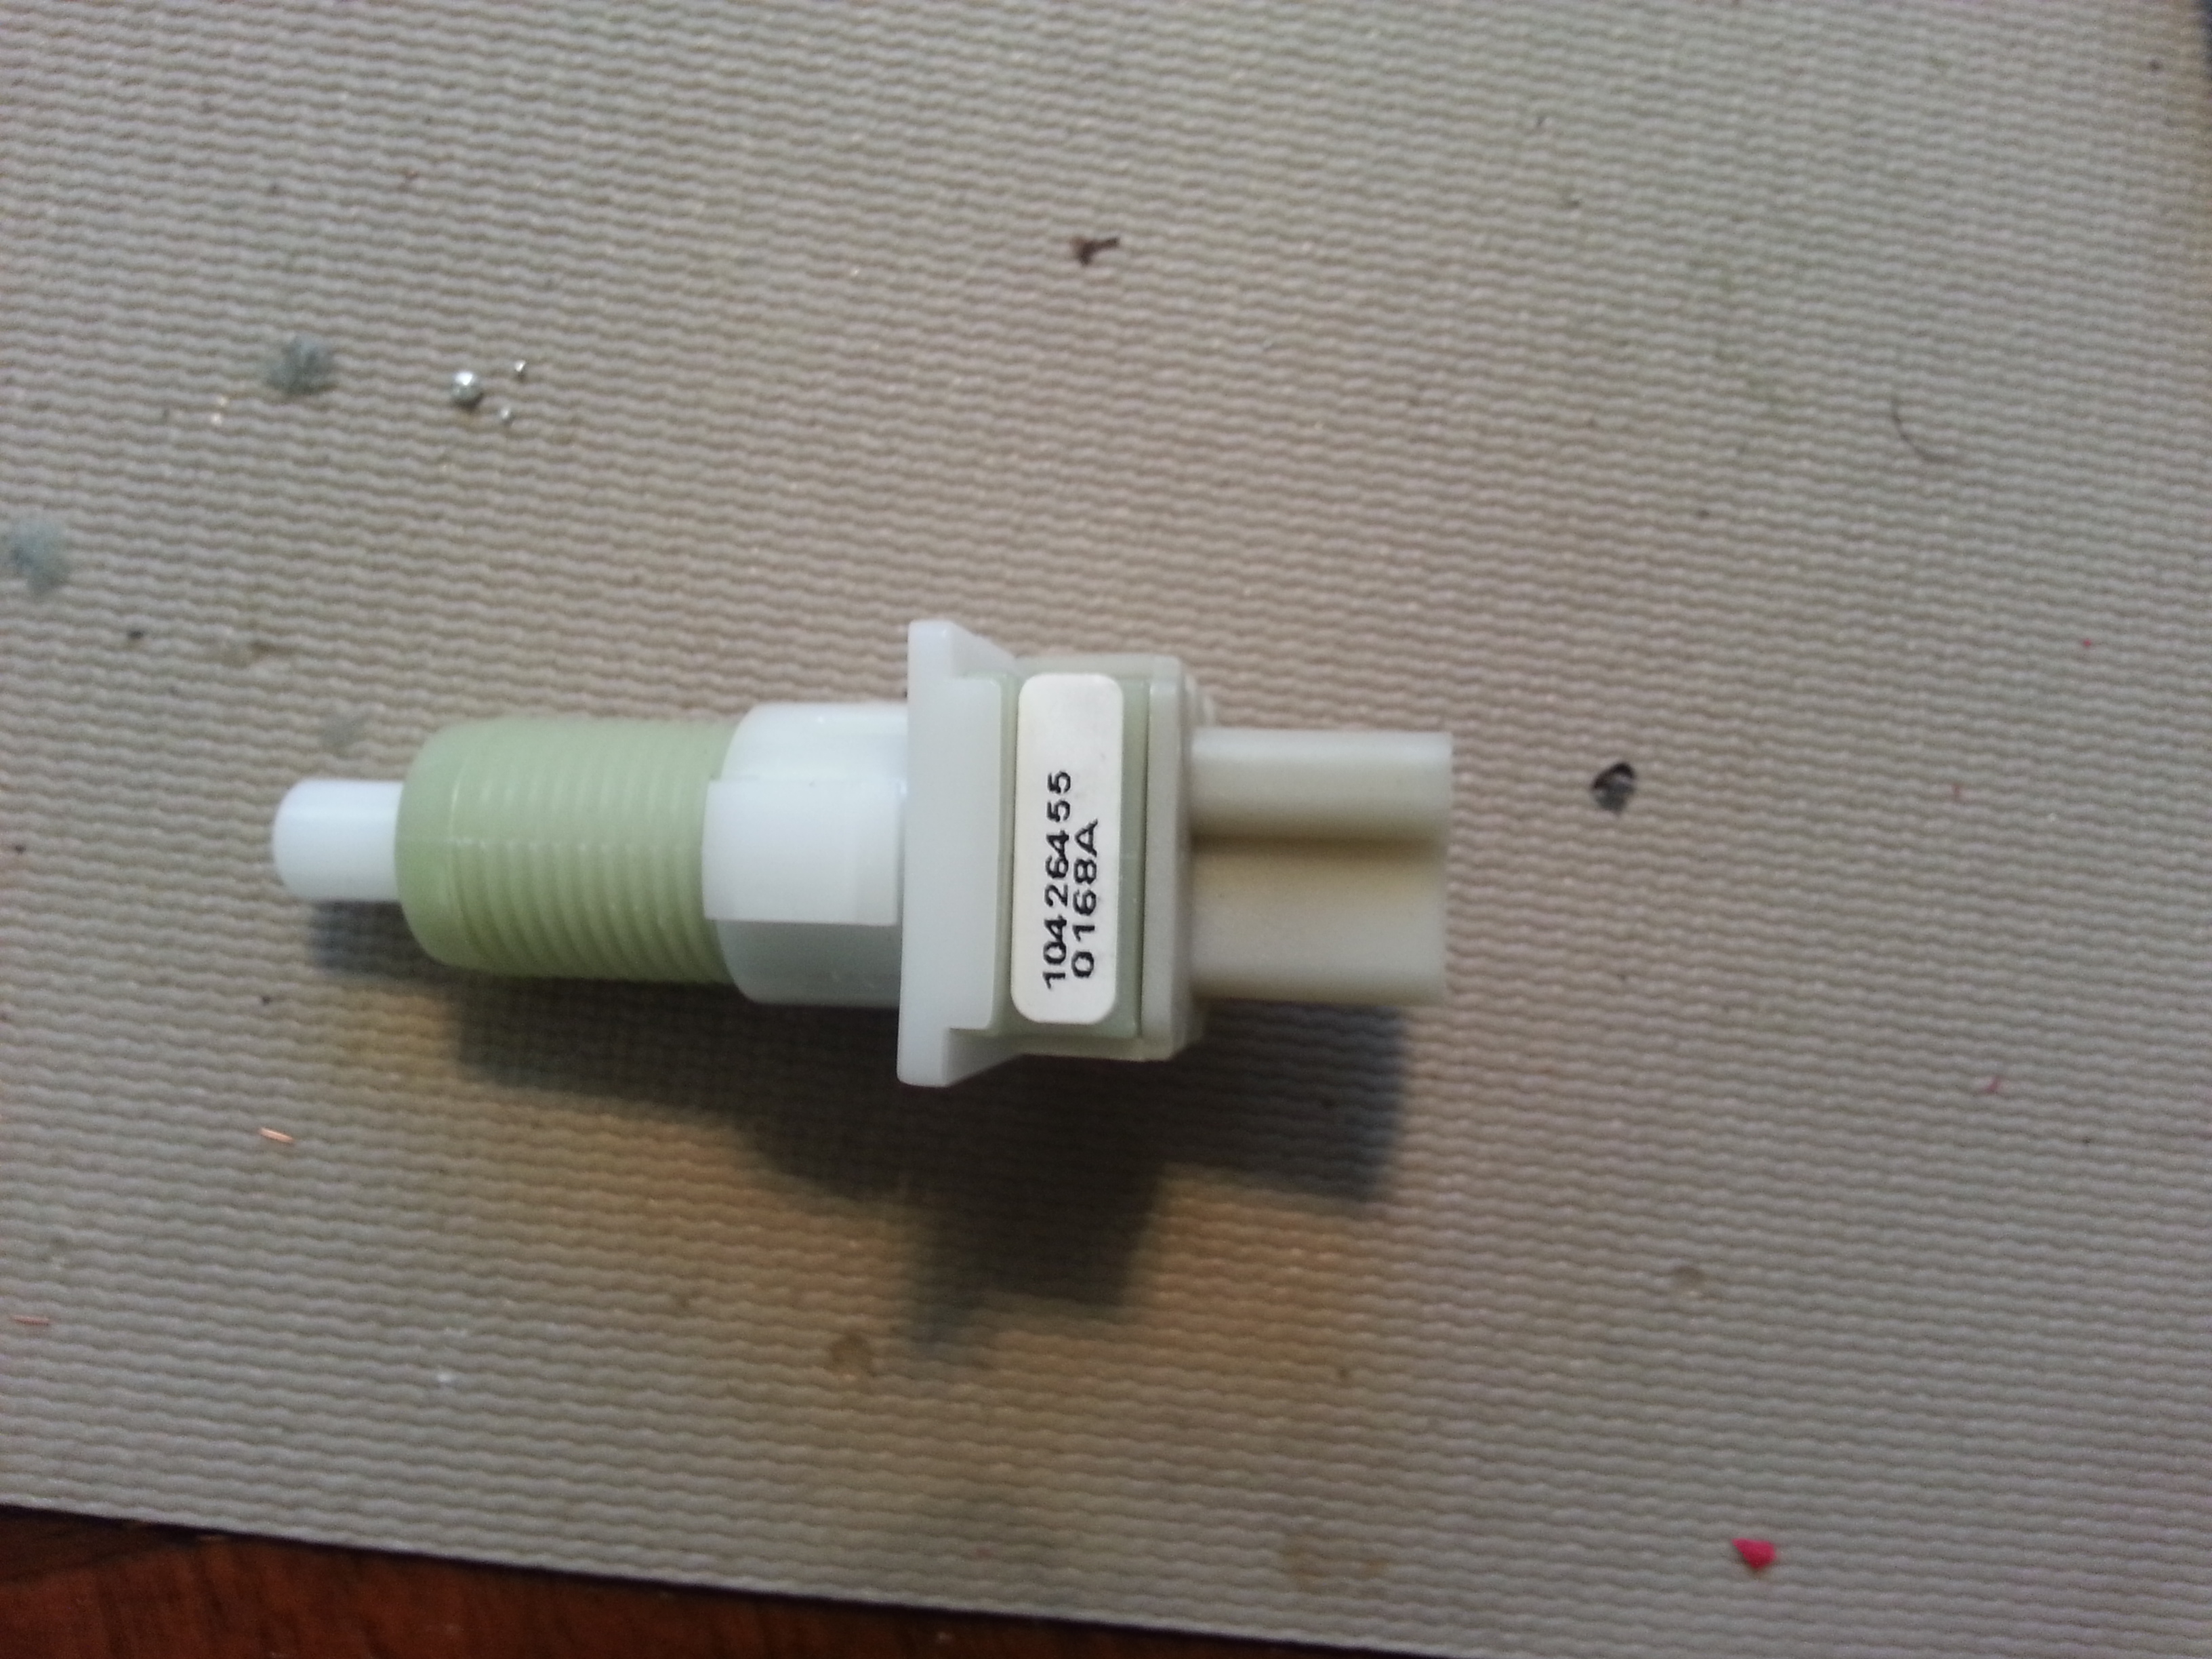
And here is the brake switch that I replaced it with.

New Brake Switch


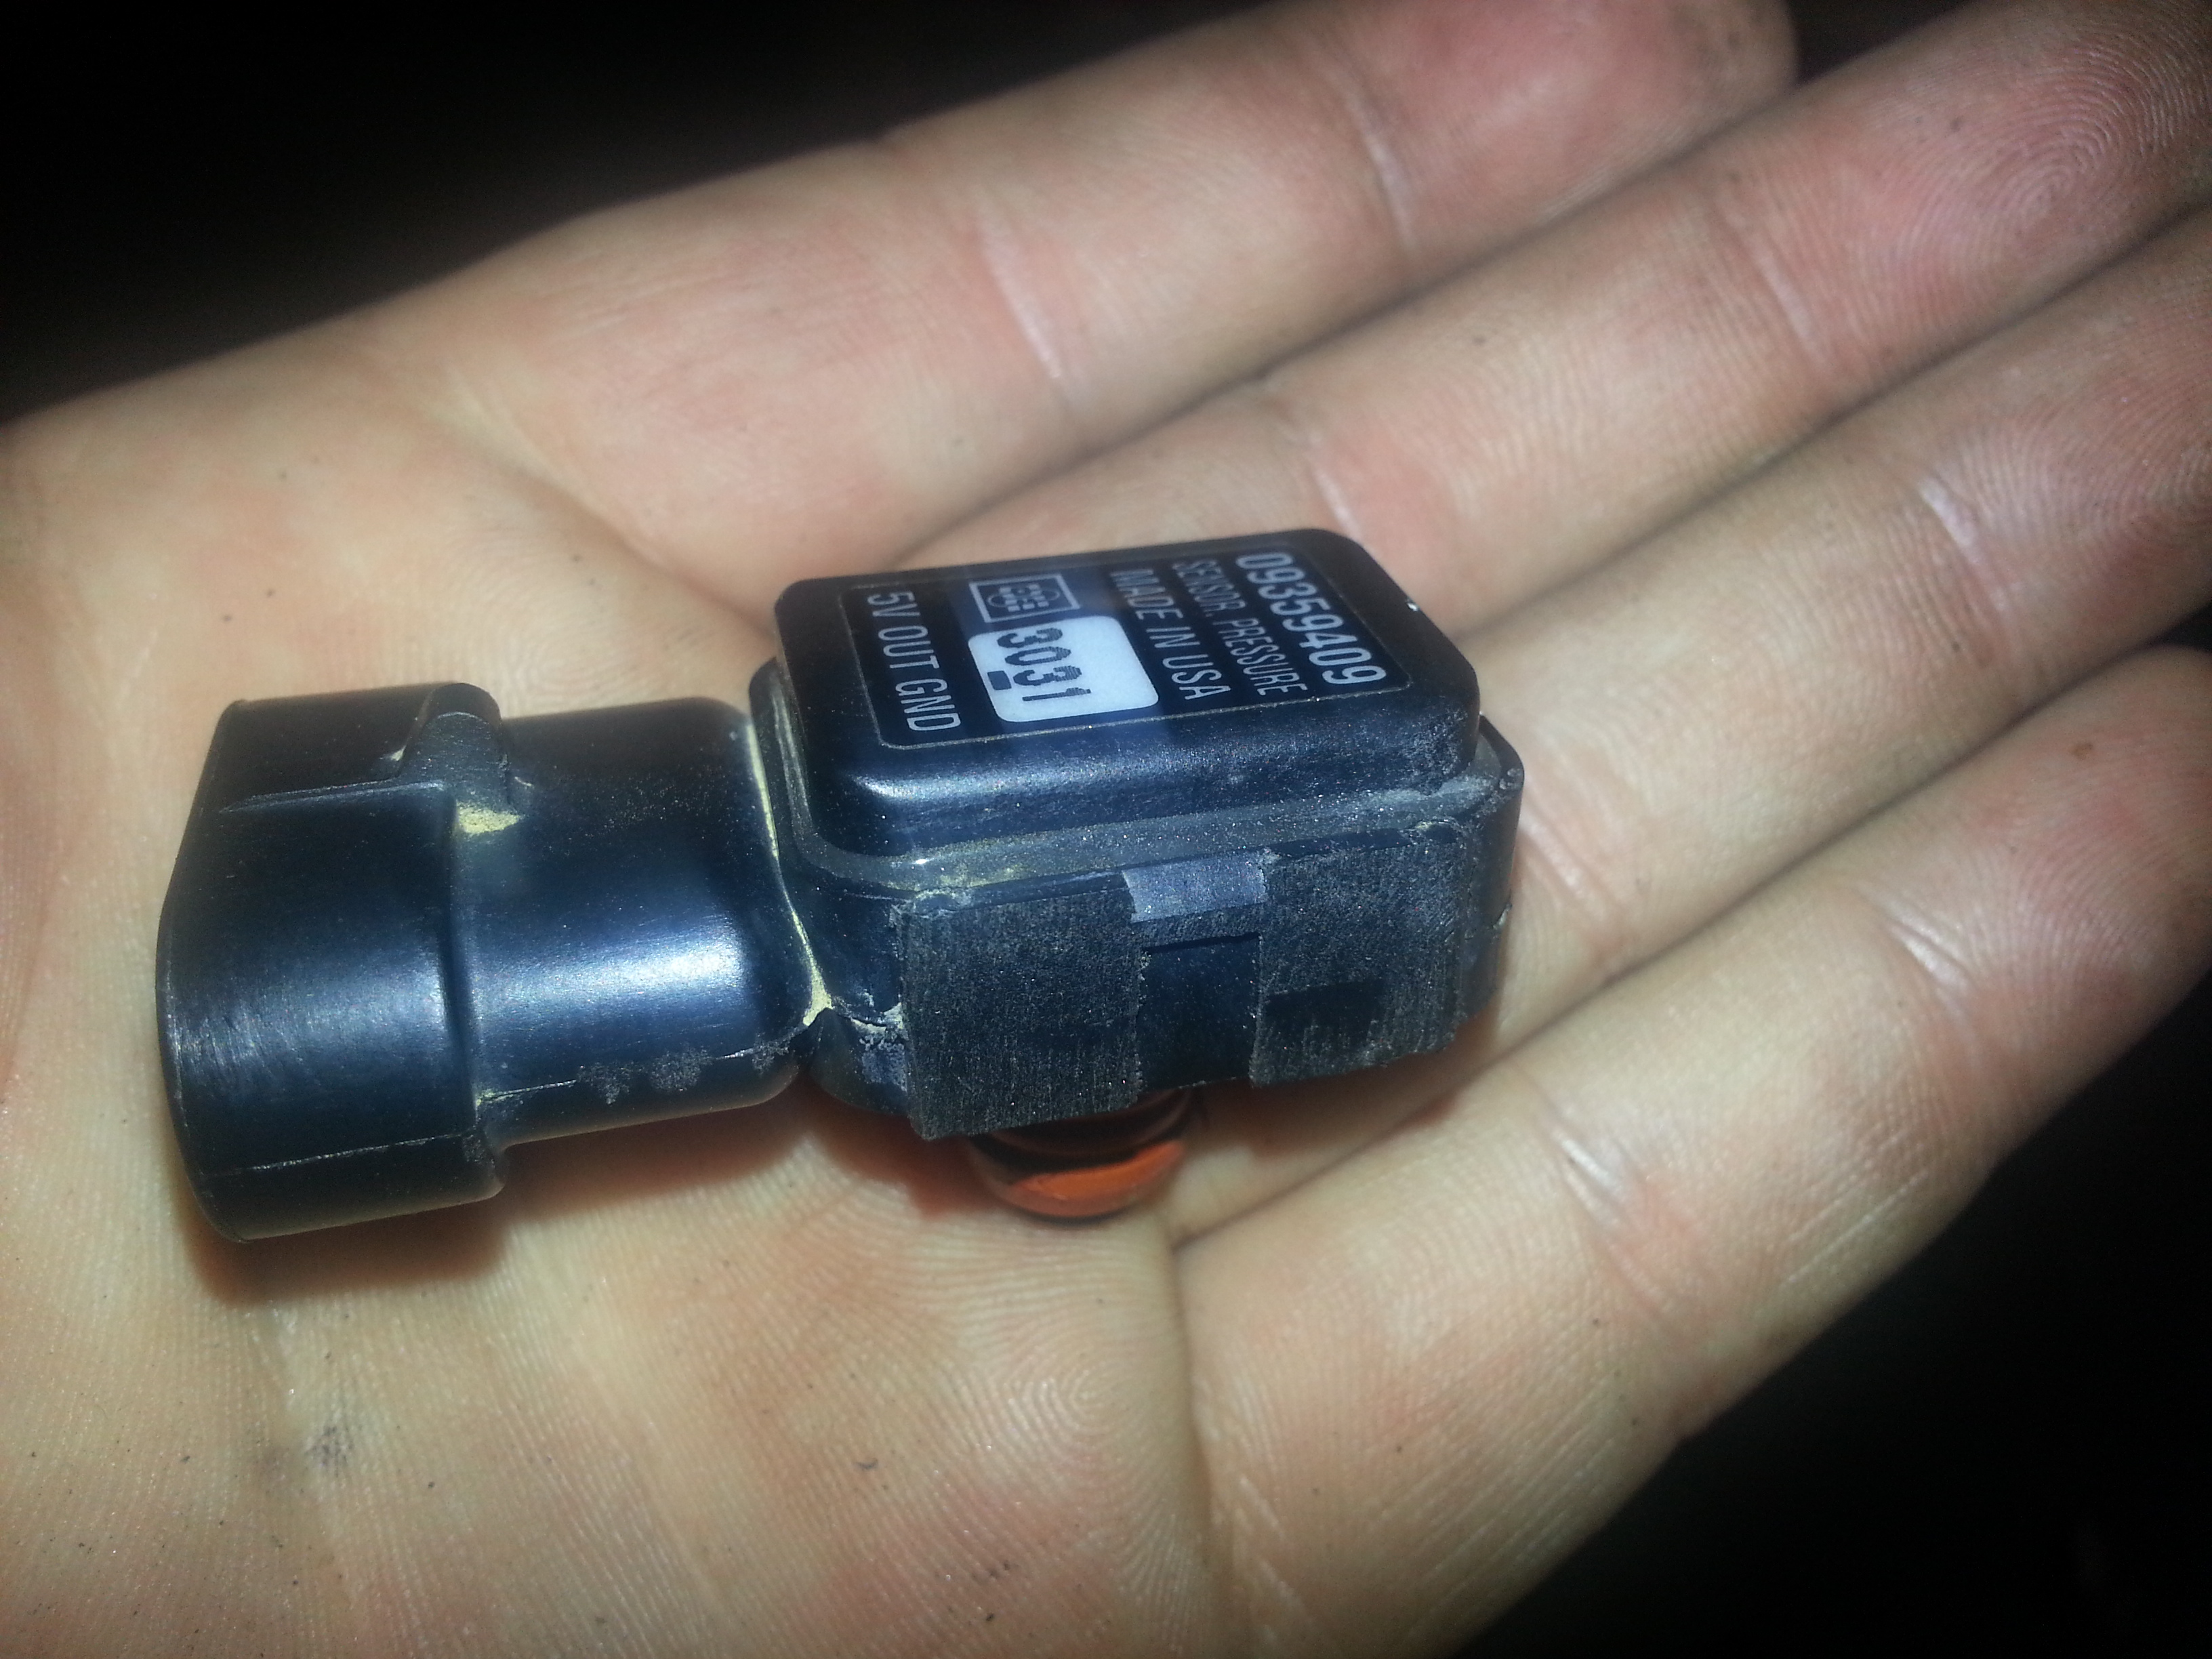
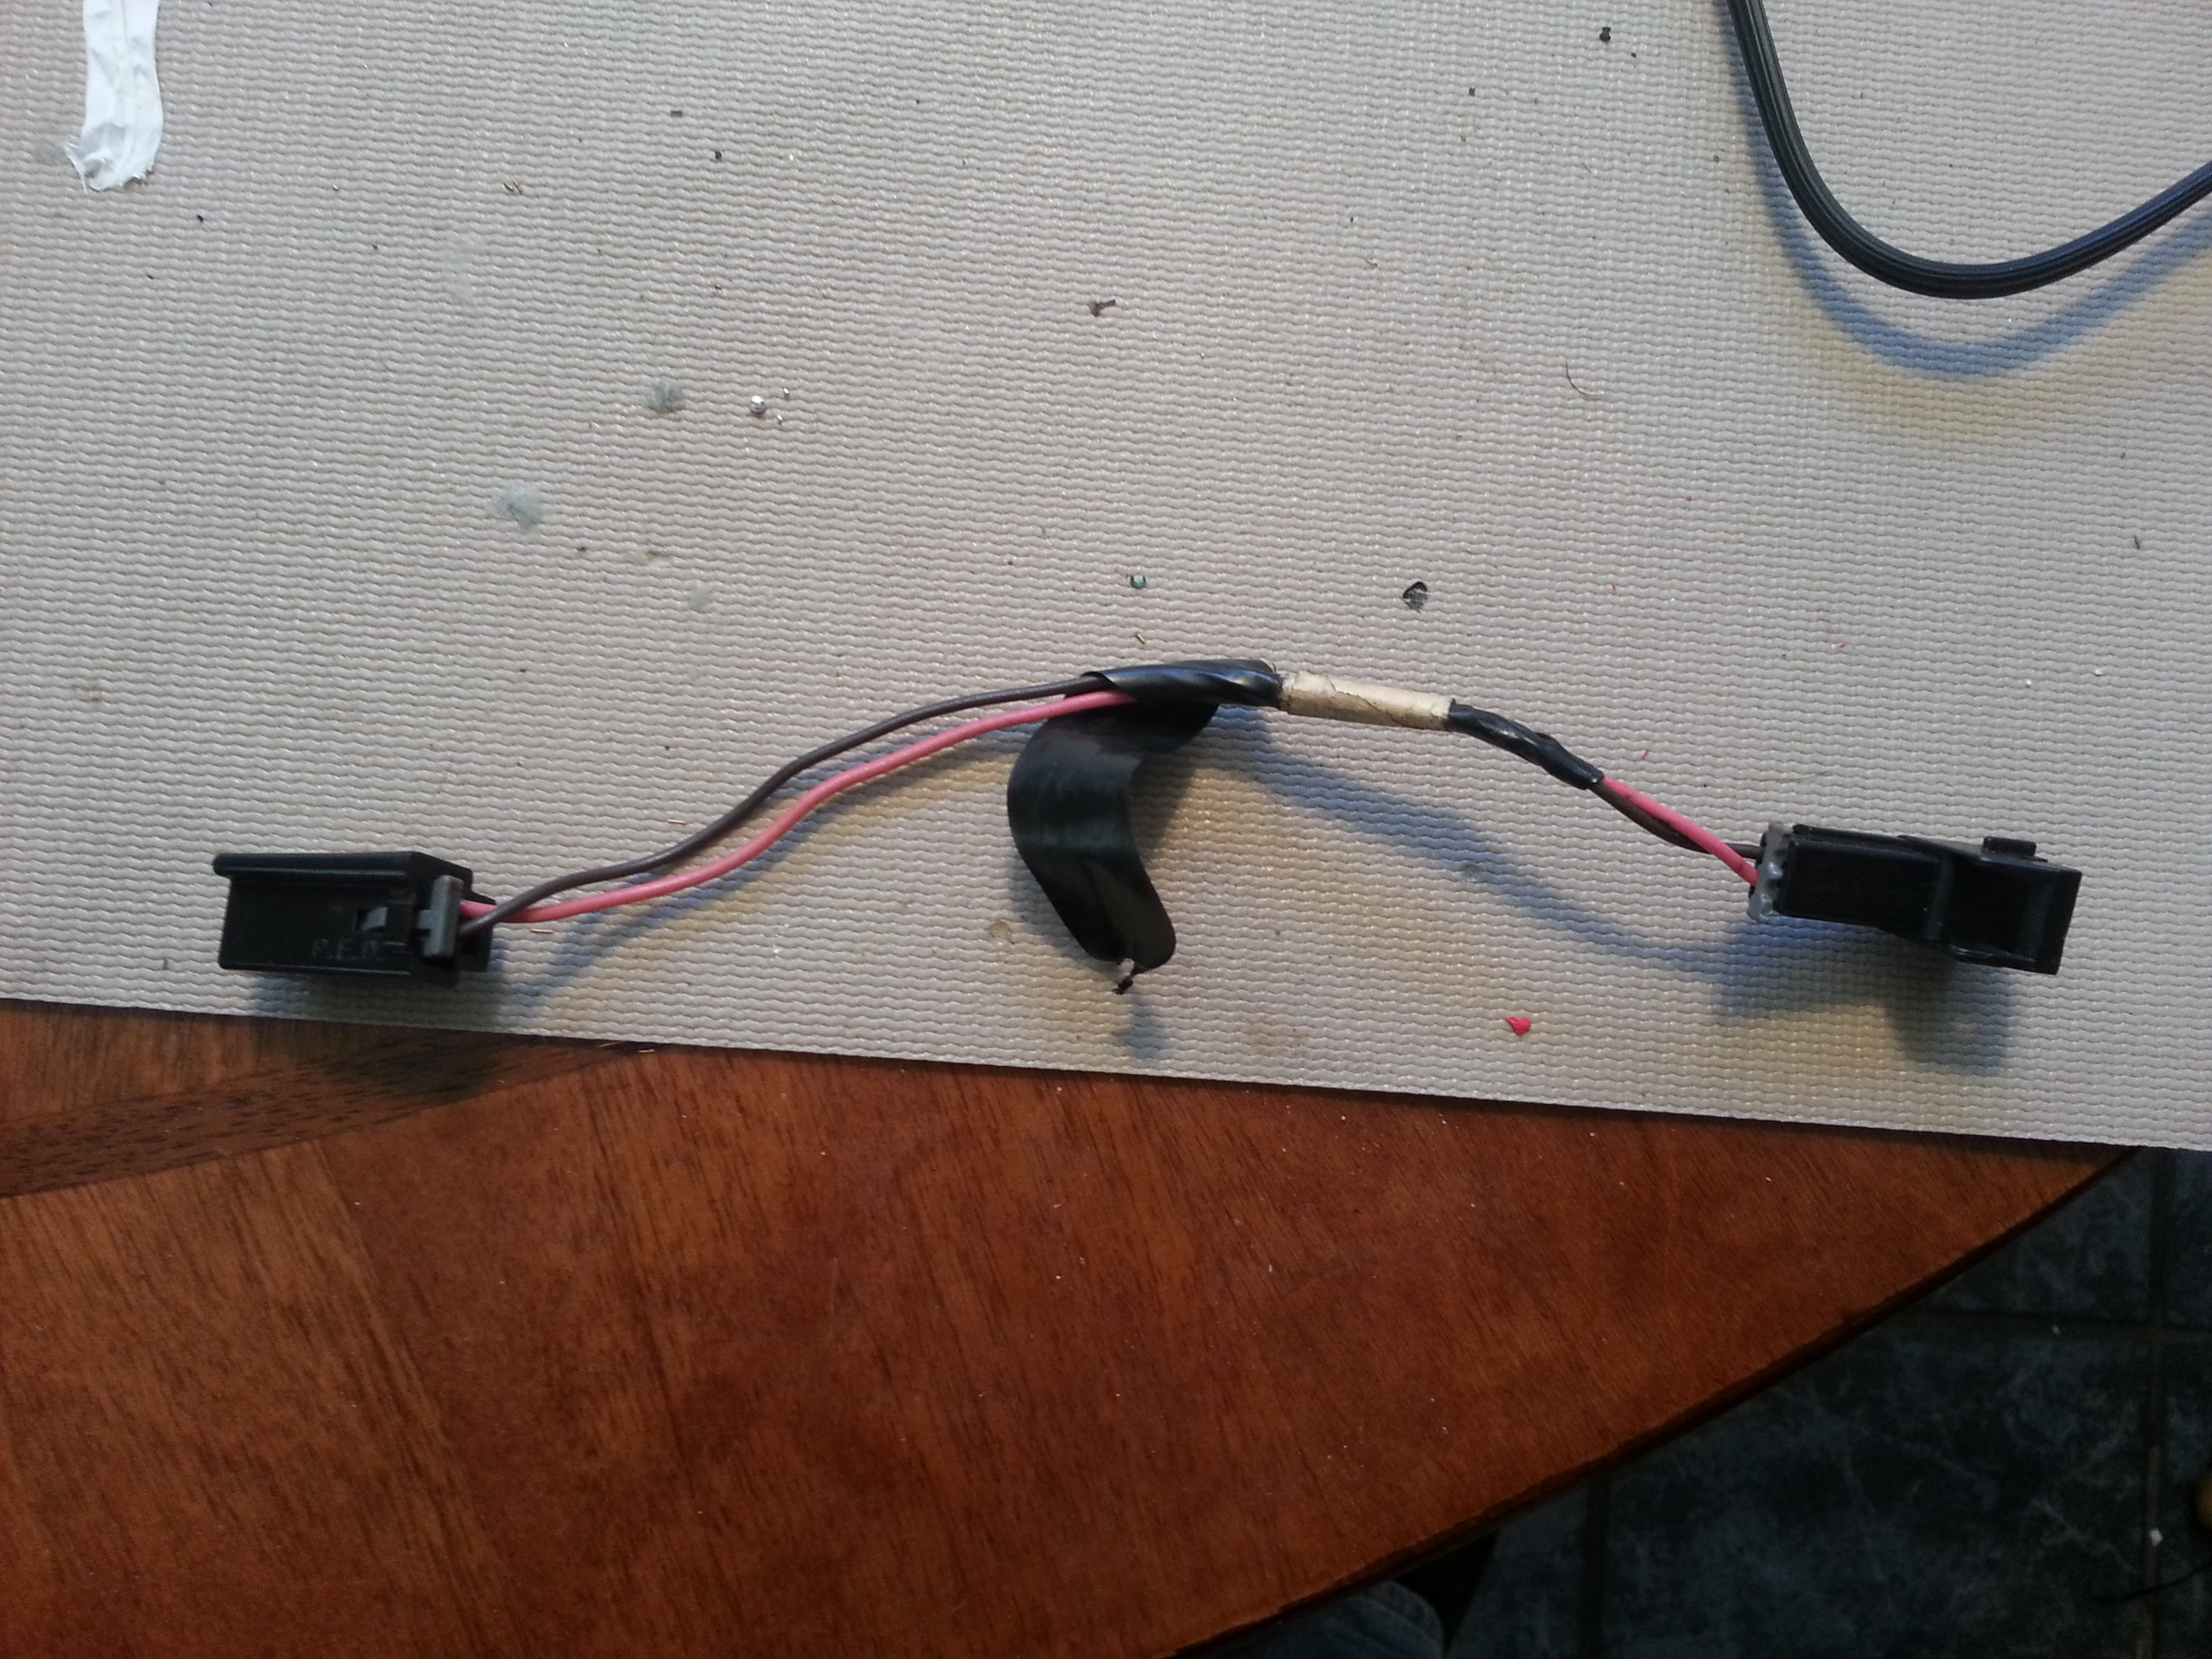
Here is the A4 factory pigtail that goes to the brake switch.  I don’t know why it was wrapped in electrical tape that was then wrapped with masking tape as neither wire had been cut.

Brake Pigtail

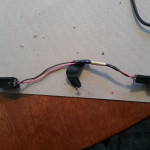
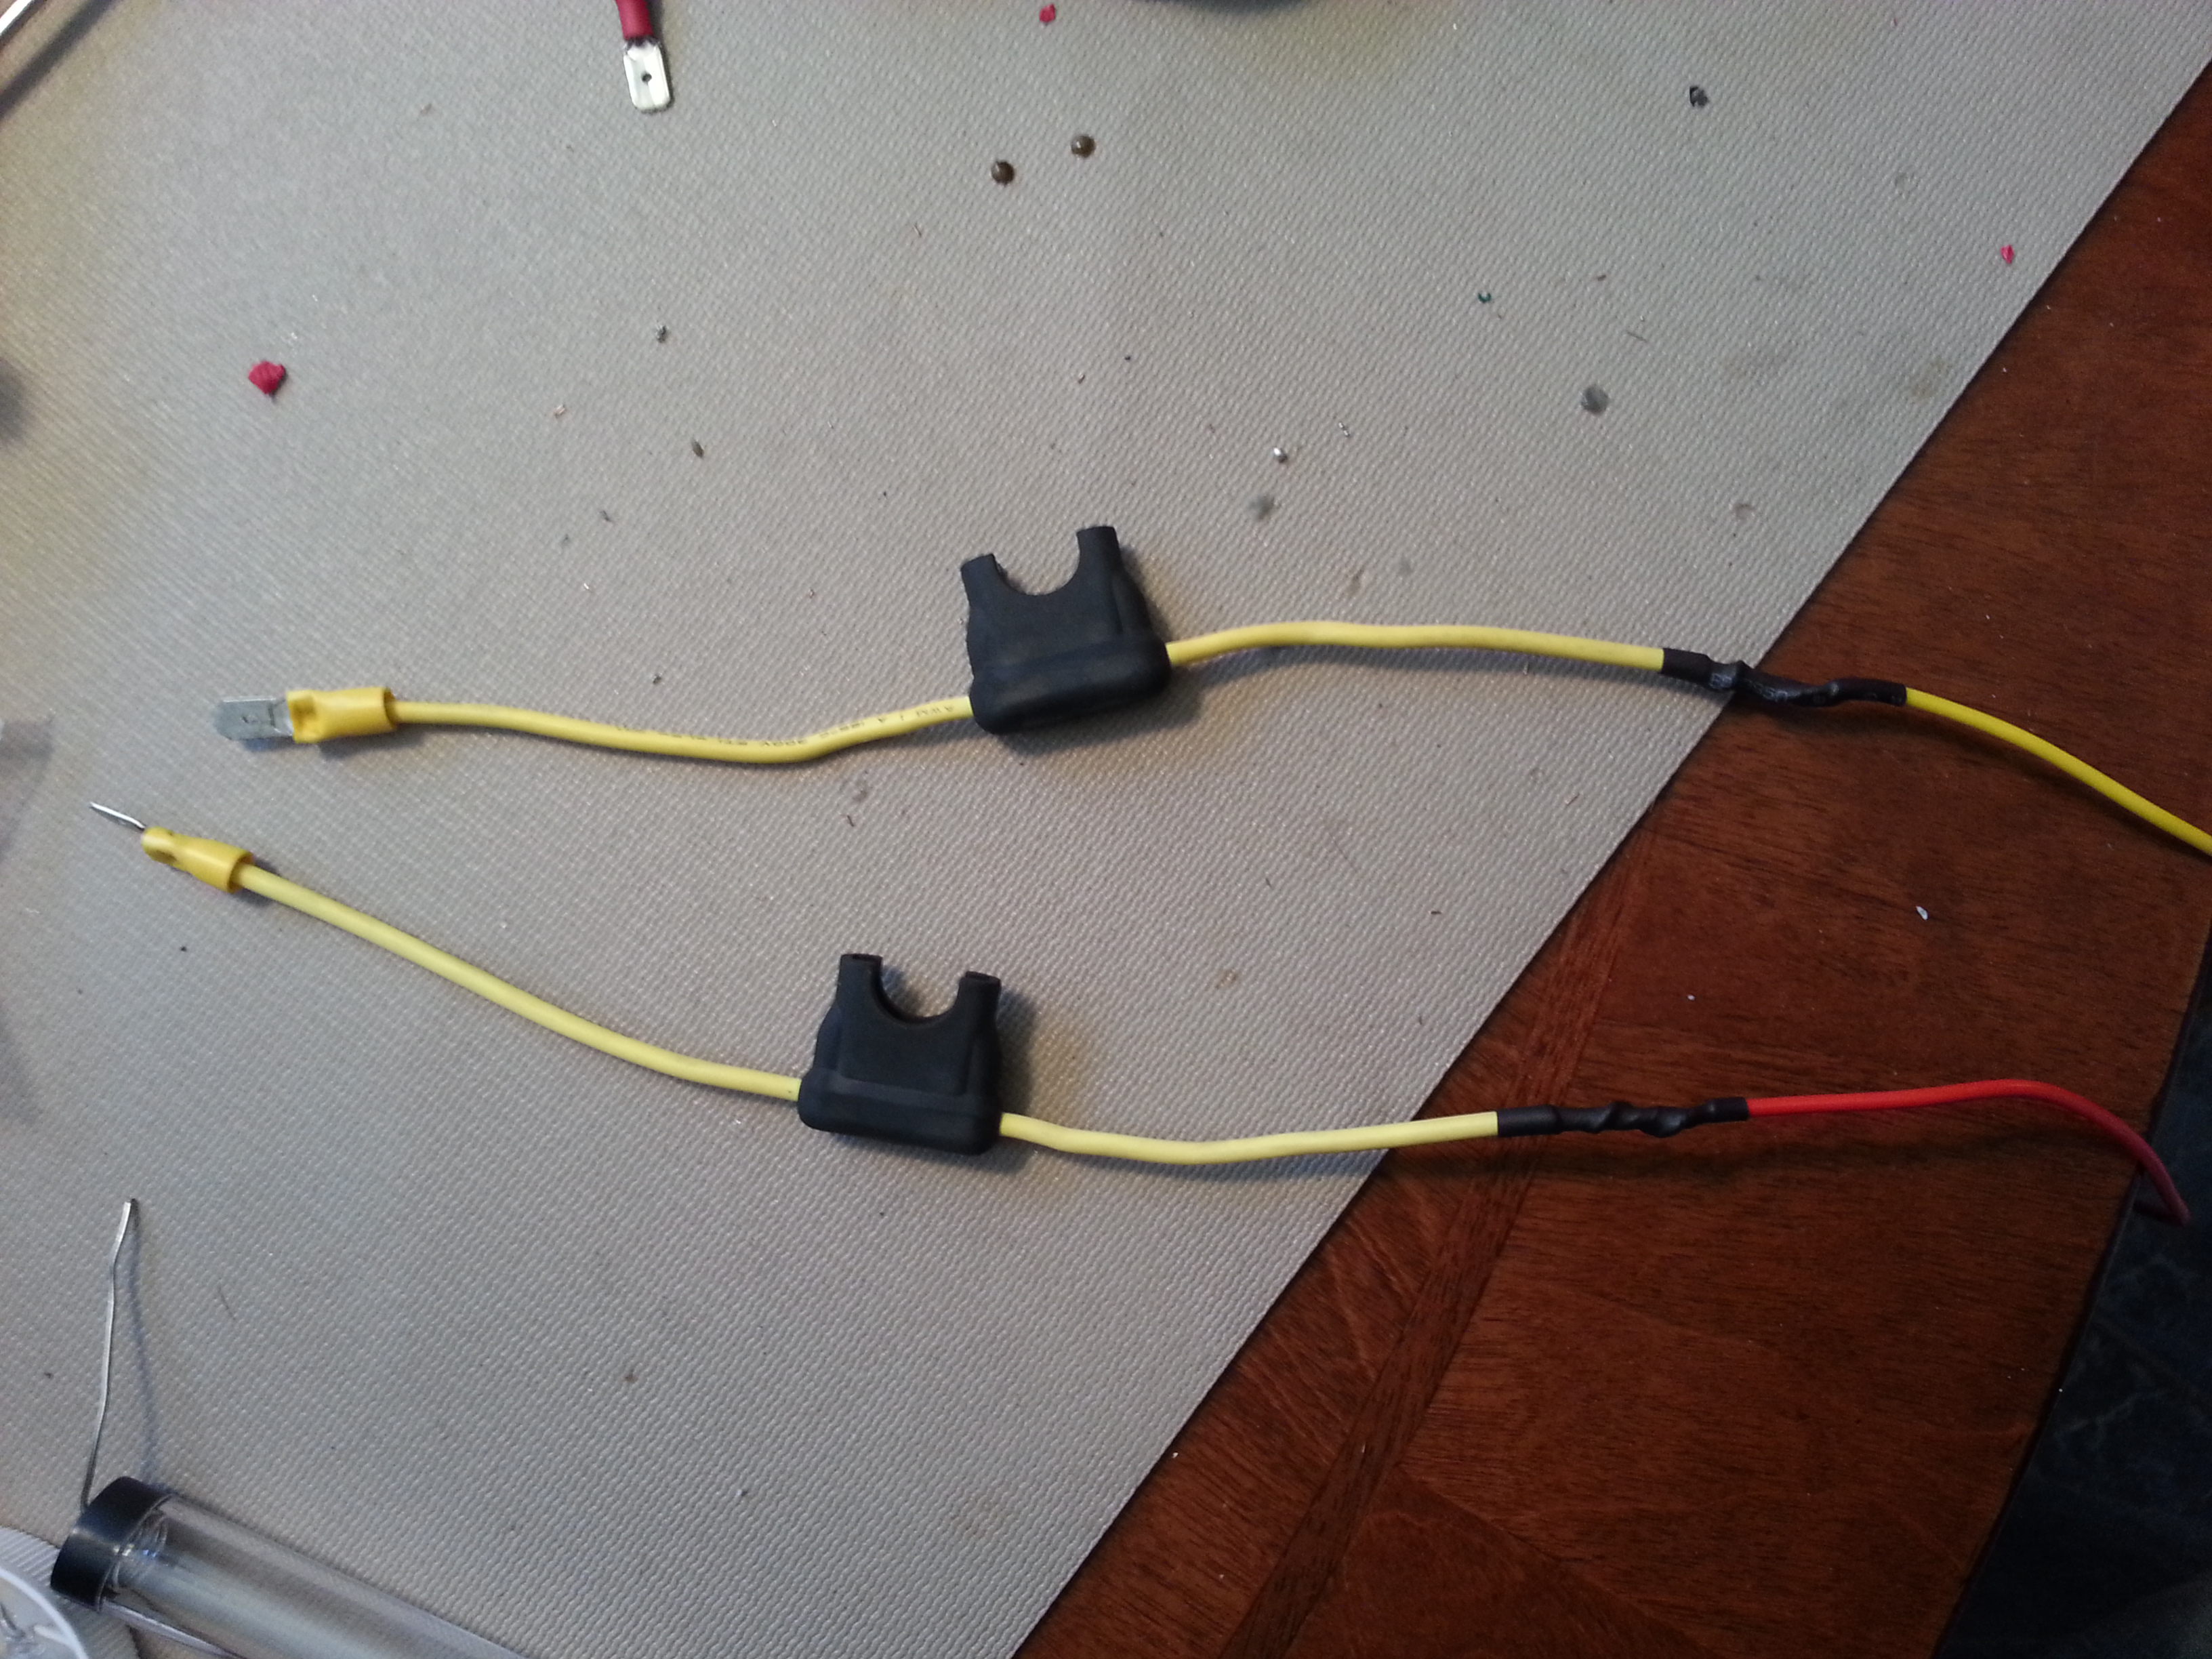
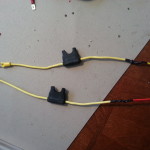
Now, GM does sell a split pigtail that will run to both the clutch and brake from the single pair but as usual it is expensive.  So instead I decided to make my own.  I snipped the brown wire on the pigtail and soldered the new pigtail in series so that it should act as a single circuit now.  I haven’t had the chance to test it yet but this should allow both the brake and clutch to turn off cruise control.

With that done I went to working on the gauge pod.  I ditched the lame expansion fuse holder that plugged into the block and then had other fuses attach to it and instead went with some inline fuse holders.  I soldered them into the harness with male disconnects on the end that I plugged into the block sections that were intended for aftermarket power needs, then outfitted them with 3 amp fuses

Inline Fuses


After feeding everything back through the dash and bolting the pillar pod up, I found that the existing hole that I drilled in the firewall was too small to accommodate the new vacuum hose that needed to be run in addition to the other sender wires.  Pulled the grommet out and re-drilled it up to 1/2″ then found another grommet that fit the new hole and we were in business.  I also chose to upgrade the wires for the water temp sender as well.  It previously only had about 6 inches of lead with this pain in the ass bullet style connectors that were next to impossible to get connected right once the sender was in the head.  So I snipped them off and for the ground, just wired in a few feet of cable that runs straight to a ring terminal and no more disconnects.  For the signal cable I also soldered in a few feet of wire that ended in a spade disconnect that is much easier to access and soldered the corresponding disconnect onto the gauge signal wire.  Installing the vacuum hose turned out to be the most time consuming part of the job.  For starters it took a great deal of effort and cursing just to get the hose onto the supplied T connector.  Then I had to pull most of the top end off just to access the hose that I was going to tap into on the back of the intake manifold.  But with that done I put wire loom on all the signal & ground wires and zip tied them to secure places.

With everything hooked back up I fire her back up.  Aaaaand, the water temp gauge has no power at all and the fuel pressure is pegged out.  The vacuum gauge is working perfectly though.  The fuel pressure is likely a ground issue, I ran into this some with it previously so I will work on that later.  The most irritating part of this is the lack of power to the water temp, this means I will have to pull the whole pod again to troubleshoot the problem.  And I hope it turns out to be something stupid like the plug is not all the way in and not a real wiring issue because I will have to unwrap a crap ton of tape to get to the solder points again then wrap it back up.


Harrowing Hydraulics

So I spent pretty much the entire day pulling the transmission out yet again.  This time it was because of the slave cylinder hydraulics.  On the day after I wrapped up the 6-speed swap, I ran into a problem while backing out of my driveway where the clutch suddenly went rock hard and would not depress.  I tried to asses the situation on the side of the street and couldn’t see anything wrong so I pushed the car back into the garage and put it back up in the air.  After a little investigation I found that the fitting from the master cylinder was not completely seated into the slave.  I thought that perhaps I didn’t seat it all the way when originally connecting it.  So I pushed it back in, re-bled the clutch and then off I went.

Until a few days later when it happened again just trying to back out of the garage.  This time the fitting had been completely ejected from the slave quick connect.  I once again put it back in and made sure I heard the click signaling that it was where it was supposed to be.  For piece of mind I tossed a few tools and a small floor jack in the trunk then went off to my folks for dinner.  When leaving for the night I decided to take a cruise across the reservoir spillway and the long way home.  I was turning at a red light and as soon as I shifted out first I lost the clutch again.  This time it had been less than 20 miles total.  I managed to coast it into a mostly deserted parking lot where I pulled out the tools to try and fix it.  Dark lots, hot exhaust pipes and trying to work on your transmission at night don’t make for a very good combination.  I managed to get the fitting back in but not before burning my forearm a few times on the exhaust.  The clutch was a bit spongy since I wasn’t able to bleed the clutch again as I did not being any fluid with me.  I was able to limp it home however and there she was locked up yet again until I could get this sorted out.

I went looking around in some forums to see anyone else had seen this issue before and came up mostly empty.  I did connect with one guy however that had some trouble with the quick connect not staying on in the past and he simply replaced the fitting with an aftermarket setup.  The common factor in both cases however, was a quick connect fitting that used a metal clip to retain the male section of the fitting rather than the small metal fingers that OEM slaves used.  The more I thought about it, the more it made sense to me that the clip was probably flexing under the additional pressure of my aftermarket master cylinder causing it to lose grip on the connection.  I found another guy on LS1Tech who had an OEM style quick connect that he didn’t need so I picked that up from him and thought I would give that a try instead of dropping more money on an OEM style slave.

Here is a side by side comparison of the two styles of quick connects.  On the left is the crappy one that came with a duralast slave from the local parts store, you can see how the metal clip would be a definite weak link to retaining the connection.  On the right is the OEM style of retaining fingers that will not allow the connection to separate without being depressed first.

Slave Quick Connect Comparison


So I spent a few hours pulling the exhaust and transmission to get to the slave so that I could spend all of 30 seconds replacing the quick connect fitting.  Then another few hours putting it all back together again.  But it’s done and I went cruising around in it some today making plenty of regular shifts and some hard ones to see if it was going to hold.  So far, so good.  I’m going to keep the tools in the trunk for a little longer however to to make sure.  Maybe after a few hundred miles without an incident I’ll feel good enough to leave them at home again.

And I still haven’t gotten around to buffing the repainted headlight door yet but the assembly was replaced and that’s all working good again as well.


The Headlight Saga Continues

So I went ahead with contacting the ebay seller about the issues I found when installing the headlight.  They responded pretty quickly and offered some solutions, though none were to just give me a quick discount.  So we talked a little and since this was the only assembly with a red door we agreed for me to pull the door, then send the rest of the assembly back.  I came home friday evening from work, pulled the part back out and boxed it up to drop off at fedex.  I’m hoping to have the replacement by mid to late this week so I can get back on the road.

In the meantime I decided to try my hand at repairing the damage to the door that was ripped off by the trash can.  It had some pretty deep scratches going down into the metal on a couple spots.  I wasn’t aiming for this to be an oem level job, just something that was better than it currently was.

I started by sanding the old paint off.  In hindsight, I should have taken the entire door down to metal instead of leaving a good deal of the original primer coat on as you can see the rough grit sandpaper gouges in the original primer if you look closely.  This became more evident after the new primer coat was applied and I really didn’t feel like re-sanding it all over again.

Headlight Door Sanded


I then wiped it down with alcohol to remove any residues and hit it with a few coats of primer.  Let it dry then gave it a few swipes with 2000 grit paper, another alcohol wipe and a few more coats of primer.

Headlight Door Primed


After the last primer coat dried I gave it another once over with 2000 grit and one last wipe down.  I then proceeded to the paint phase.  I picked up some Duplicolor Perfect Match from Advanced Auto to do the job with as this is supposedly the same paint color that is GM OEM.  I went over it with several coats until I was satisfied no primer was showing through, waited a little while and then put on a few coats of clear.

Headlight Door Painted


I’m going to let it cure for a few days and then go at it with some rubbing & buffing compound to see if I can make it shine.  Hopefully once that is all done, it will be at least a close color match for the car.


Auto Eye Surgery

The replacement headlight assembly came in today.  It was a pretty straight forward job of getting it swapped out.  The paint was, as I had figured, pretty raggedy on the replacement.

Replacement Headlight 4 Replacement Headlight 5 Replacement Headlight 6 Replacement Headlight 1


After removing the bezel it was covered pretty good in a thin coat of dried mud so I am fairly certain it is from a car that ran afoul of the ground at some point.  Likely out of a totaled donor, which would explain the messed up paint all around the edges as well.  One of the mounting points for the cover was broken as well causing the door to have a little give on one side.  The wiring harness had also been cut and spiced at some point but I don’t know what the reasoning behind it was and it was done a little sloppily as I could see bare copper on one of the wires.  Taped it up some and will have to come back at a later date to fix that if it causes any issues.

Replacement Headlight 2


Unfortunately while in there, I found some secondary damage to the upper bumper support.  The fiberglass had broken clean through.  This won’t be a high priority fix  as it isn’t really affecting anything and I don’t want to spend more money on this at the moment.

Broken Support


Once it was all bolted up, it was able to open and close without an issue, but there is a bit of a gap issue that I will need to get sorted out for it to look proper again.  It’s about a quarter of an inch too far over on one side.  The lamps that came in it are terrible and are probably stock units.  I’ll have to go pick up some replacements.  Now I have to decide if it is worth contacting the ebay seller about the flawed wiring and broken door support or just let it go.

Replacement Headlight 3


It Never Ends…

If it’s not one thing, it is always another.  I just can not get a break it seems.  I stopped by to visit with my folks some tonight and on the way home, not more than 50 yards after pulling out of their subdivision I come upon this massive freaking trashcan laid out right in the middle of my drive lane and I simply could not move out of the way quick enough to avoid it.  The result is my passenger side headlight is essentially destroyed.  The light itself surprisingly worked all the way home despite having it’s glass shattered and moisture constantly getting on it.  So after just now getting the car back on the road this week I now have to garage it again until I can find a replacement headlight that doesn’t cost me an arm and a leg.

Busted Headlight 1Busted Headlight 2


T56 Swap – First Impressions

It’s been a couple days since I wrapped up the driveline swap in the bird.  I had mostly just put a few miles on it putting around in town while getting back in the hang of driving a stick.  Today I took her to work and while cruising down the interstate doing 75, I was only running at 1500RPM in 6th gear.  By having the auto gearing in the diff, it is going to make for a gas sipper at highway speeds regaining some of those lost MPGs.

I also had the first snafu with the new setup this evening.  I backed out of the driveway and gave it a tap in first to make it up to the stop sign at my corner.  Then all of a sudden the clutch was like a rock and I couldn’t get it into gear.  It was a good thing I was still next to my house so I pushed her back to the driveway and into the garage.  I was dreading that it was the cut rate slave cylinder that I had picked up from Autozone and did not feel like pulling the trans again so soon.  I put the front end in the air and opened the bleeder valve to see if I could relieve some of the pressure.  No go.  I was going to pull the master line out of the slave and check it but when I went to disconnect the fitting, it just popped out without any effort.  I must not have seated it well and I was lucky that it was working at all these past couple days.  Re-seated the fitting and all was good.  Went for a bit of a test drive and no further problems.  I am enjoying being back in a stick shift so far.  I just have to be careful not to blow up the 10 bolt before I have the chance to save up for an S60 rear end.