Monthly Archives: July 2013

Some Prothane Loving

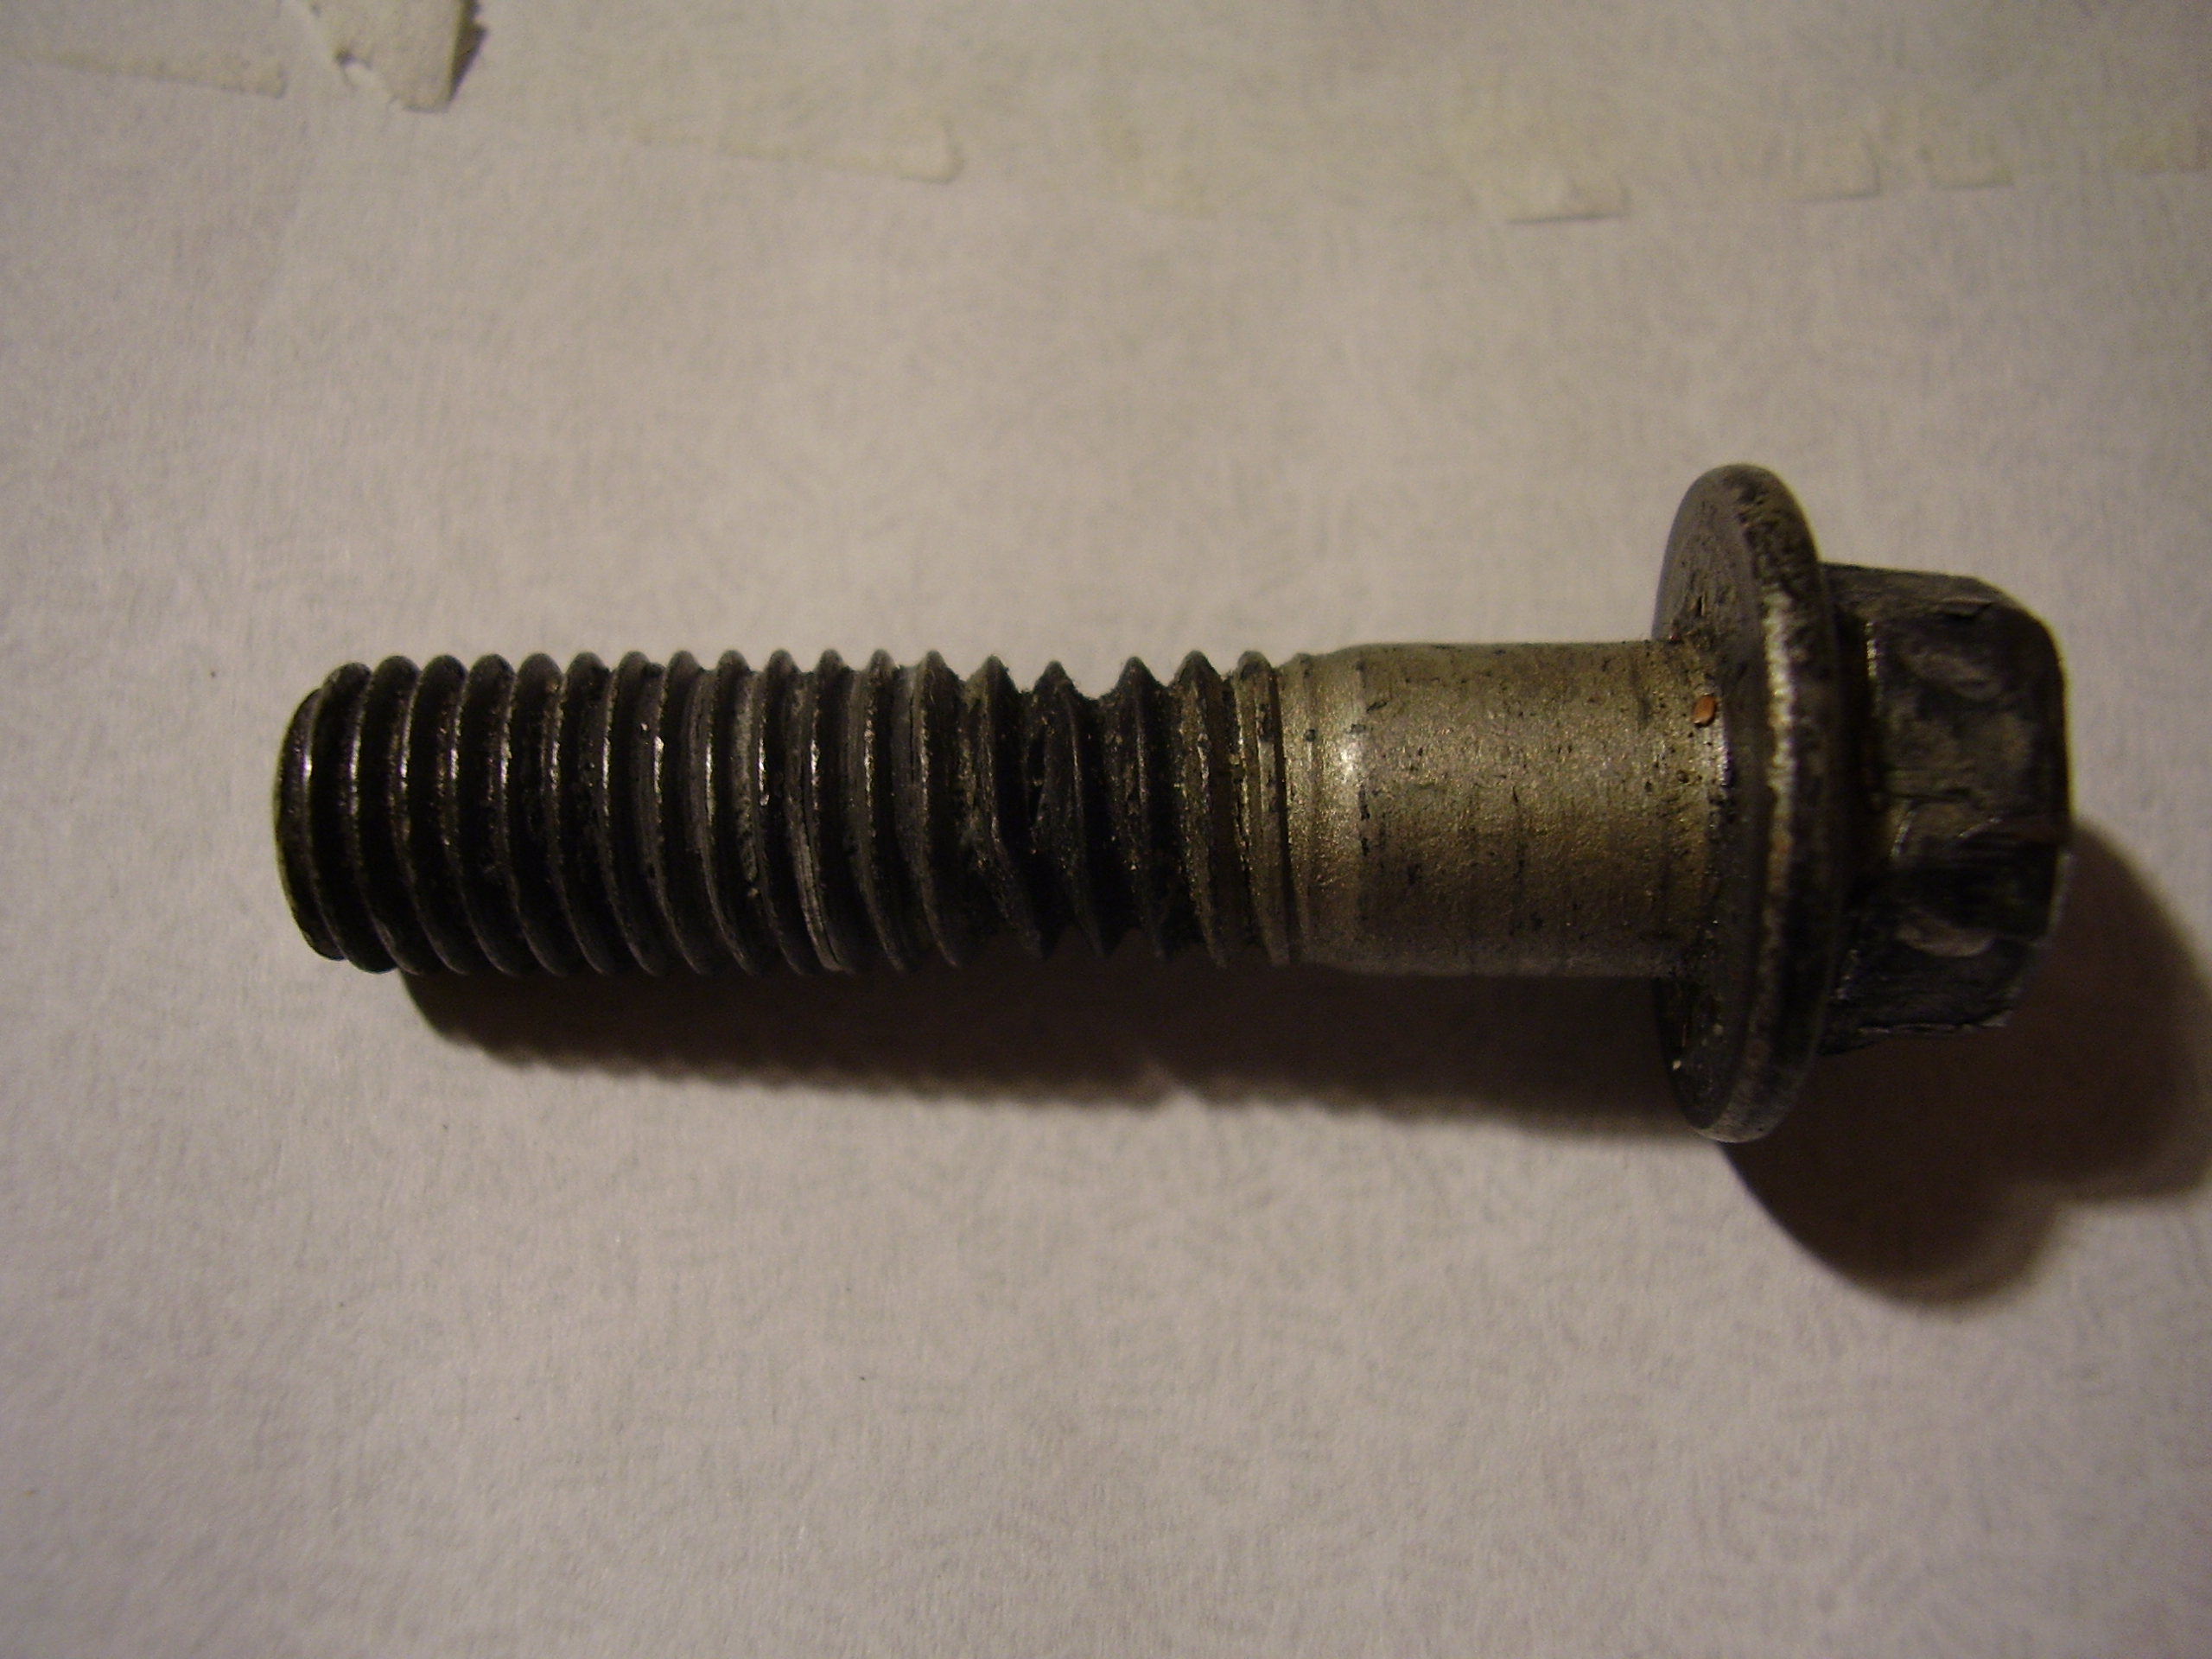
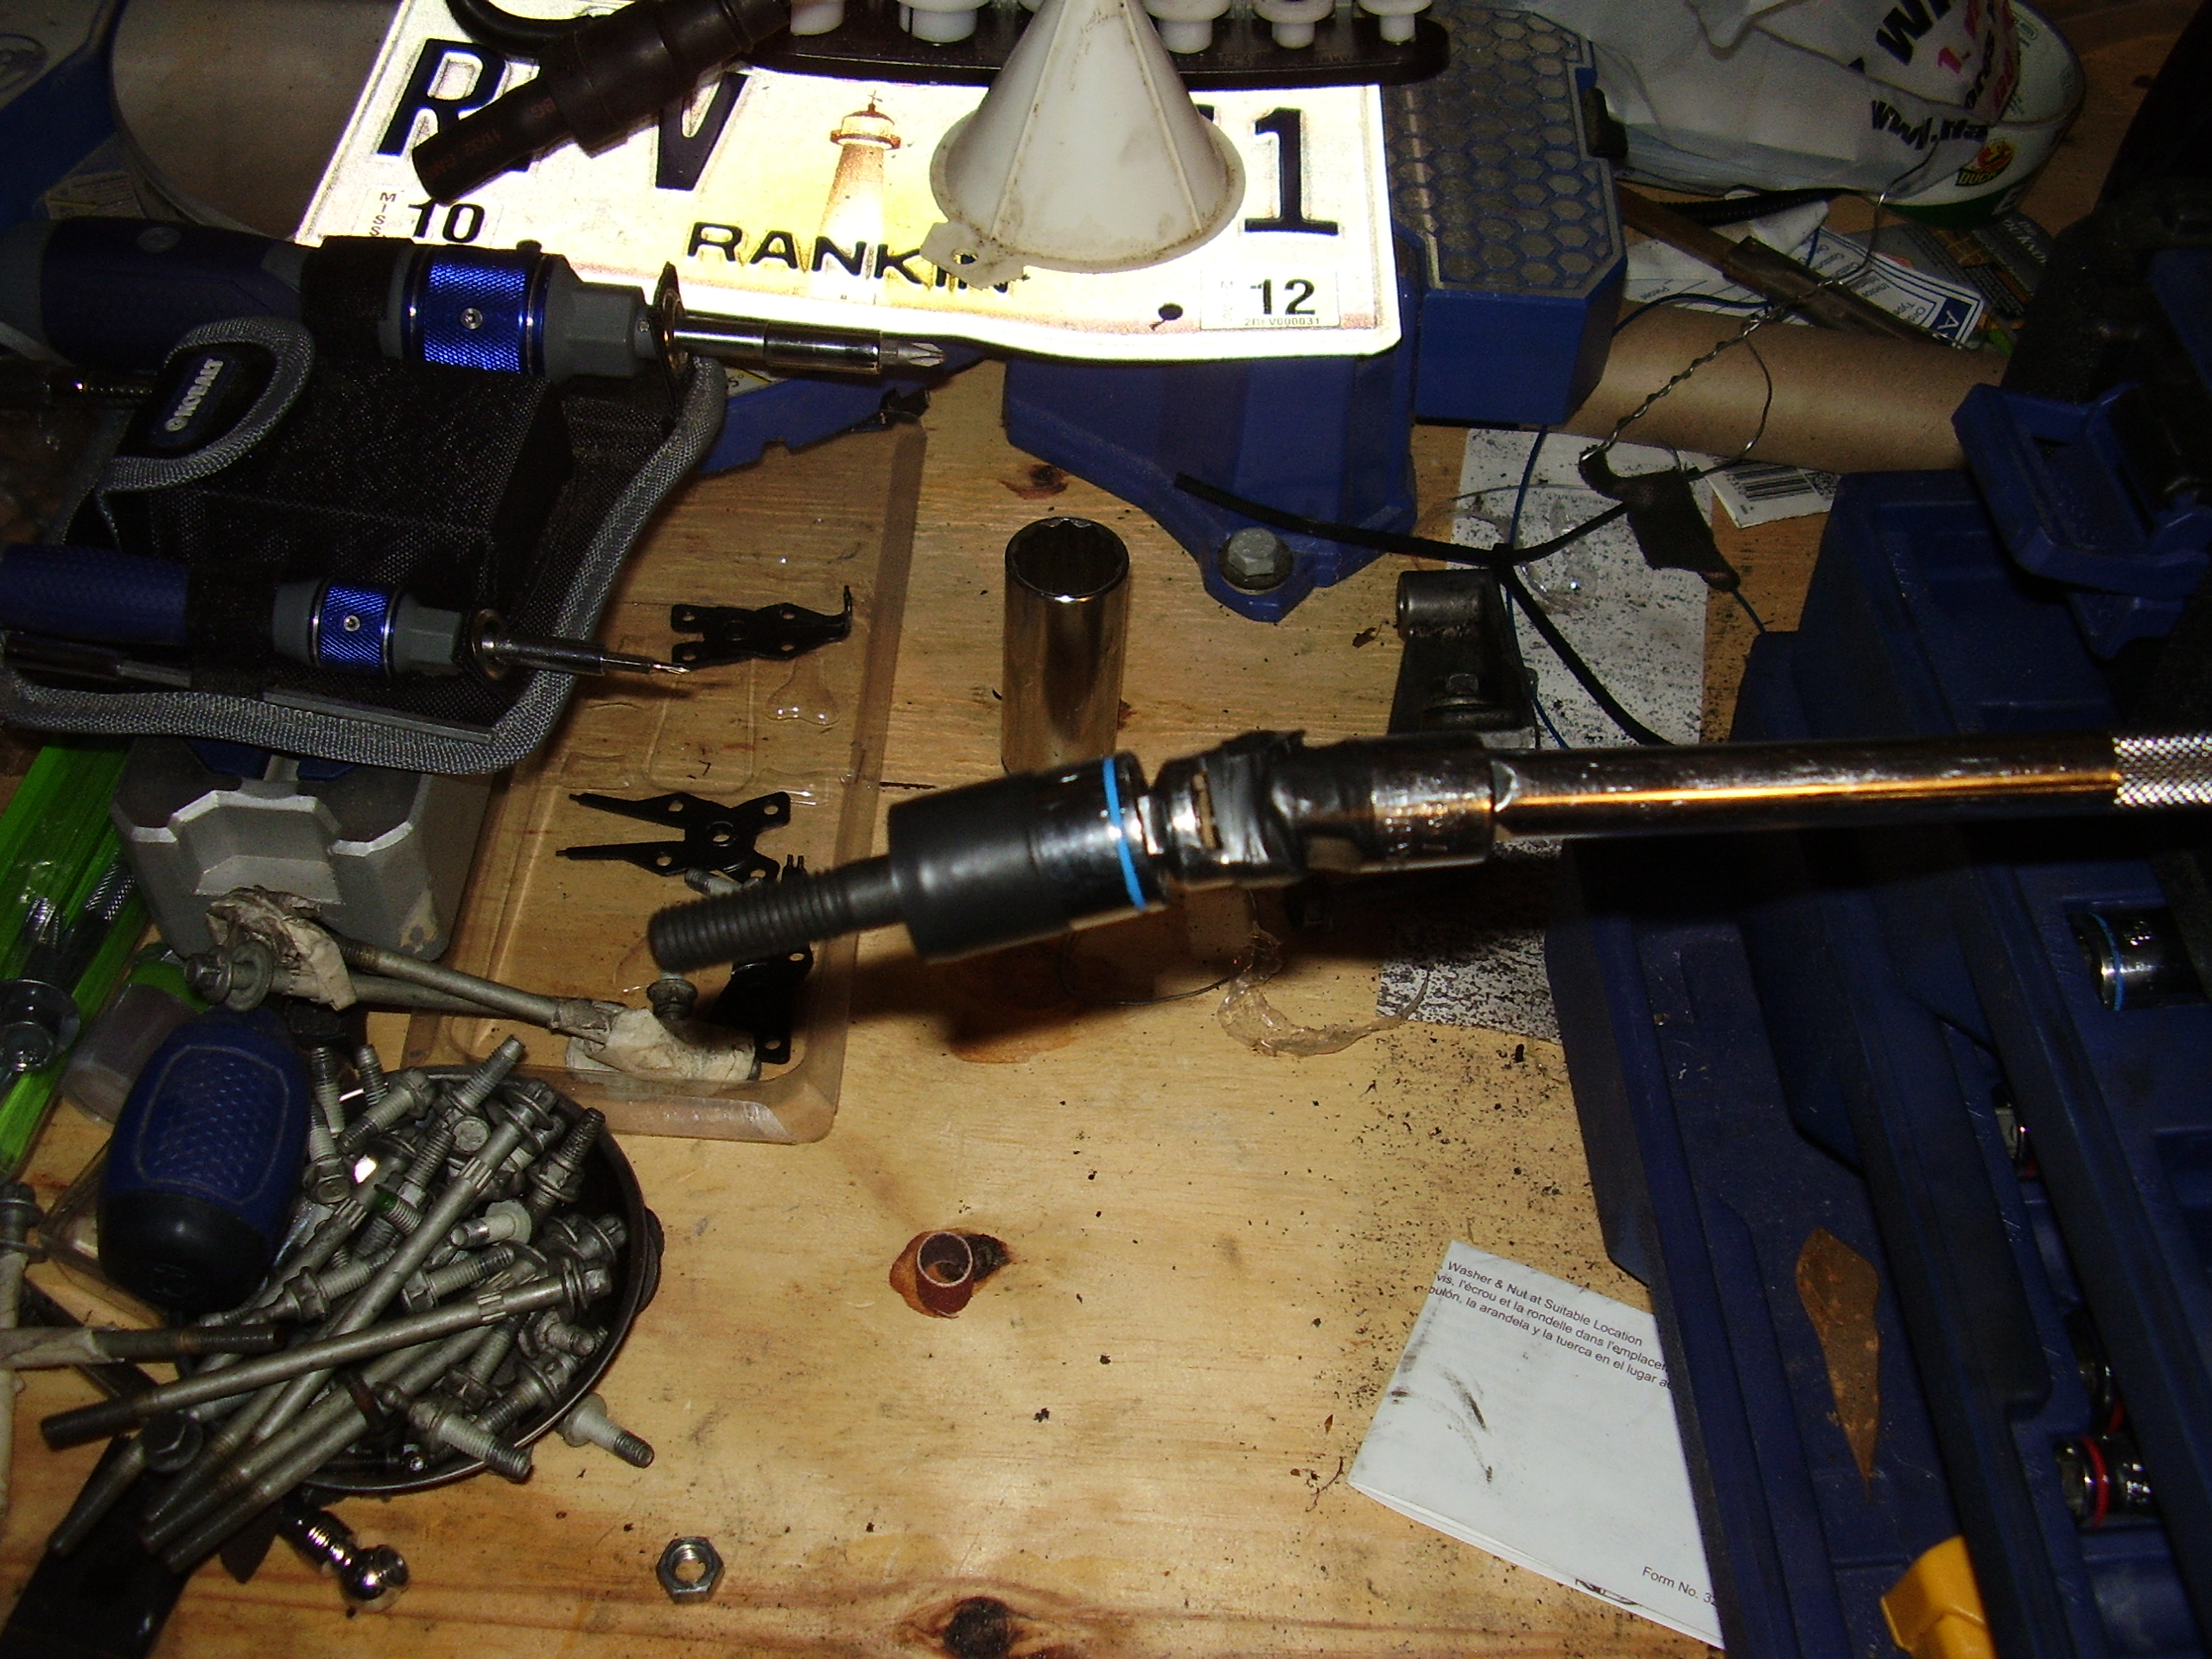
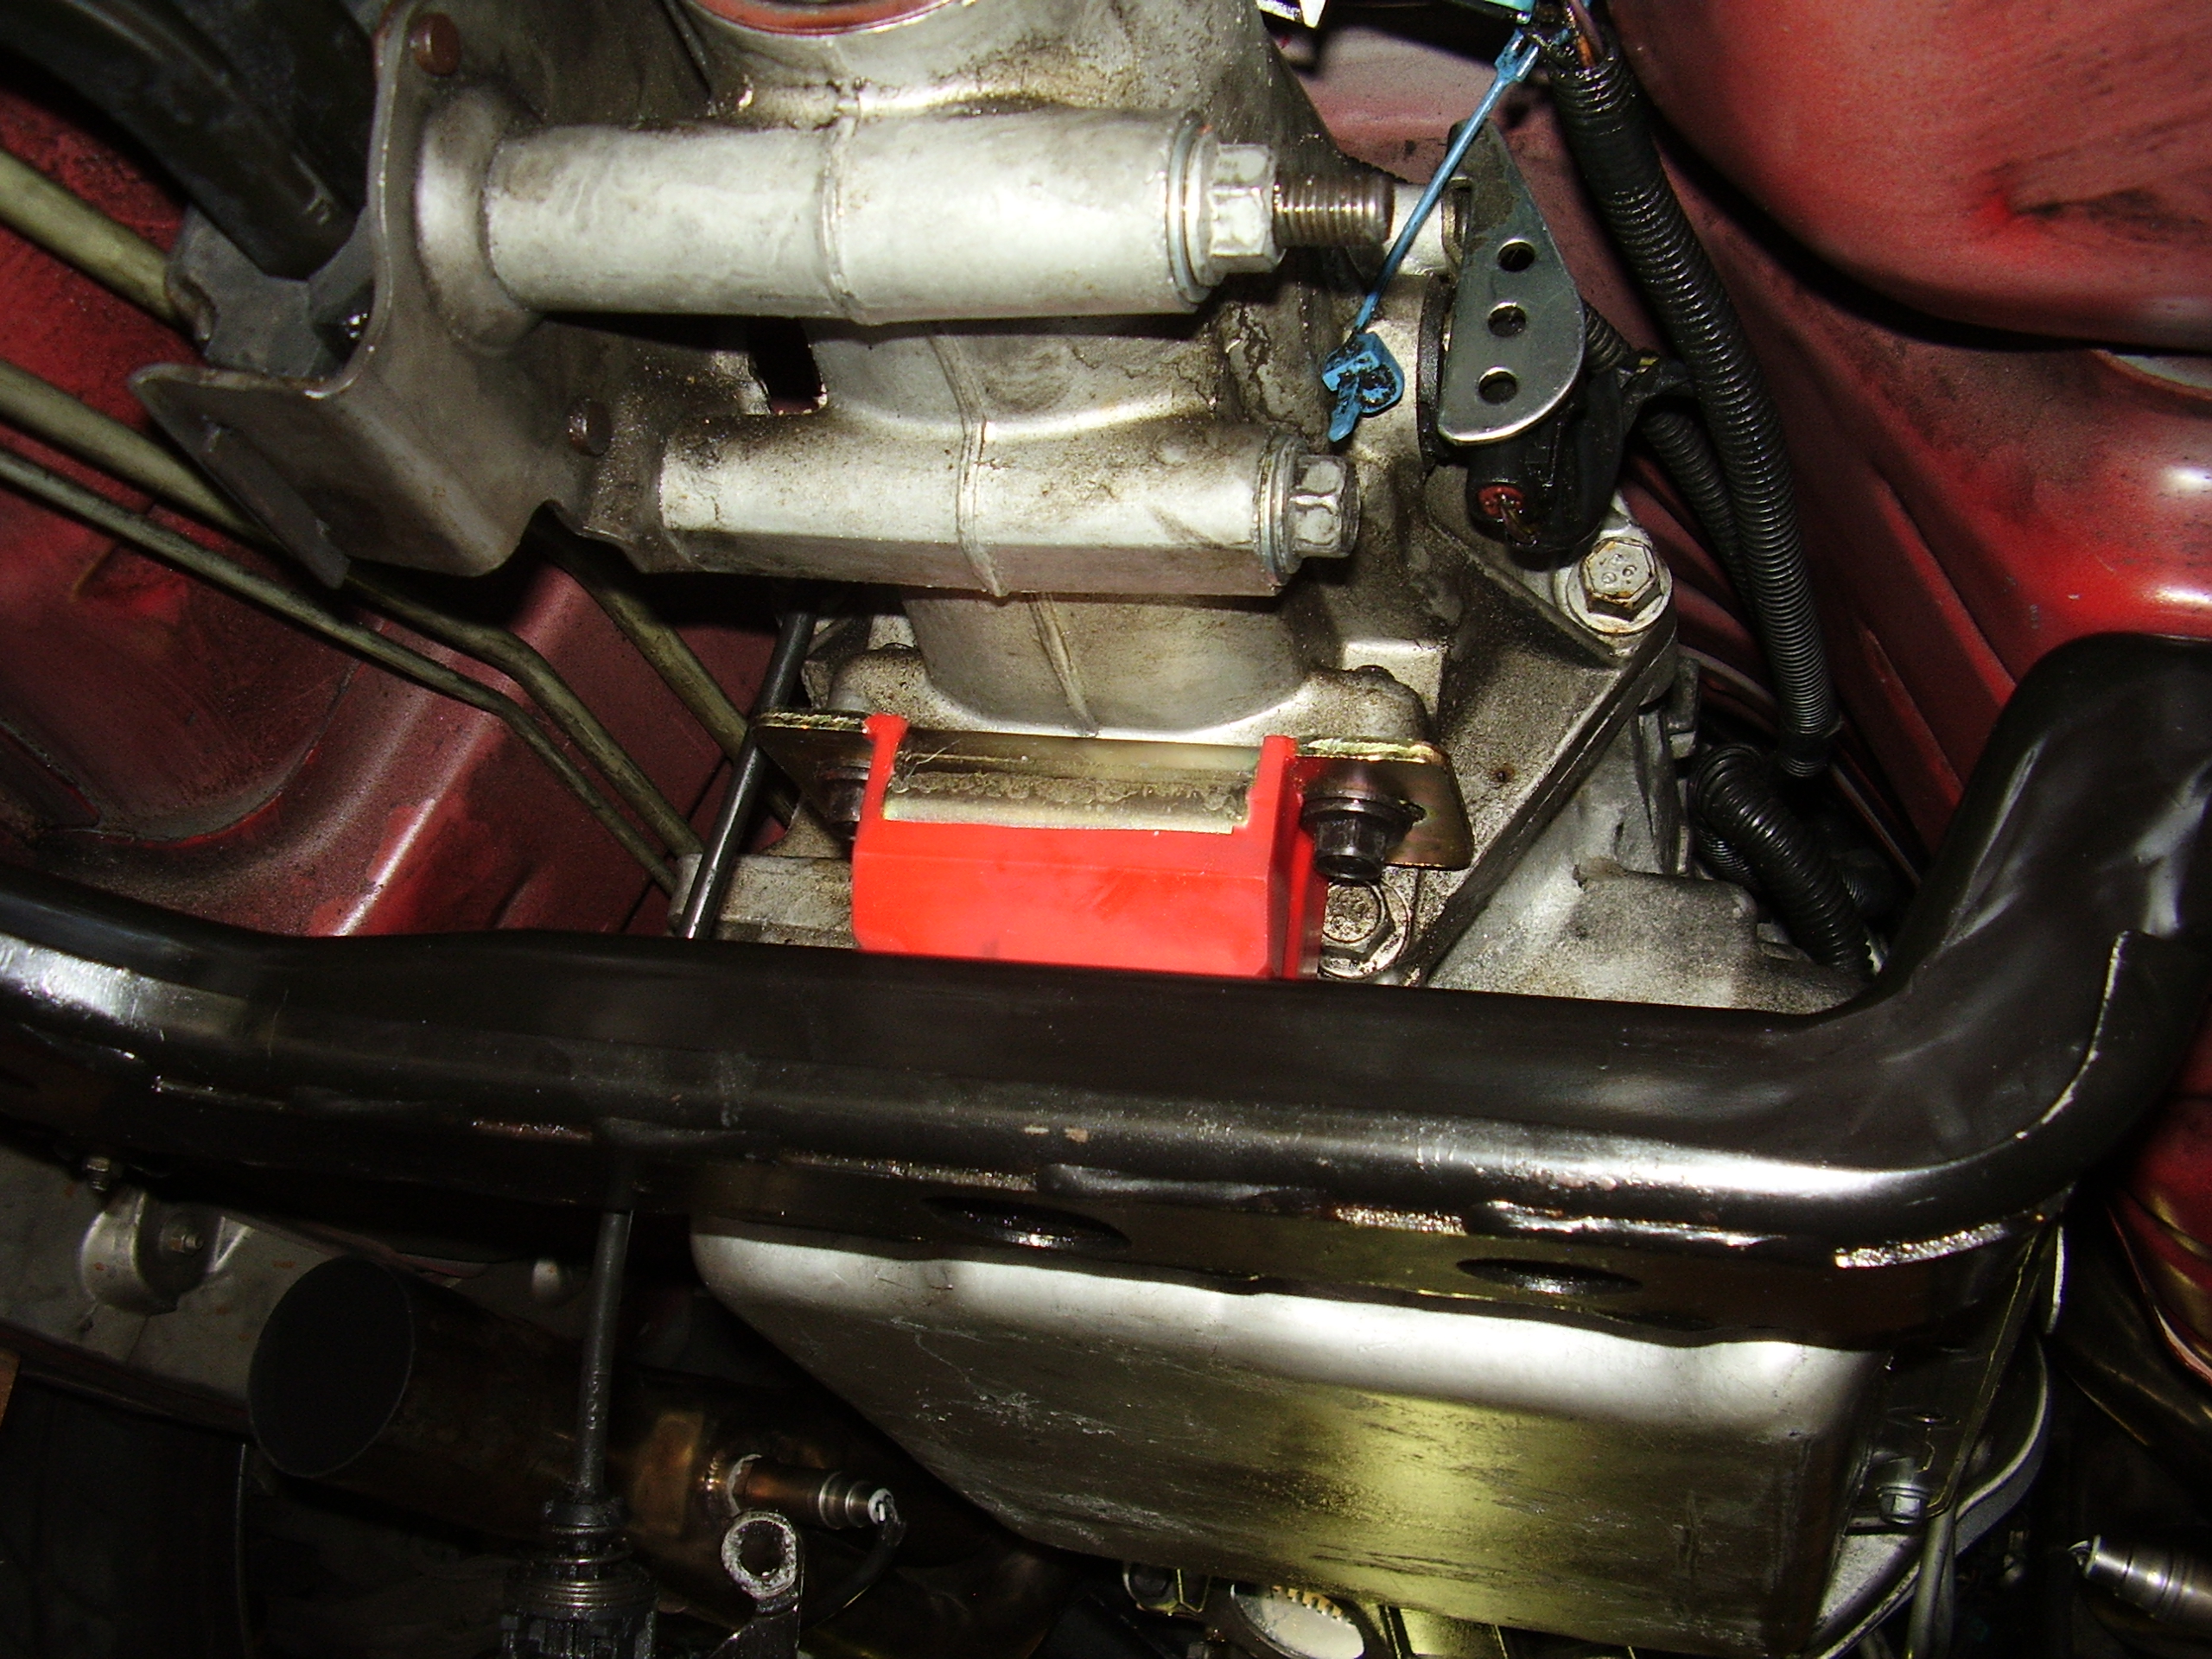
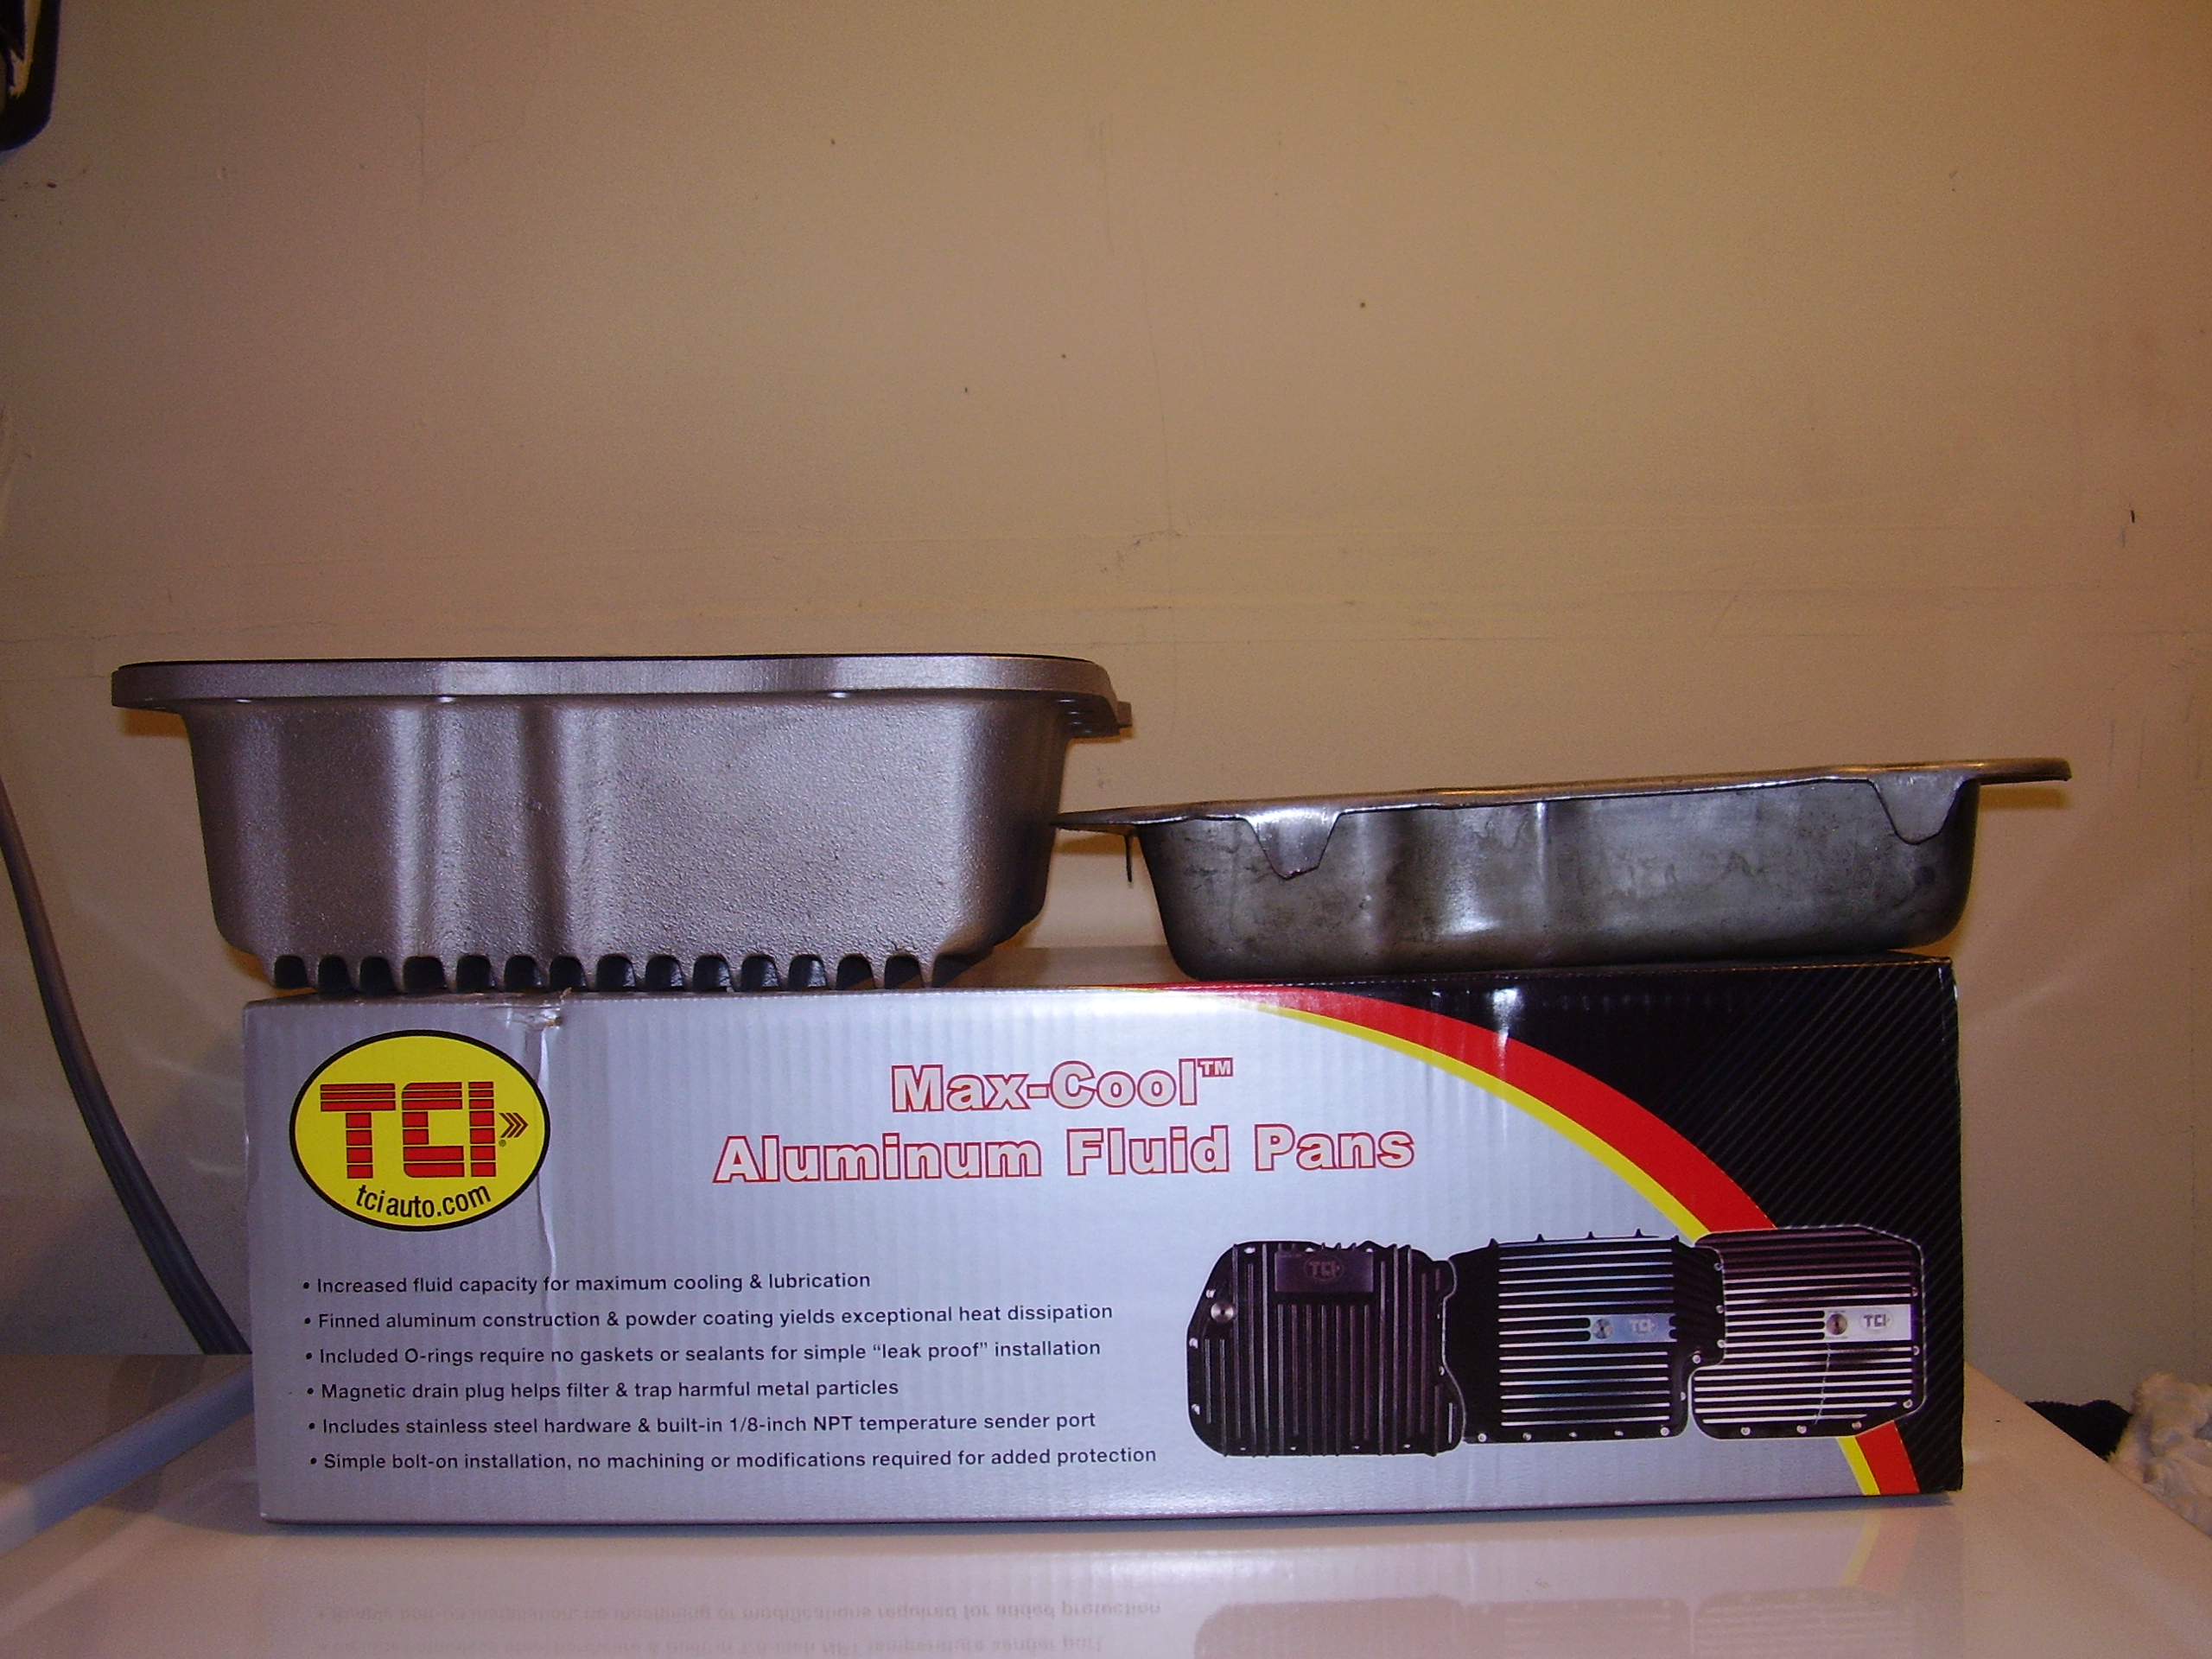
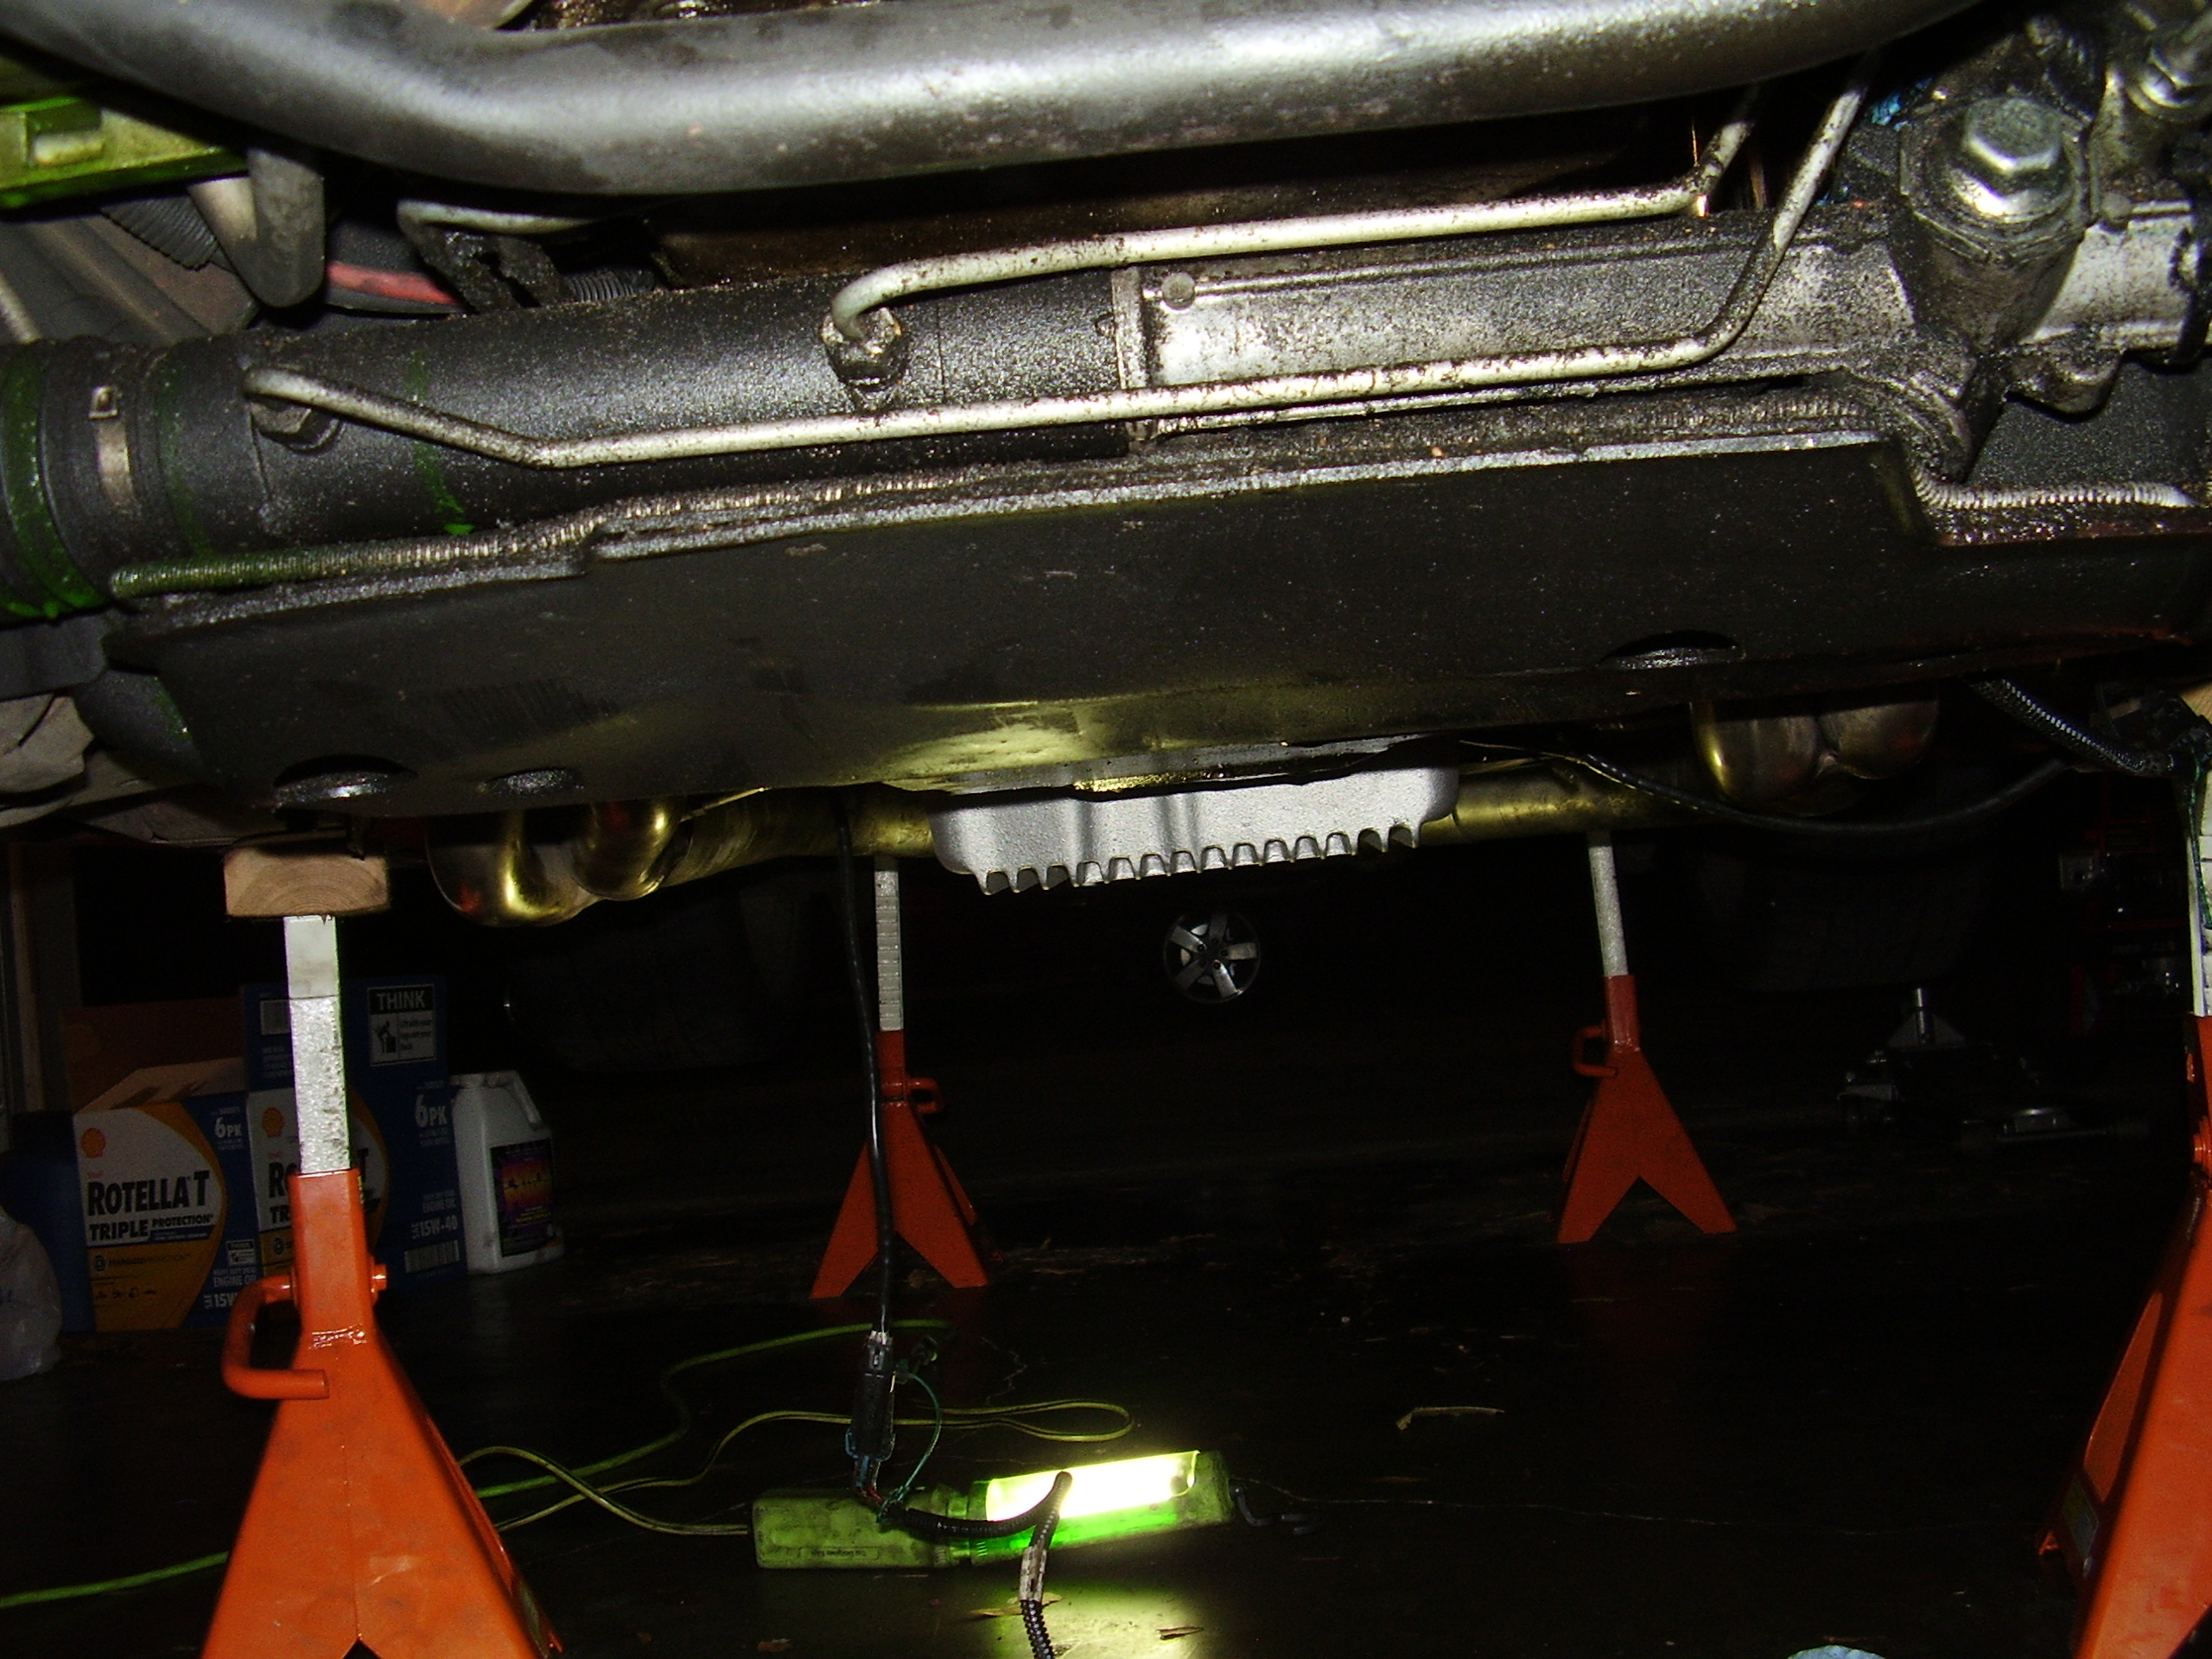
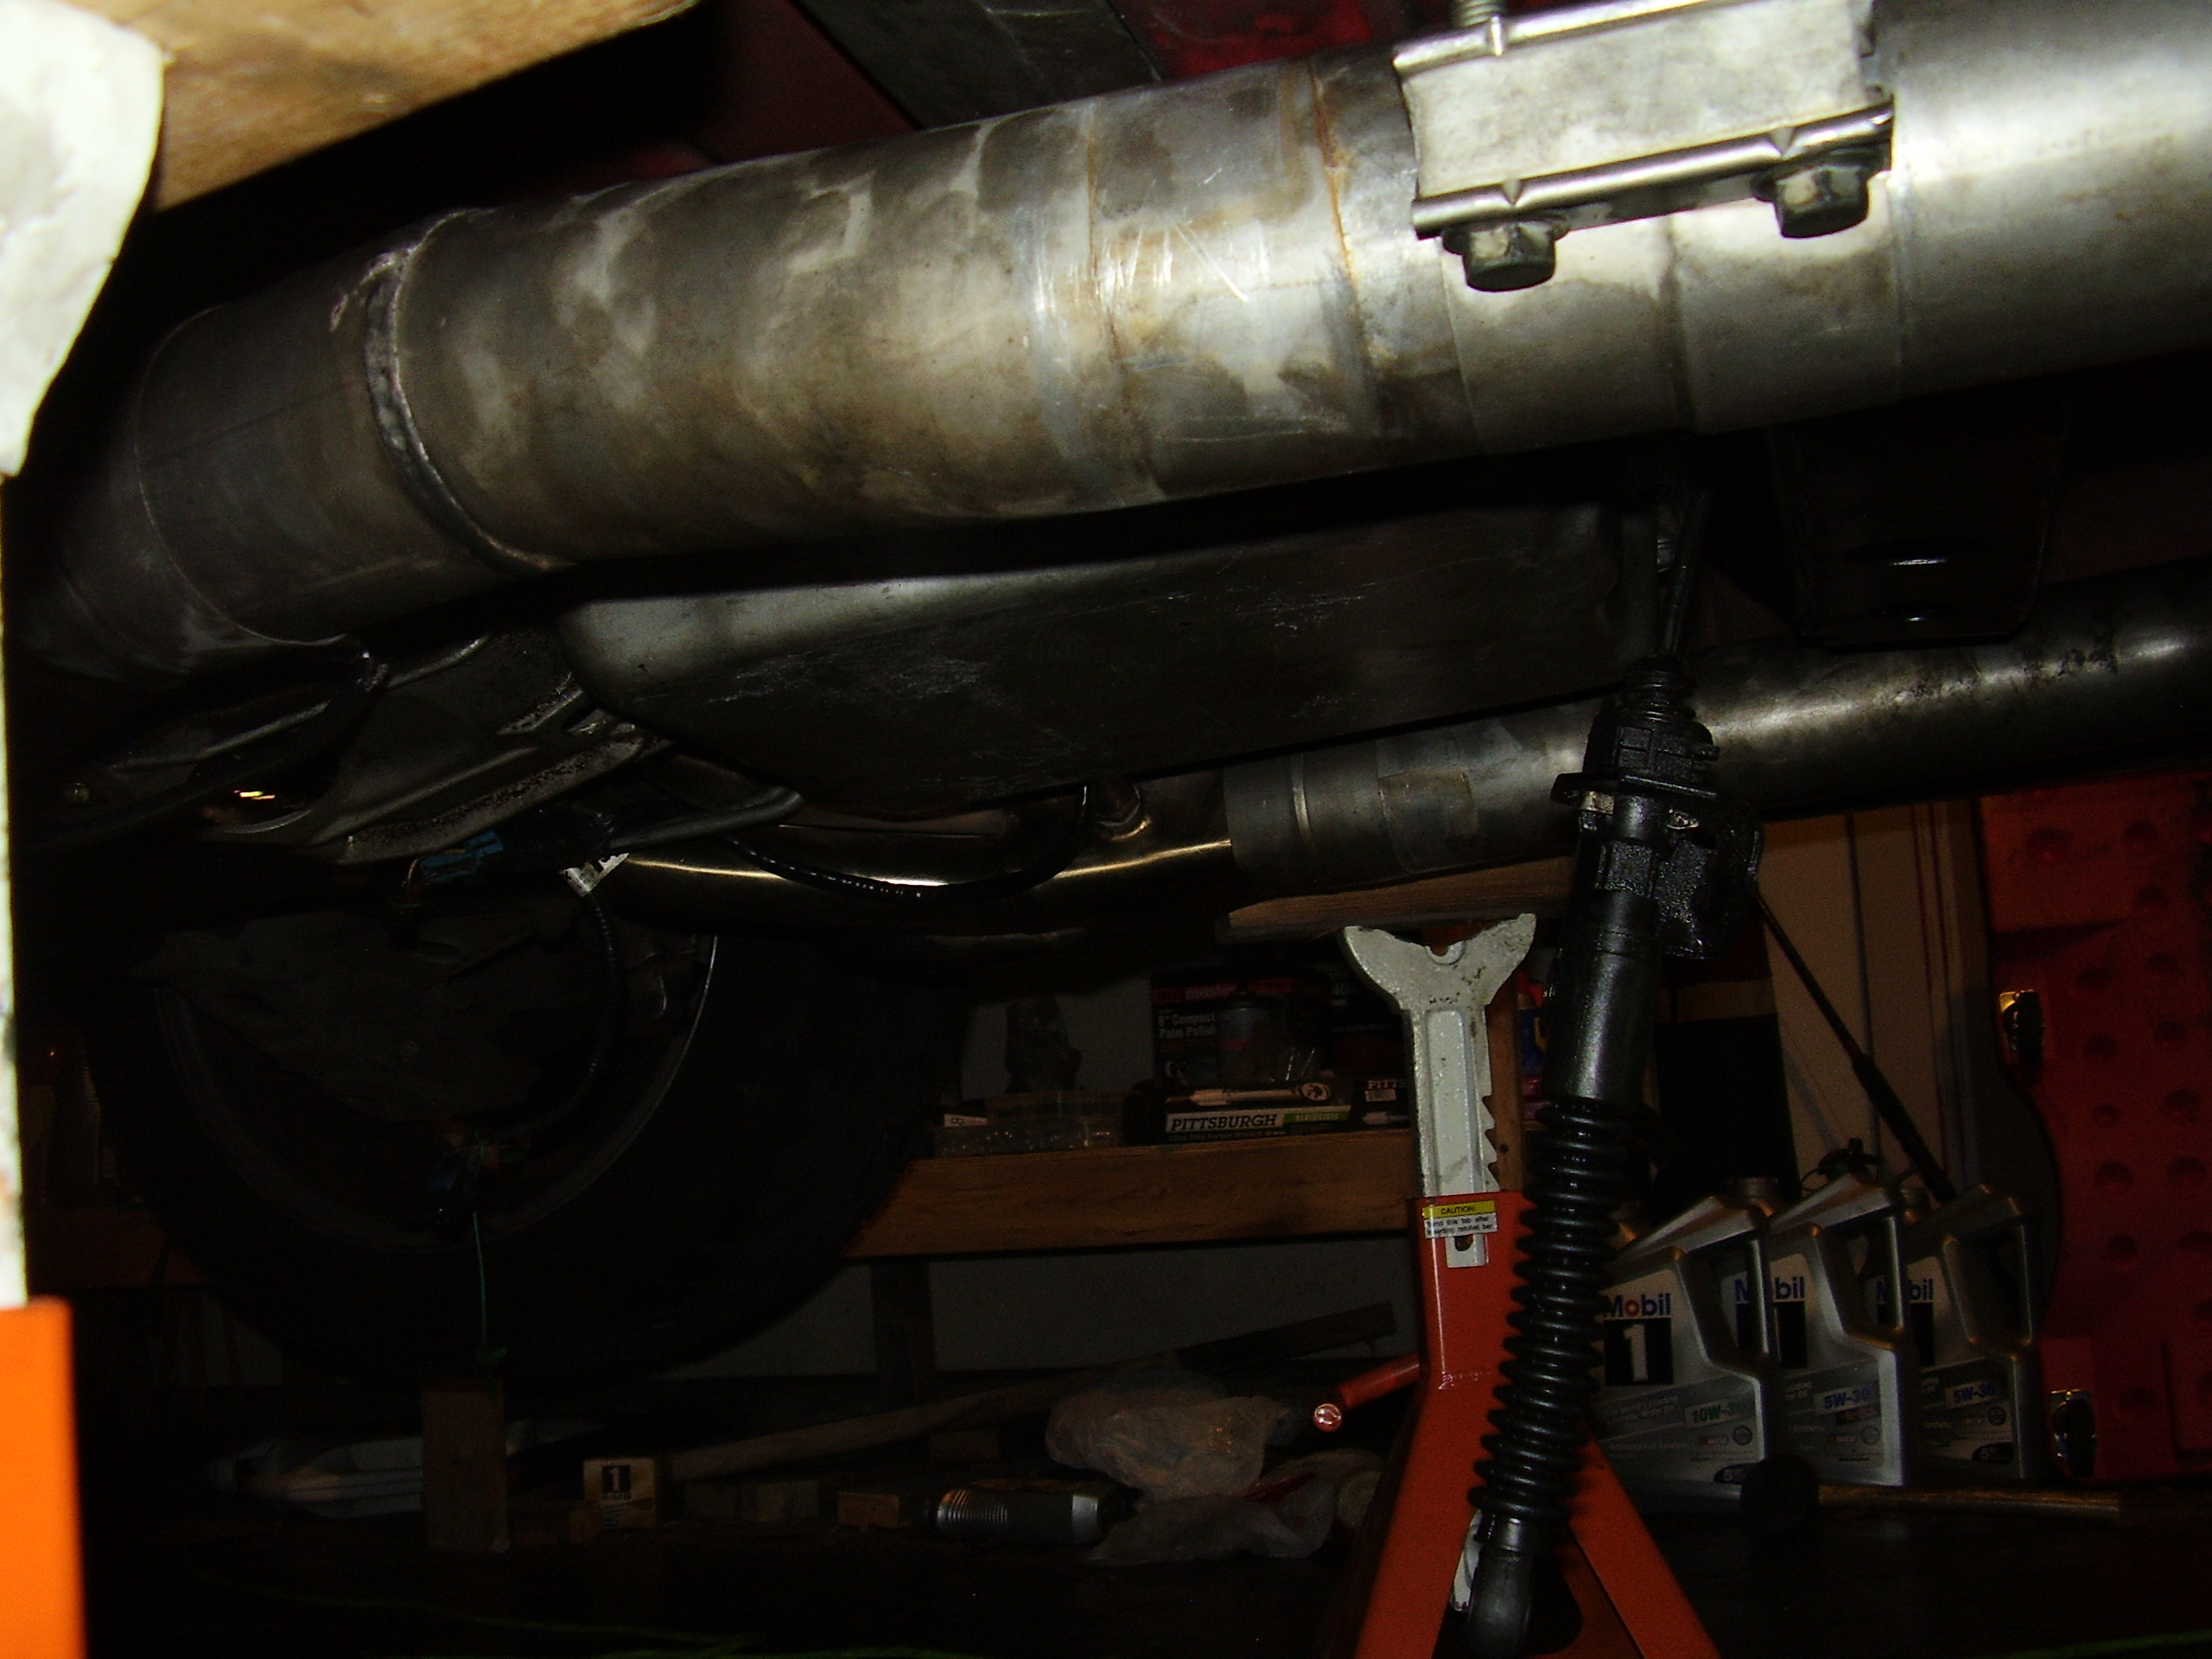
For a good while now I have had a clunking coming from under the car around the transmission on decel and coming to a stop.  I was figuring on it either being one of the mounts on the tranny tailhousing or the converter itself.  When I pulled the tranny a few weeks ago to upgrade a failing stock torque converter, I found that the torque arm bushing was pretty thrashed and figured that was my problem as it was letting the torque arm flail about within the bushing housing.  While I was out on the road the past couple weeks I order a replacement which was waiting for me when I got in late last night.  So rather than resting today like a normal person would after driving over 2200 miles in three days I crawled under my car and worked on it in the sweltering heat.

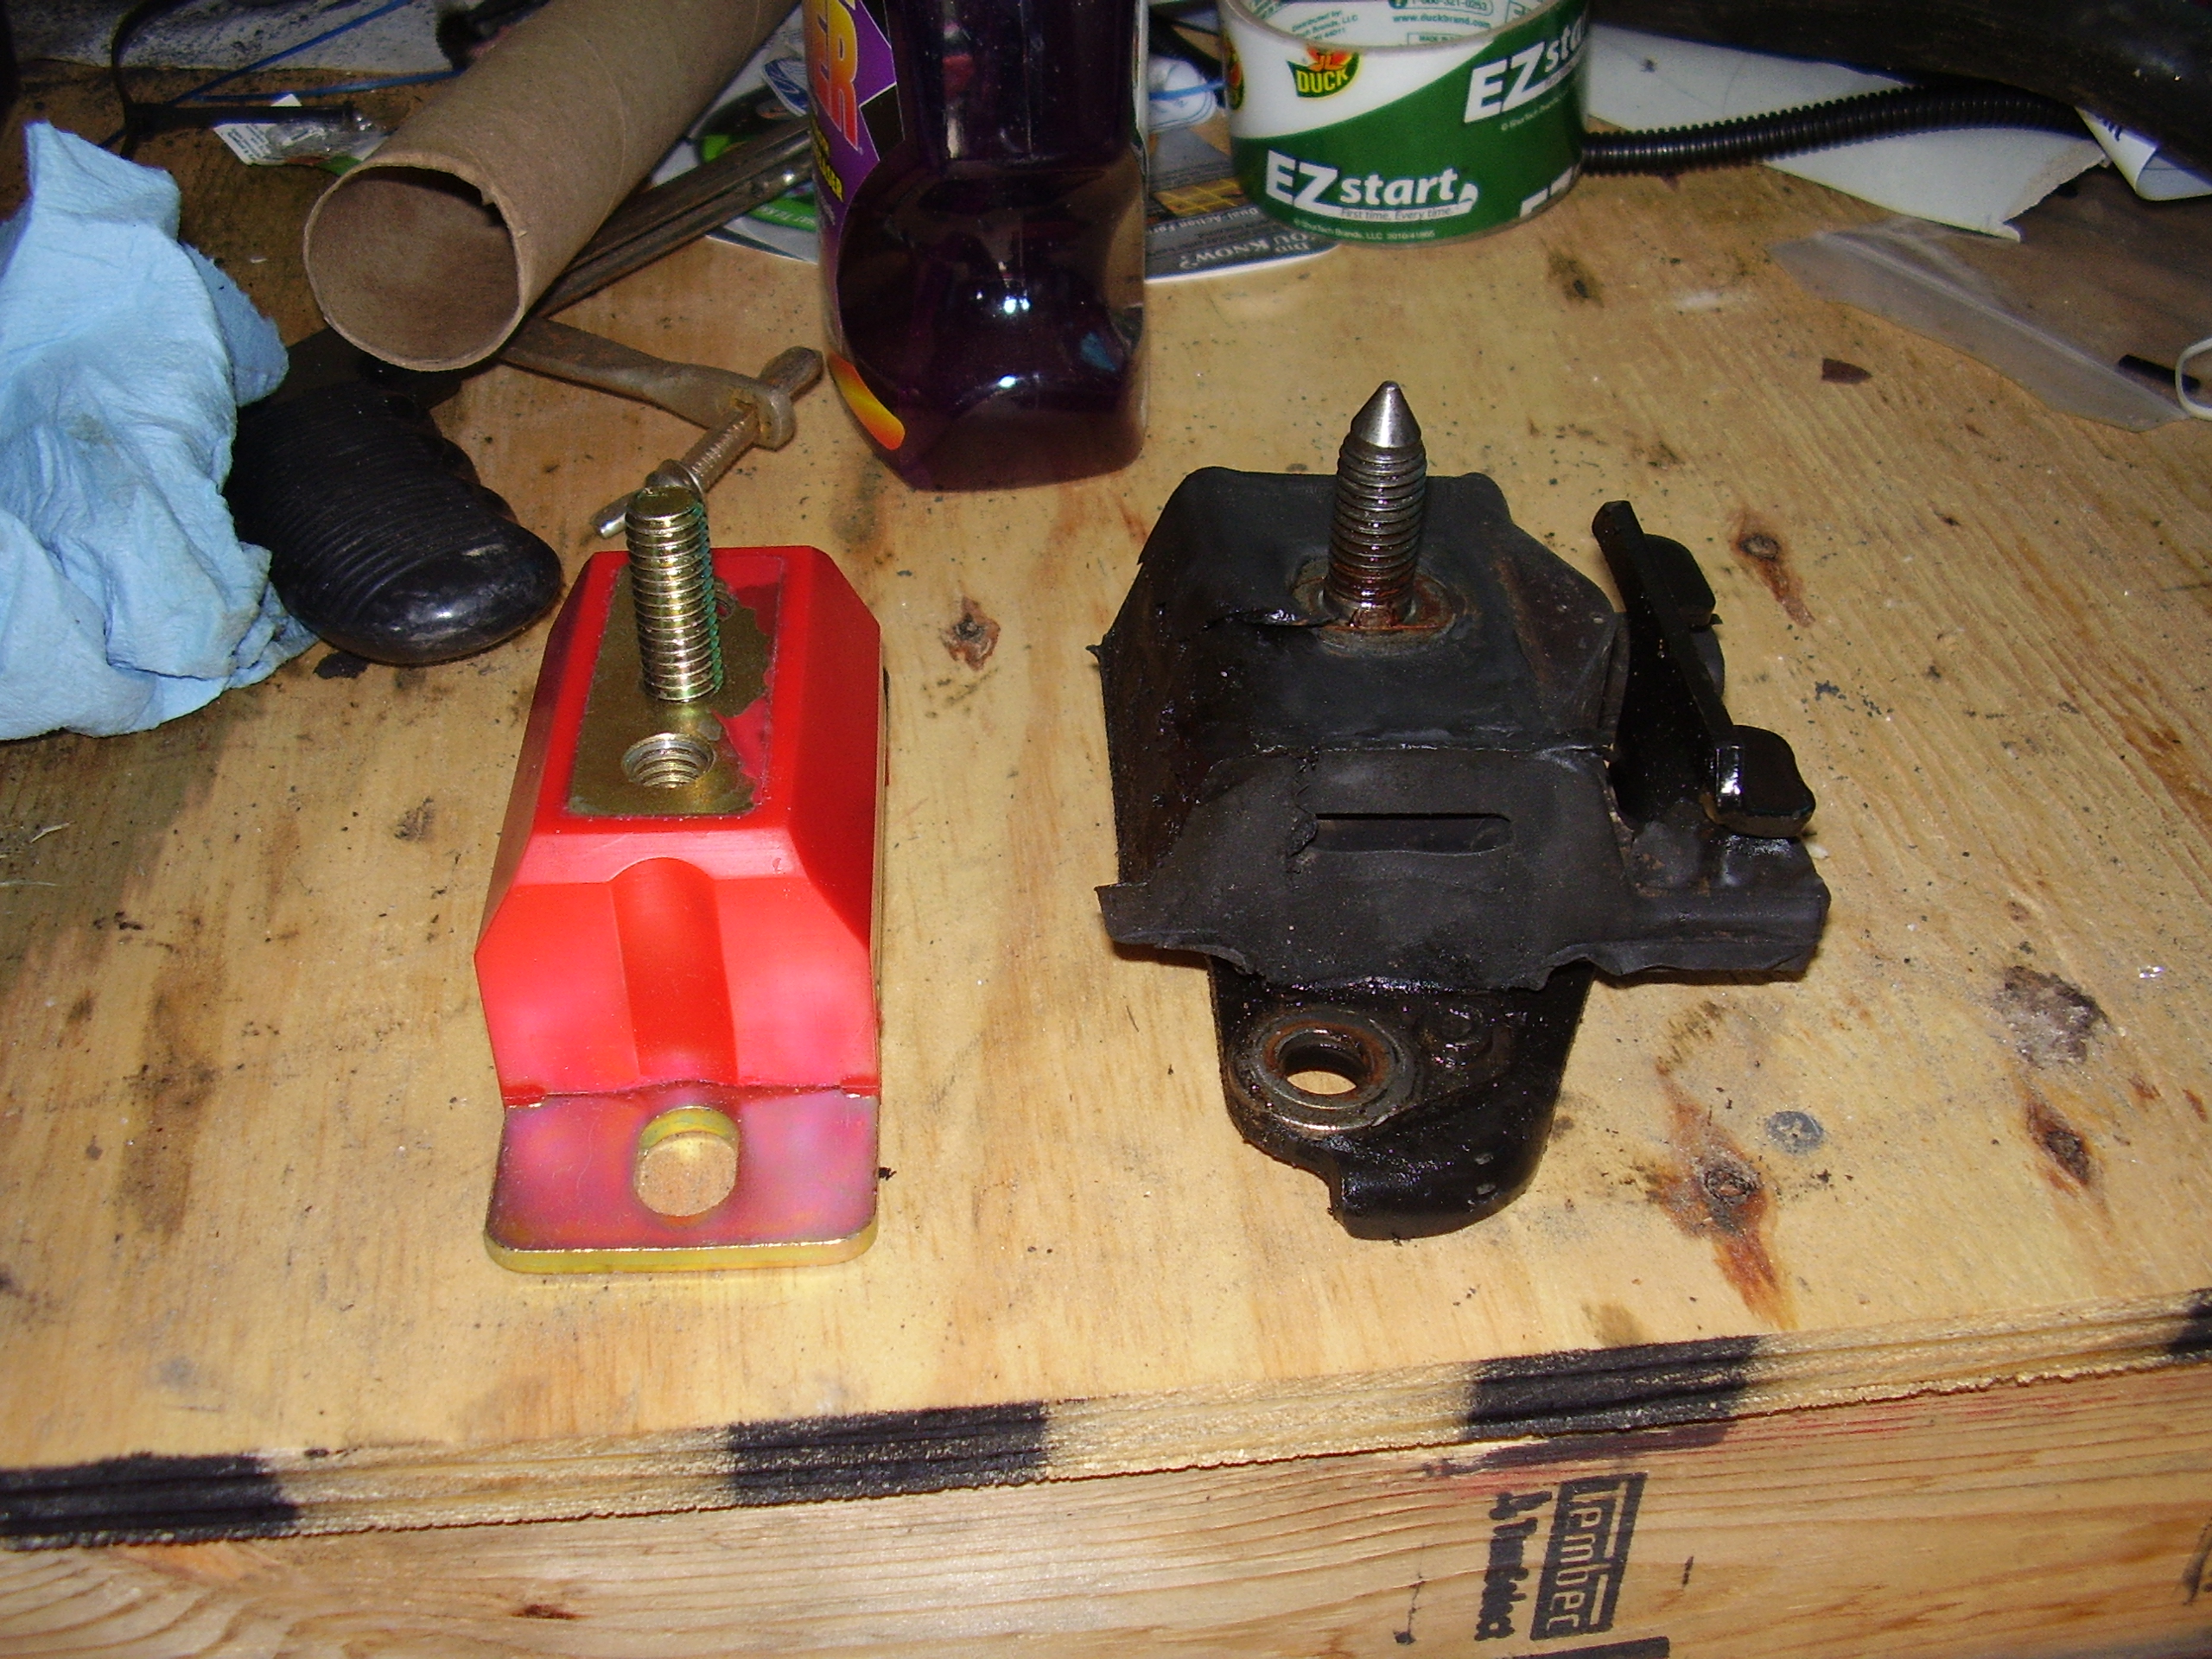
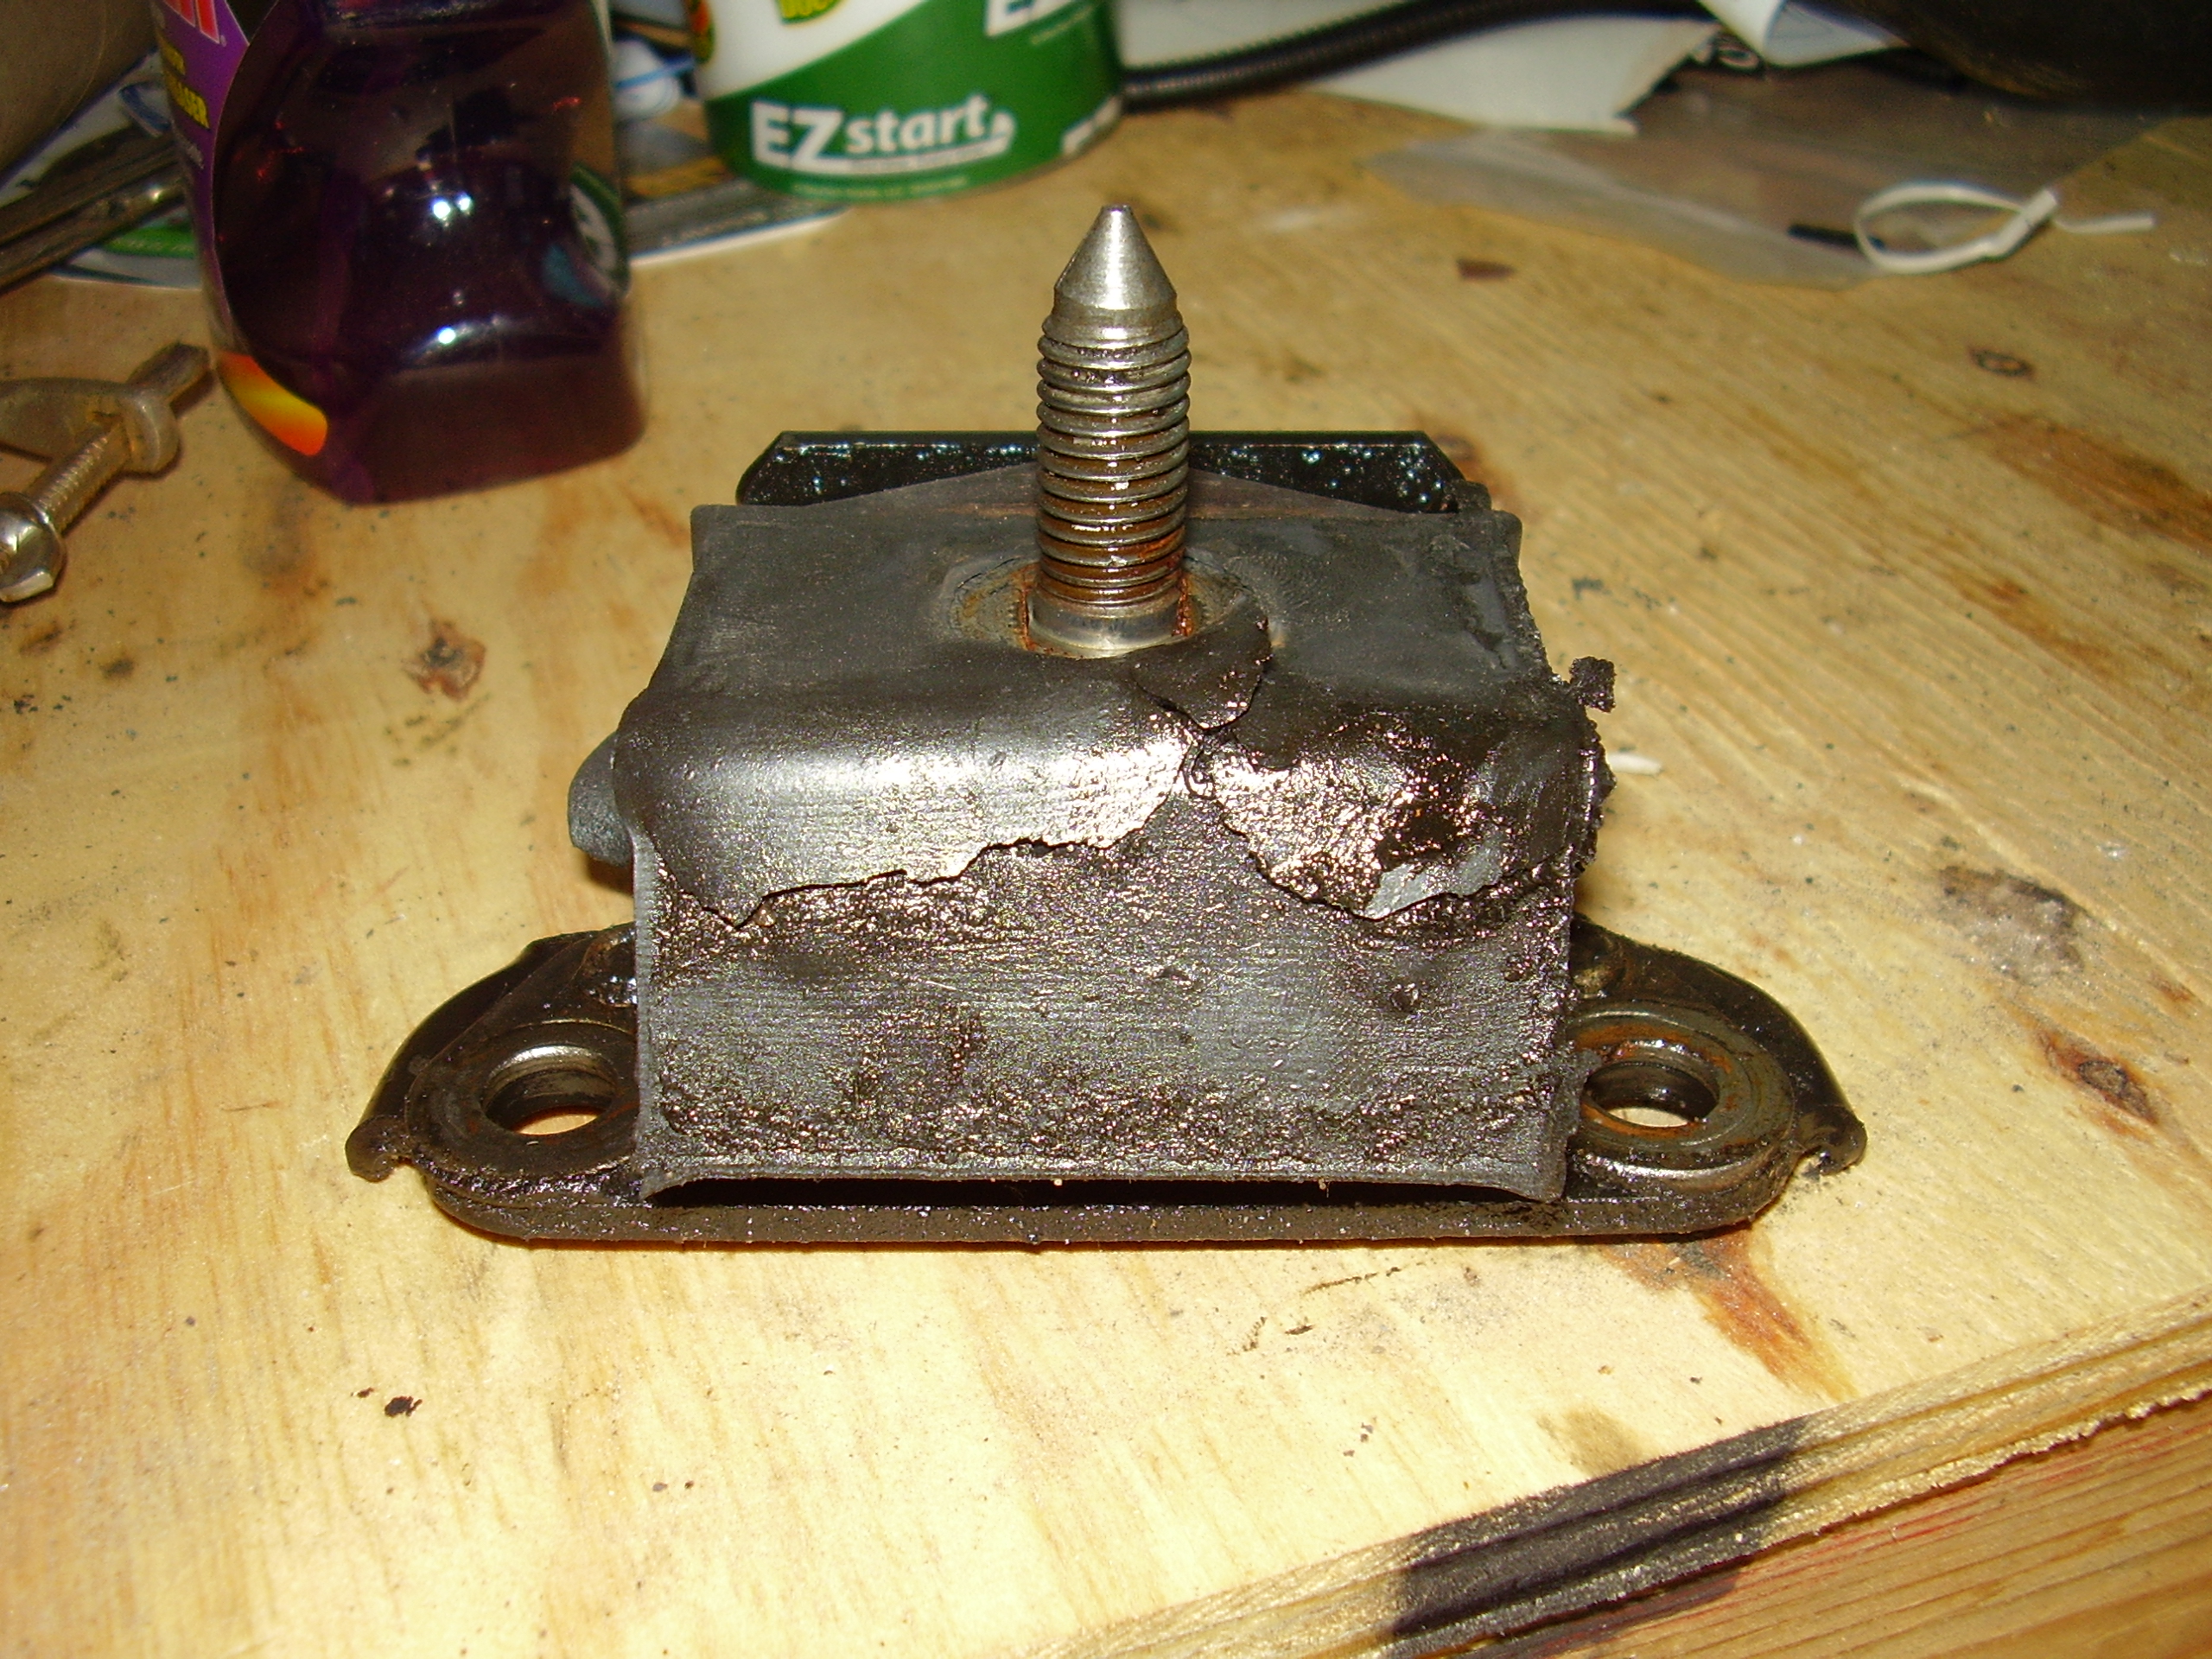
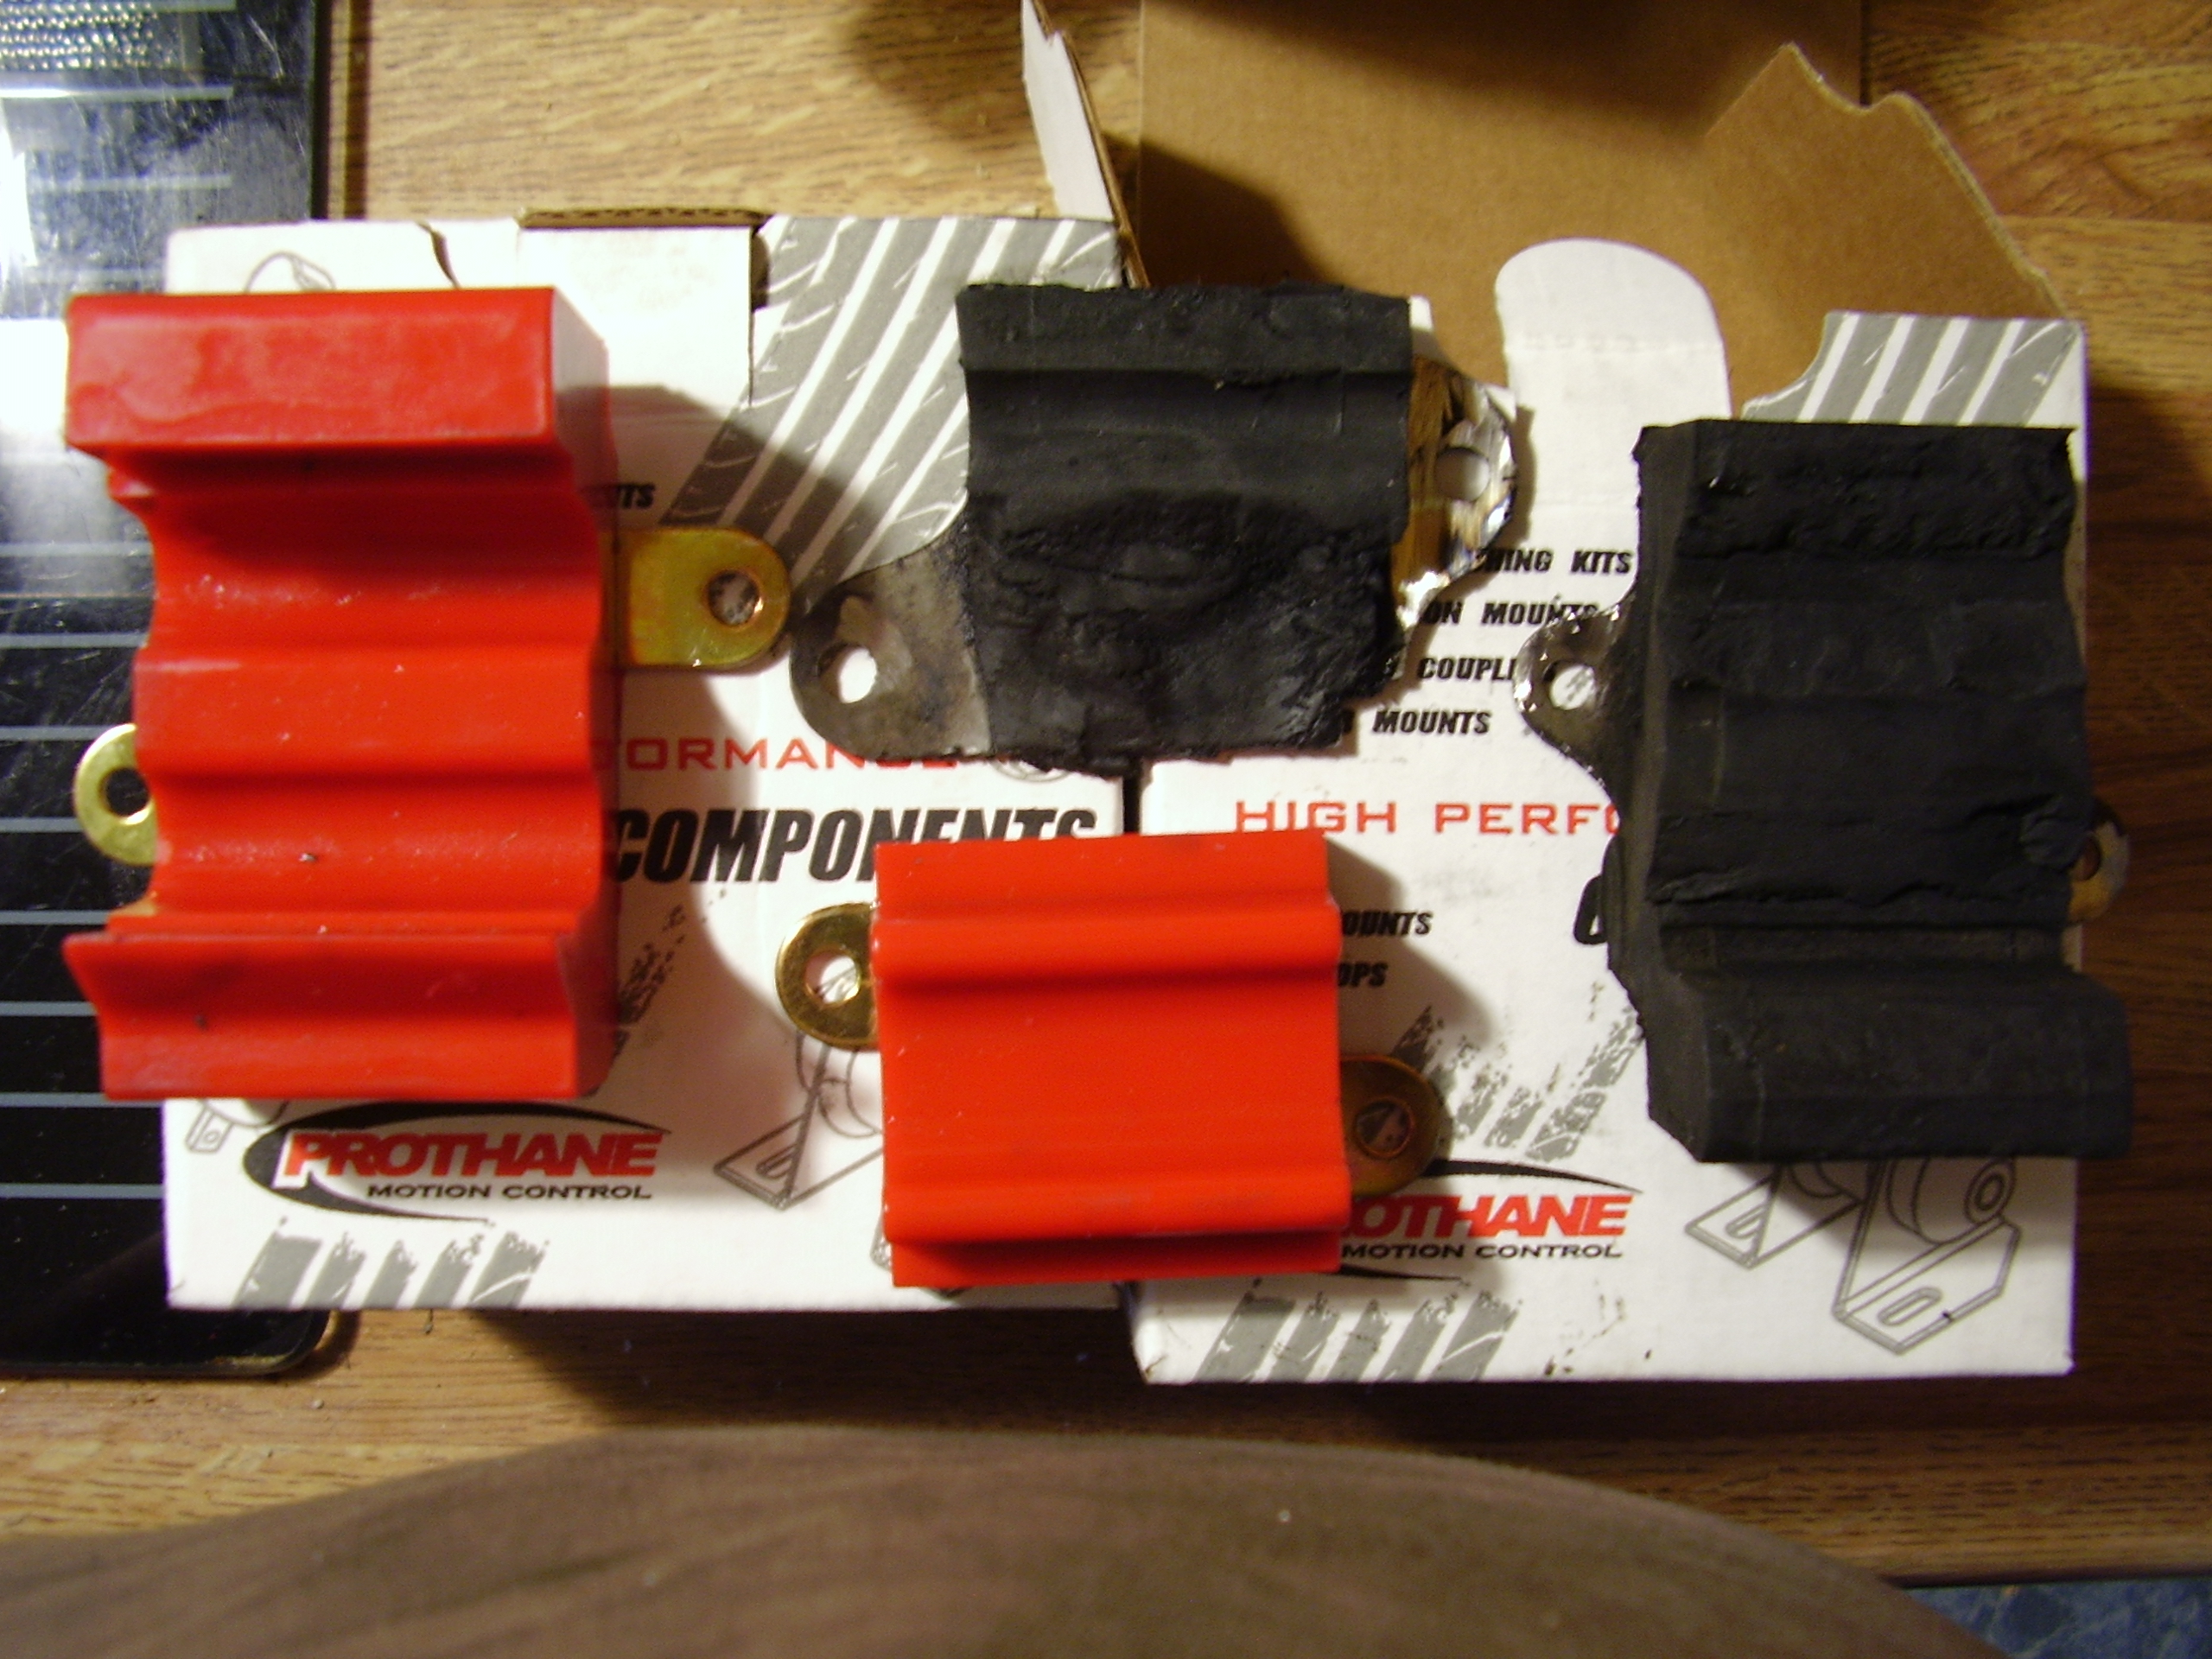
Here is a comparison of the stock rubber bushing next to the new prothane one that I installed.  The torque arm is now nice and snug once again doing it’s job.  It was definitely a job getting the clamshell mount back together after installing the new bushing as it is much stiffer than rubber, but with a little coaxing with a prybar I was in like flynn.  Took it for a drive and no more clanking.

Torque Arm Bushing Comparison


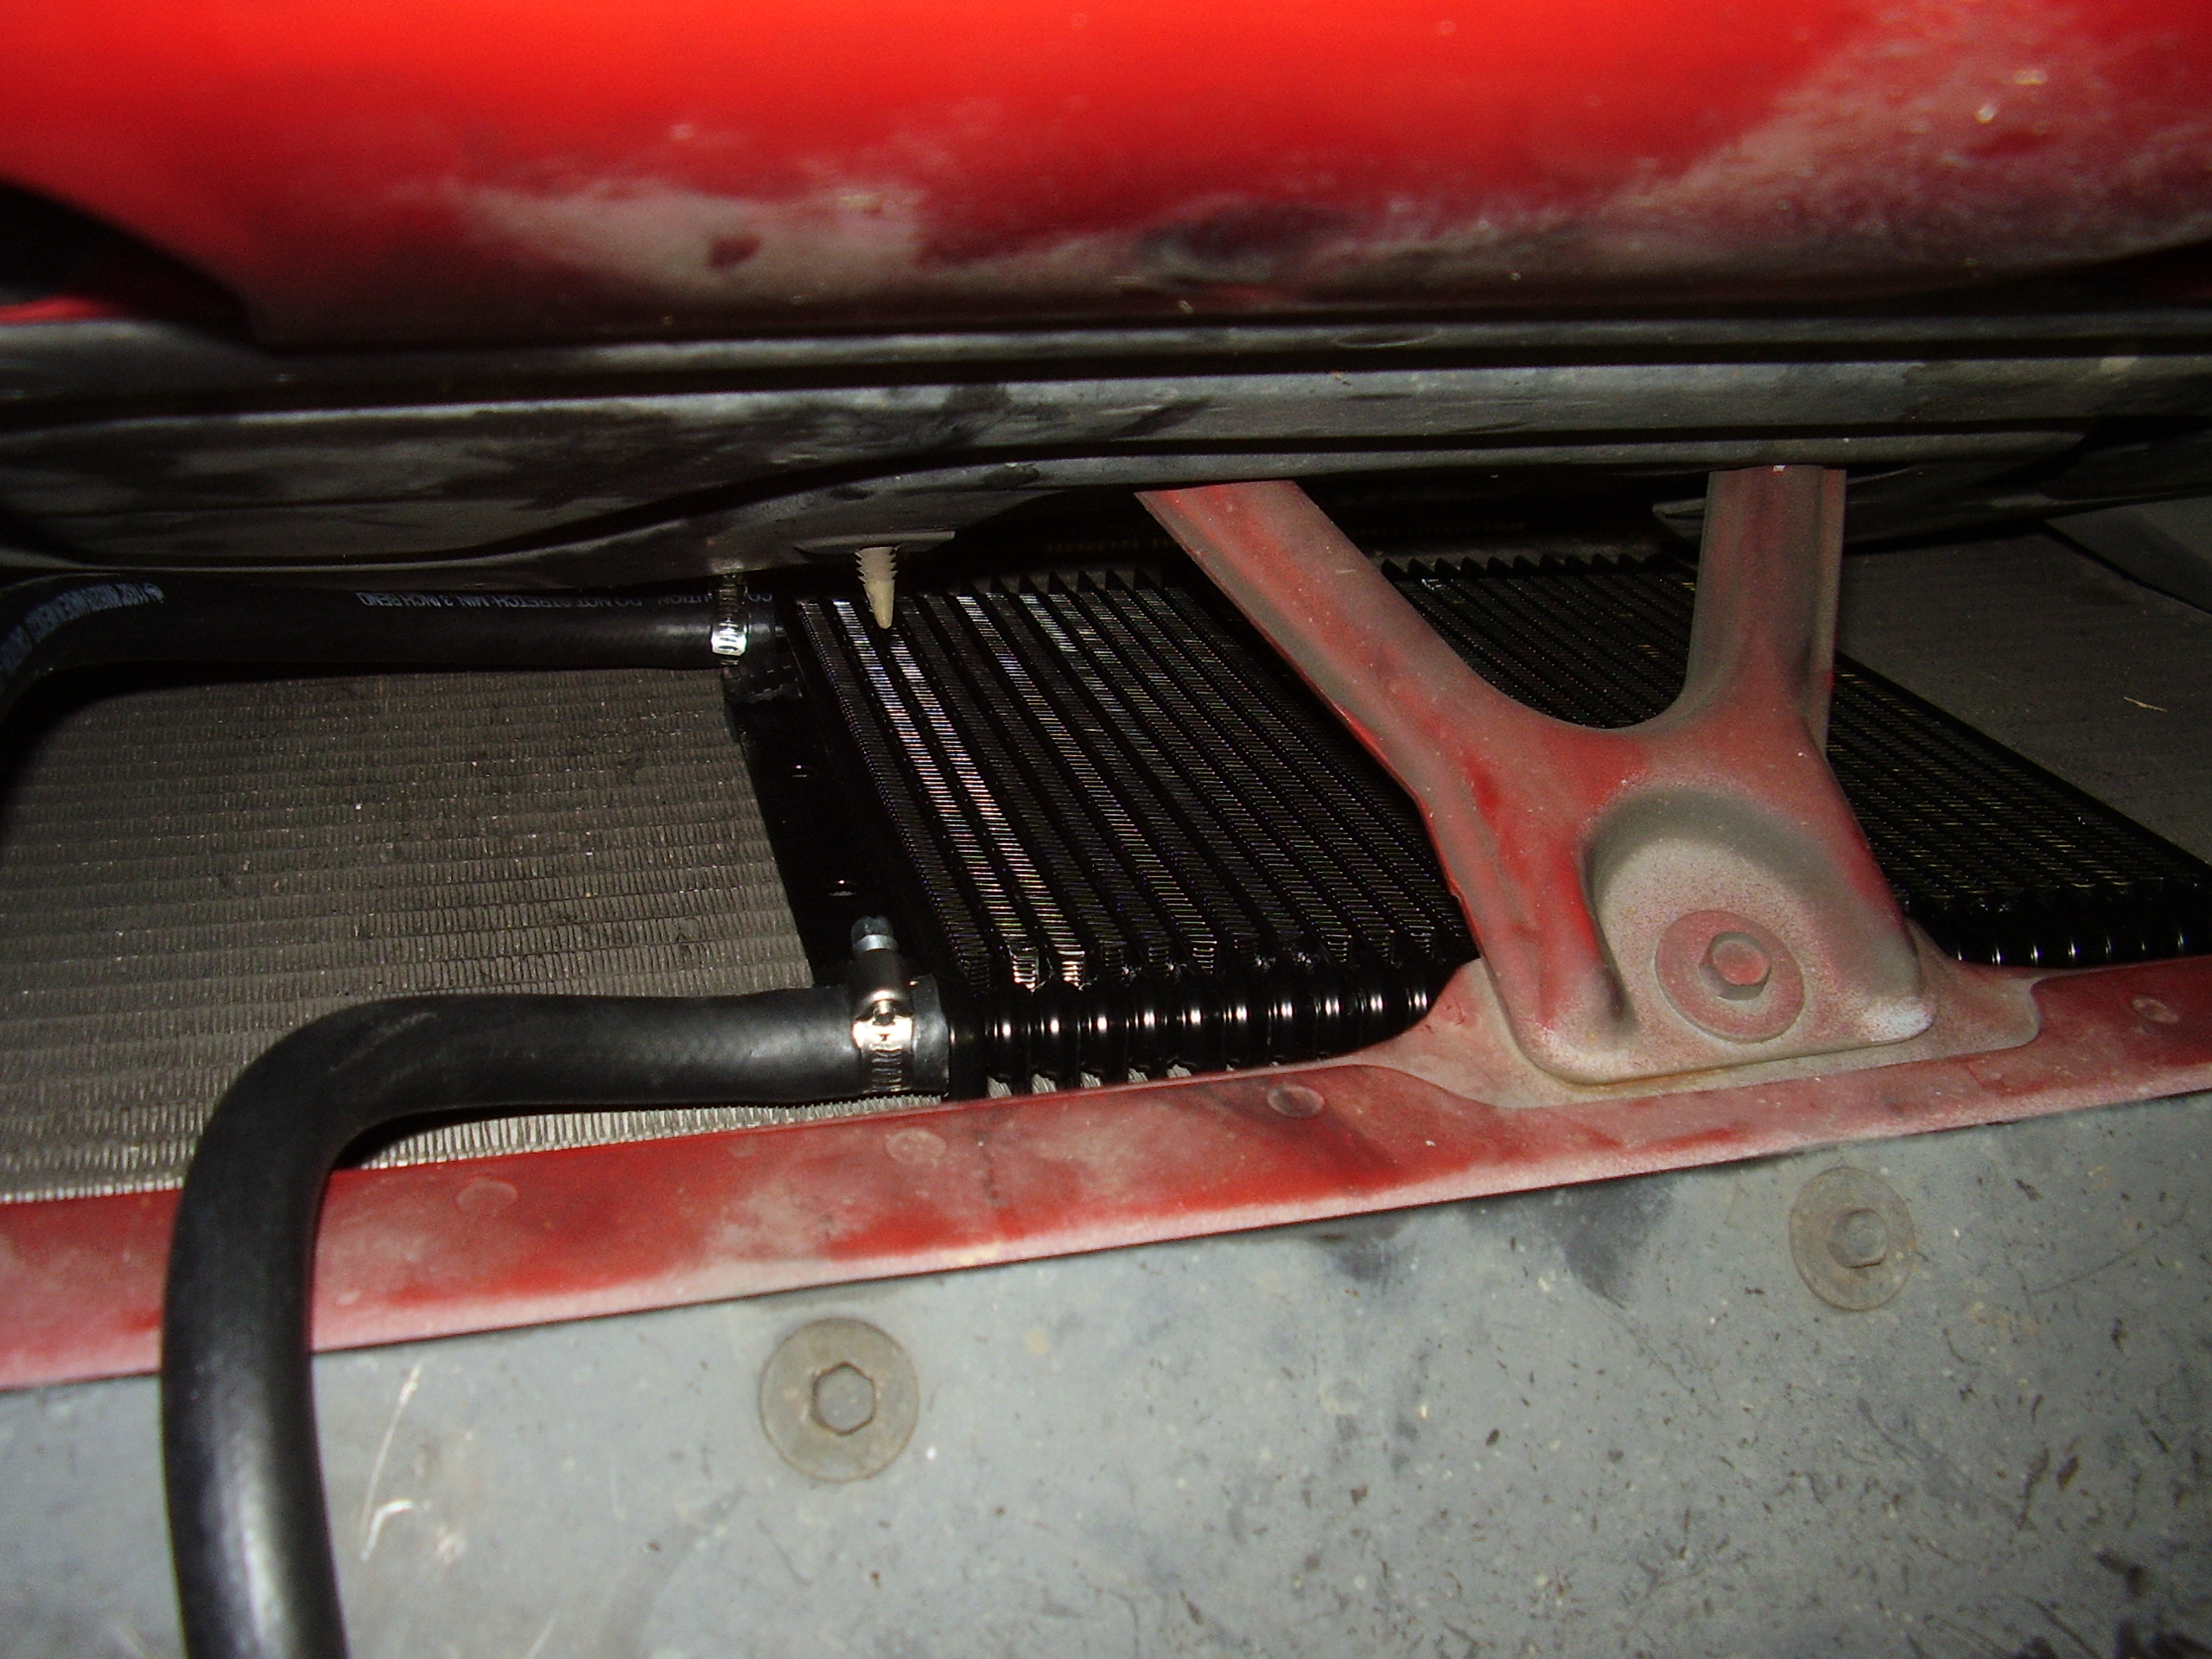
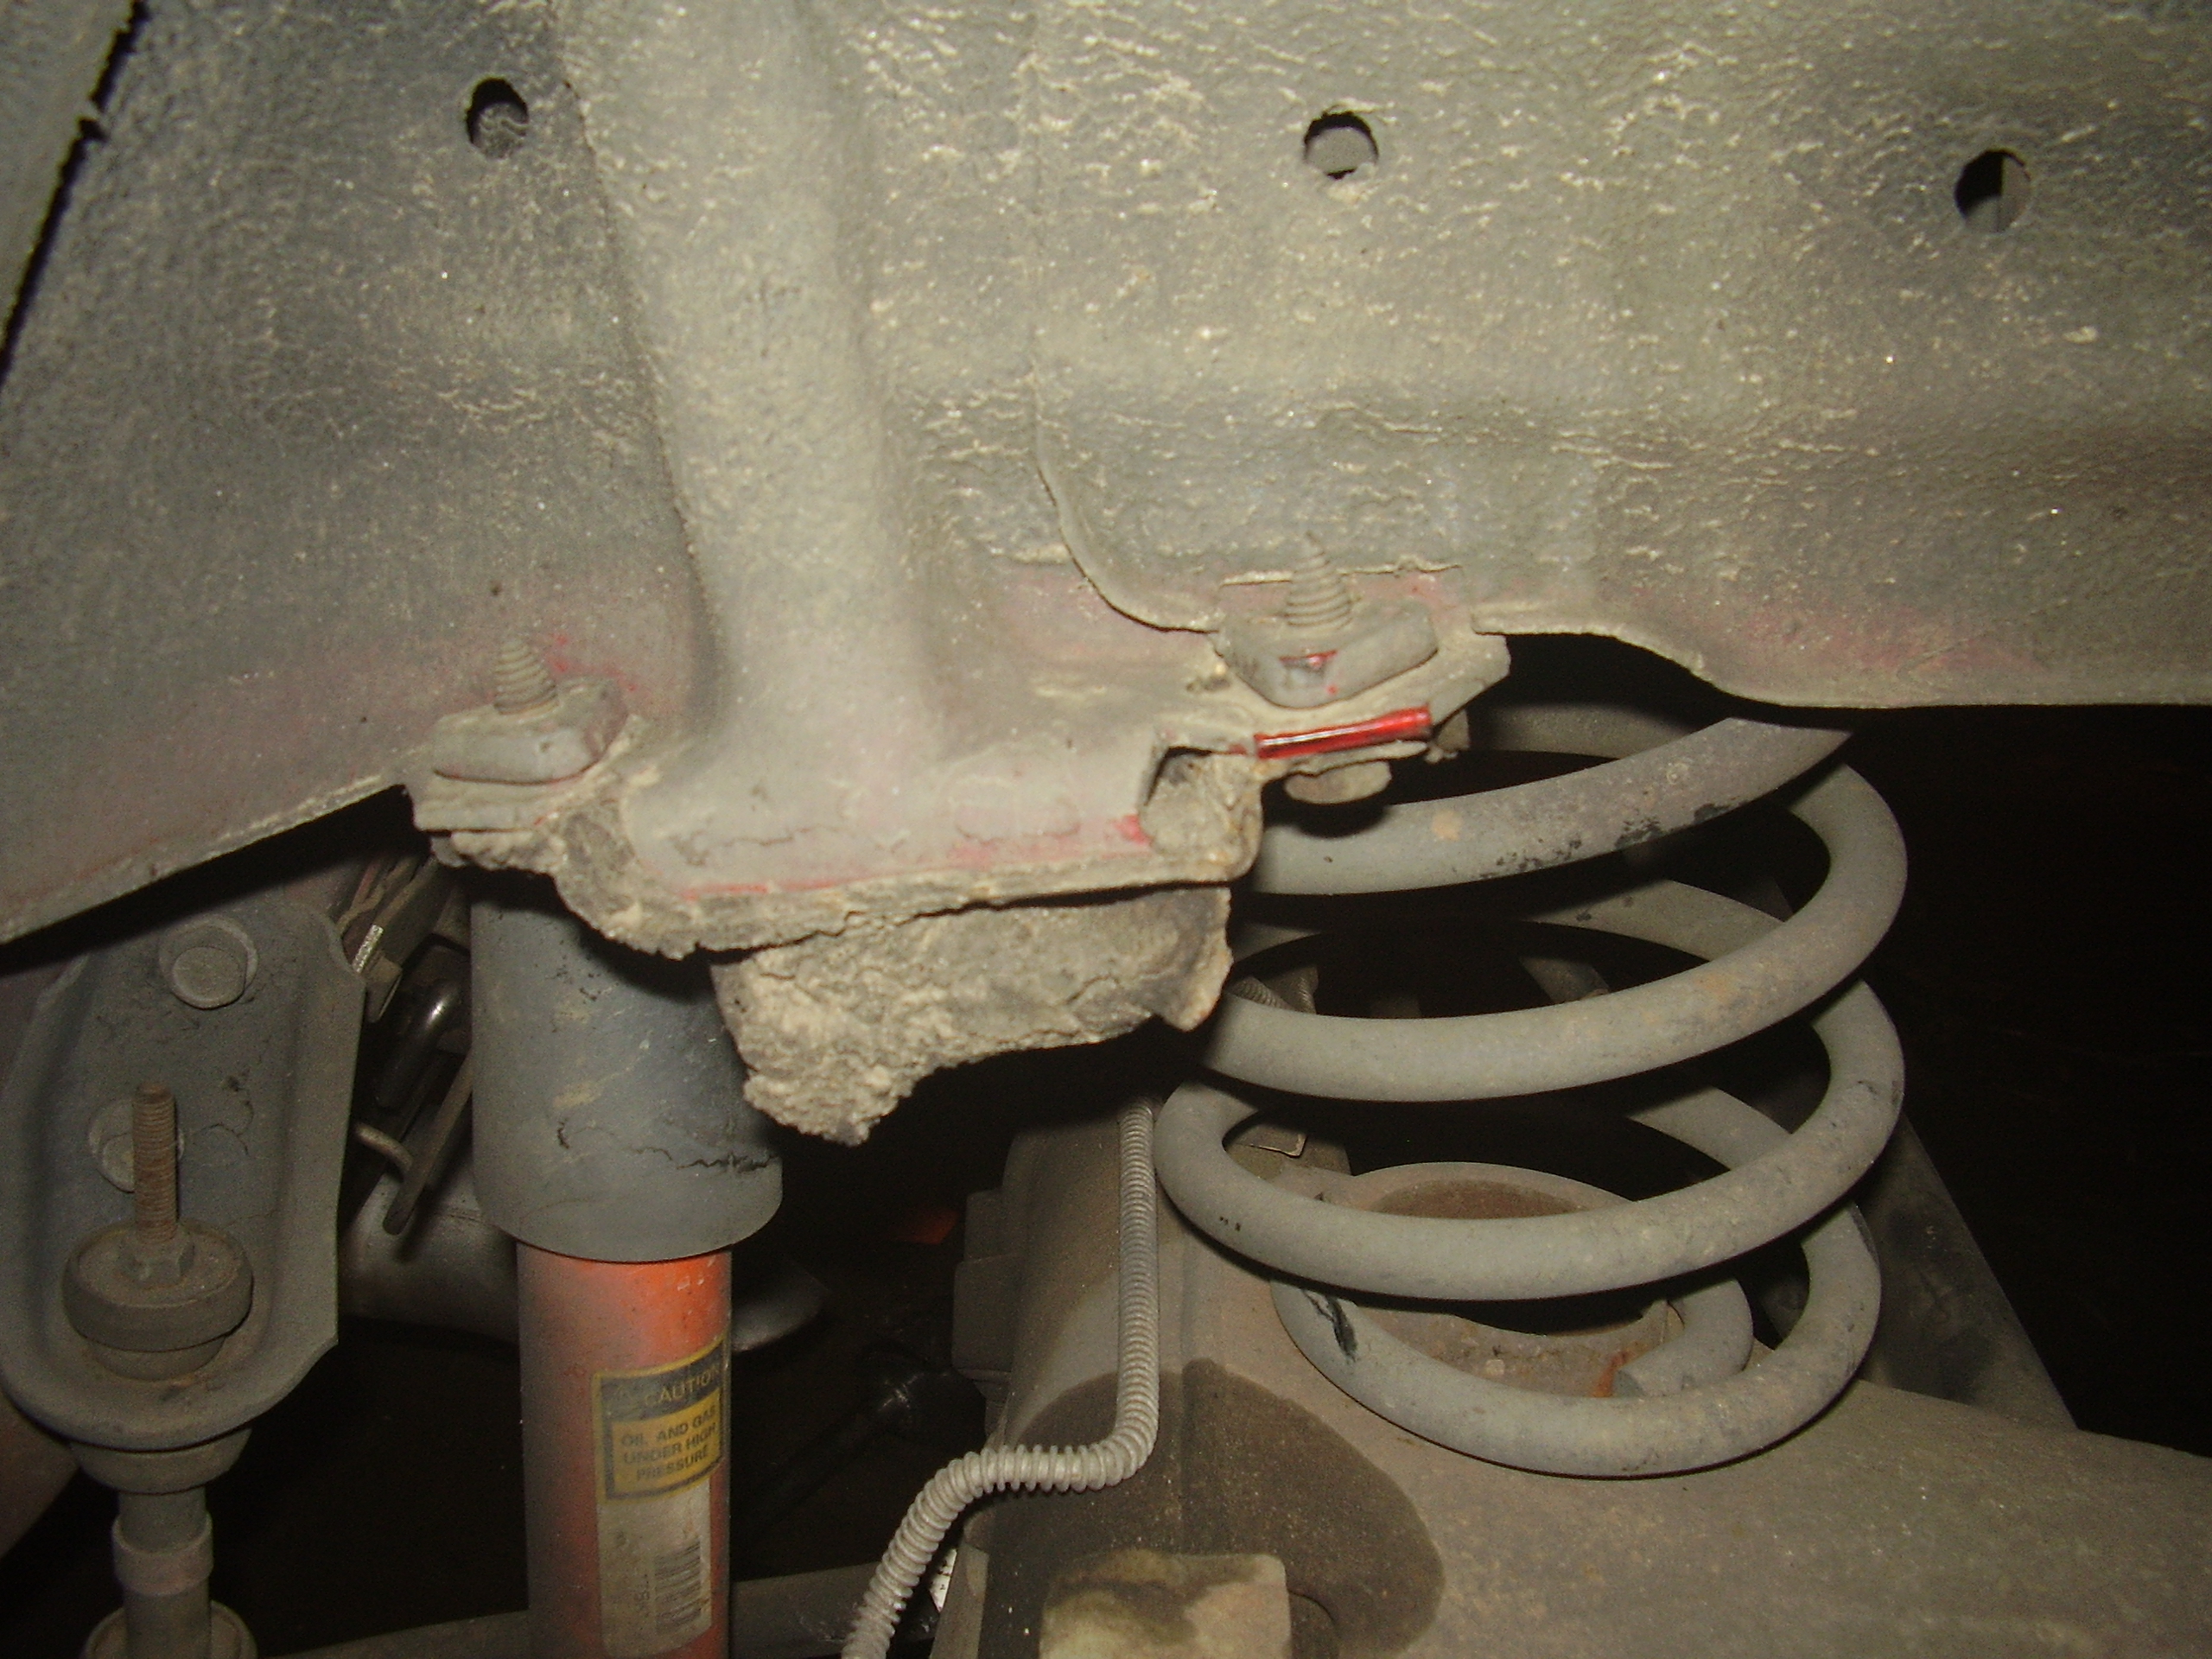
The other job I undertook for the day also involved installing some Prothane goodness.  Not too long ago I was under the car and looked up at the rear wheel well and noticed that the axle bump stops were nearly non-existent.  This usually isn’t much of a problem except that this car still has the original orange decarbon shocks which were not that great to begin with and usually needed replacing after 30K miles give or take.  I am sure the stock springs are tired as well and should be replaced.  Both of these facts are evident when riding in the car as you feel every bump in the road.  I would love to swap these out but good shocks and springs are freaking pricey.  So in the mean time I decided to replace the bump stops to see if that can help out the rear a little bit on the larger bumps.

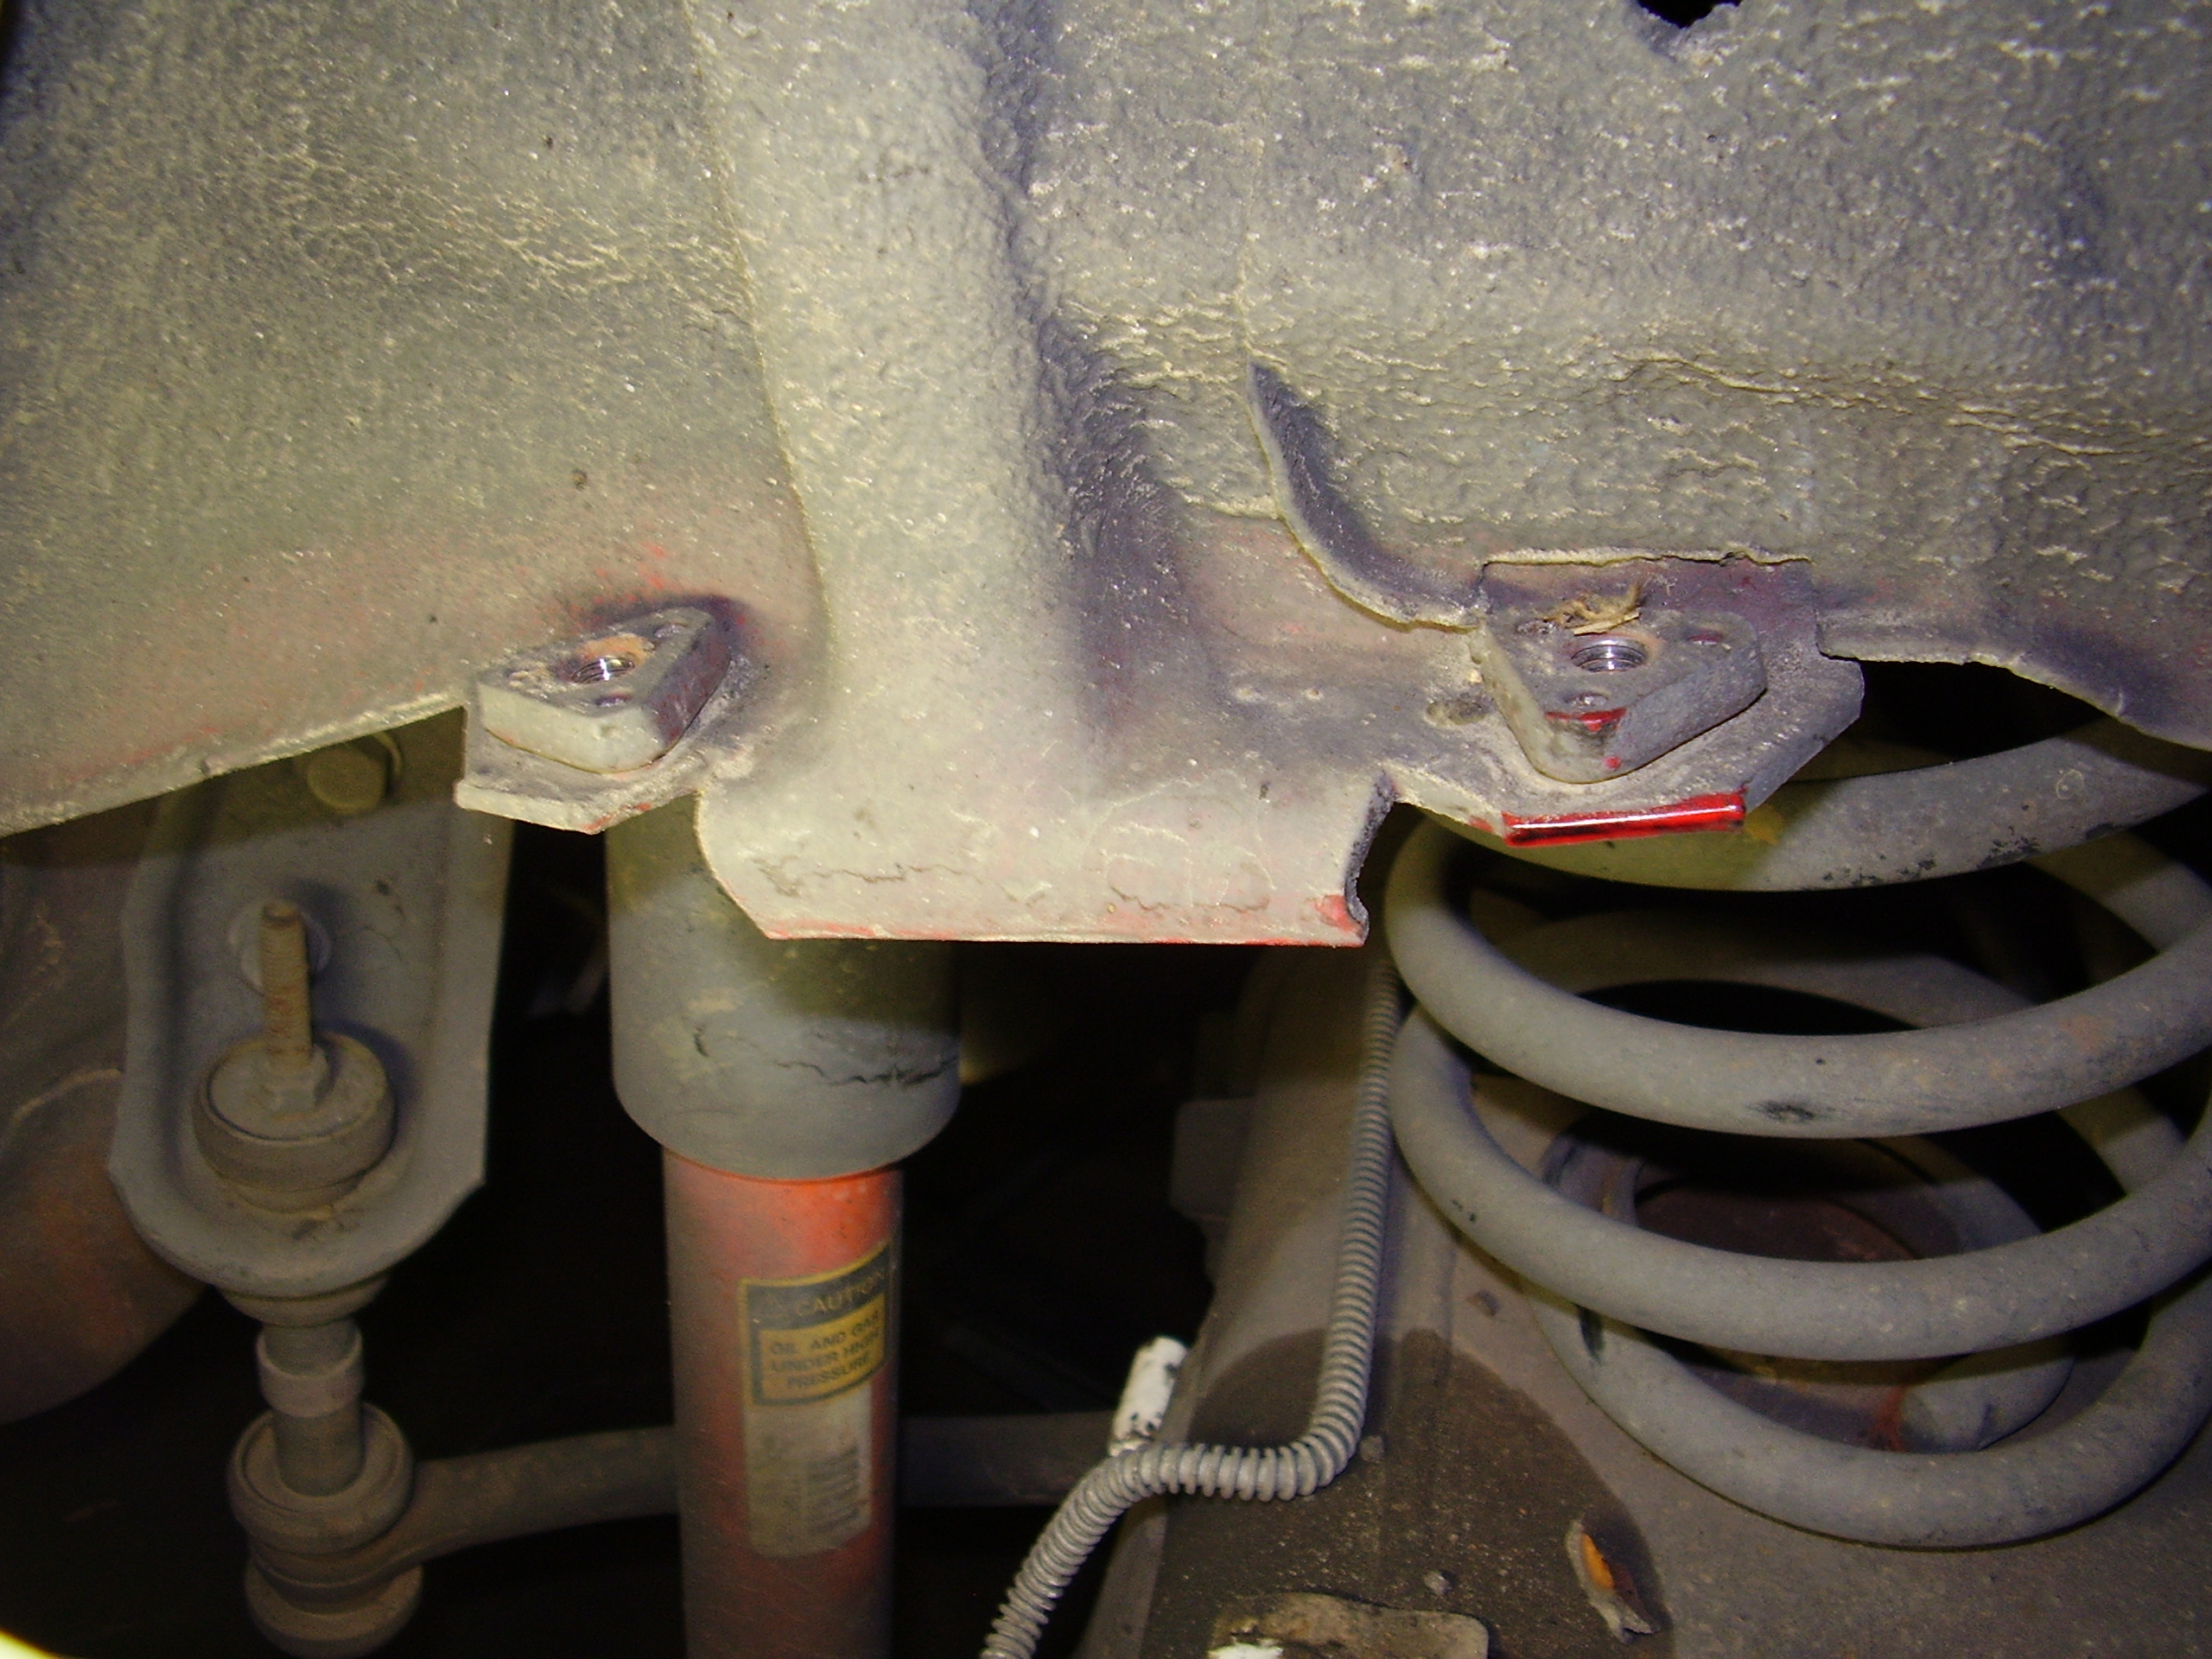
Here is a shot of just how pathetic the stock bump stops have become.

Stock Bump Stop


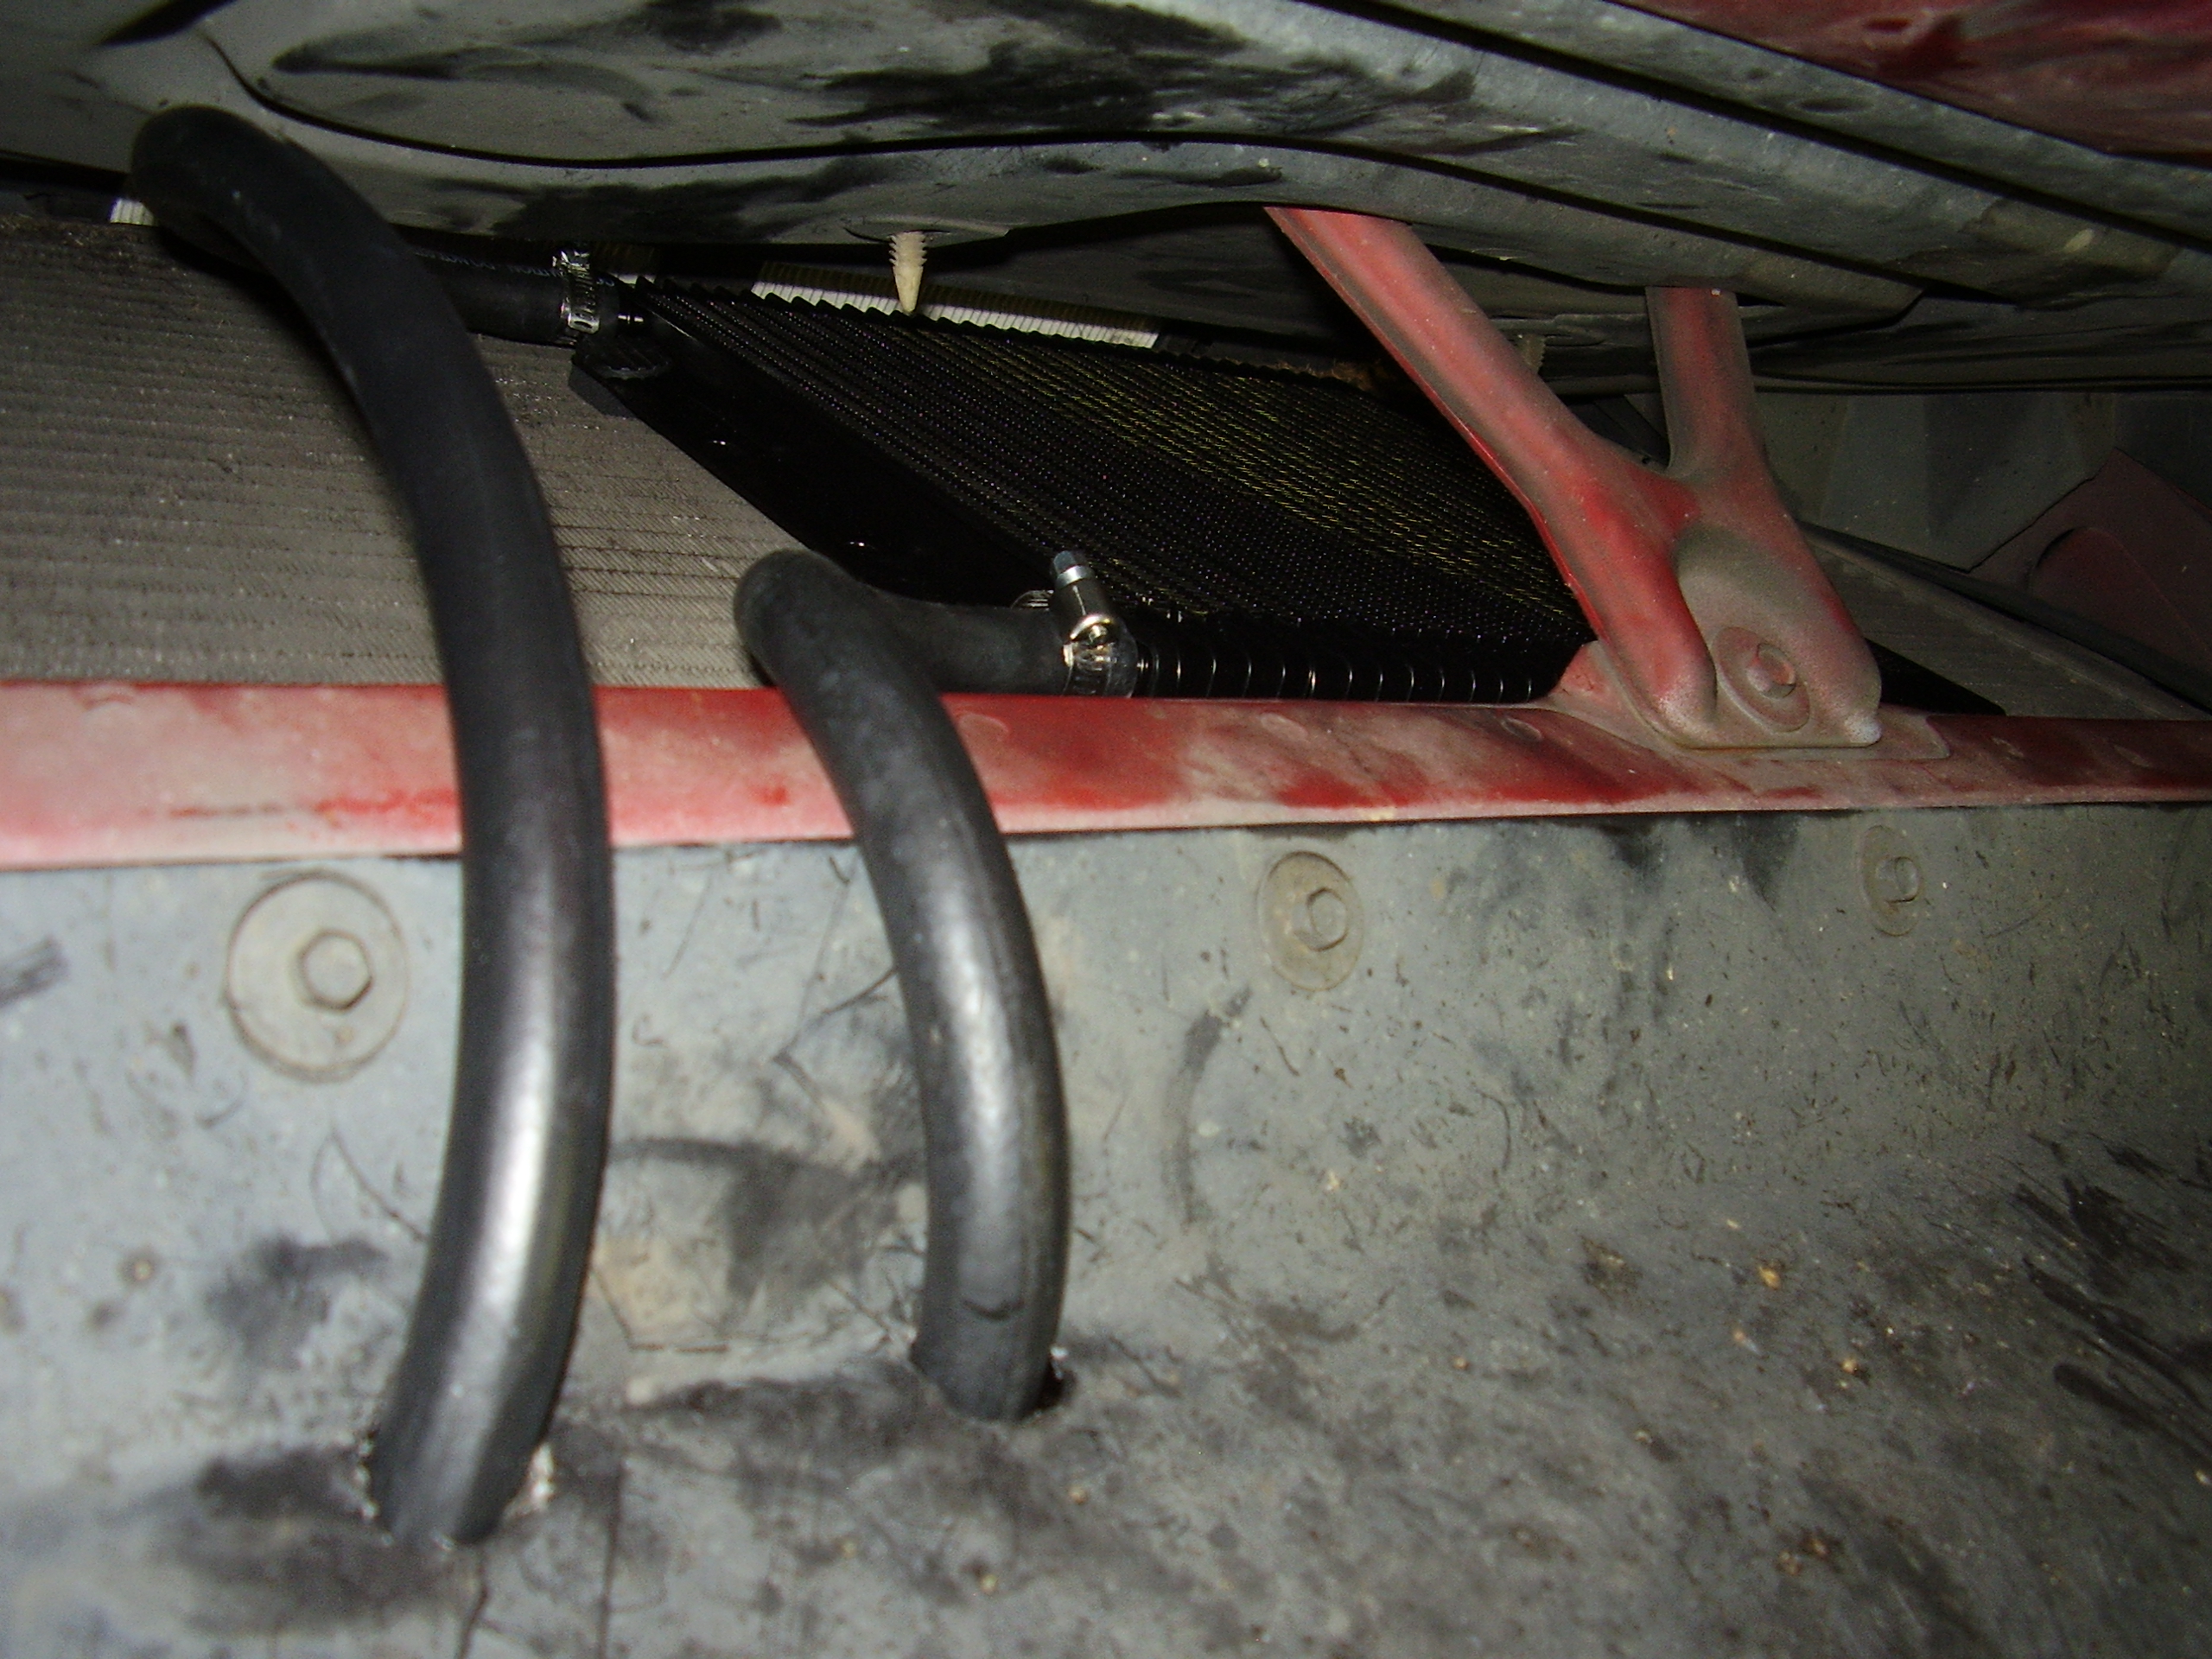
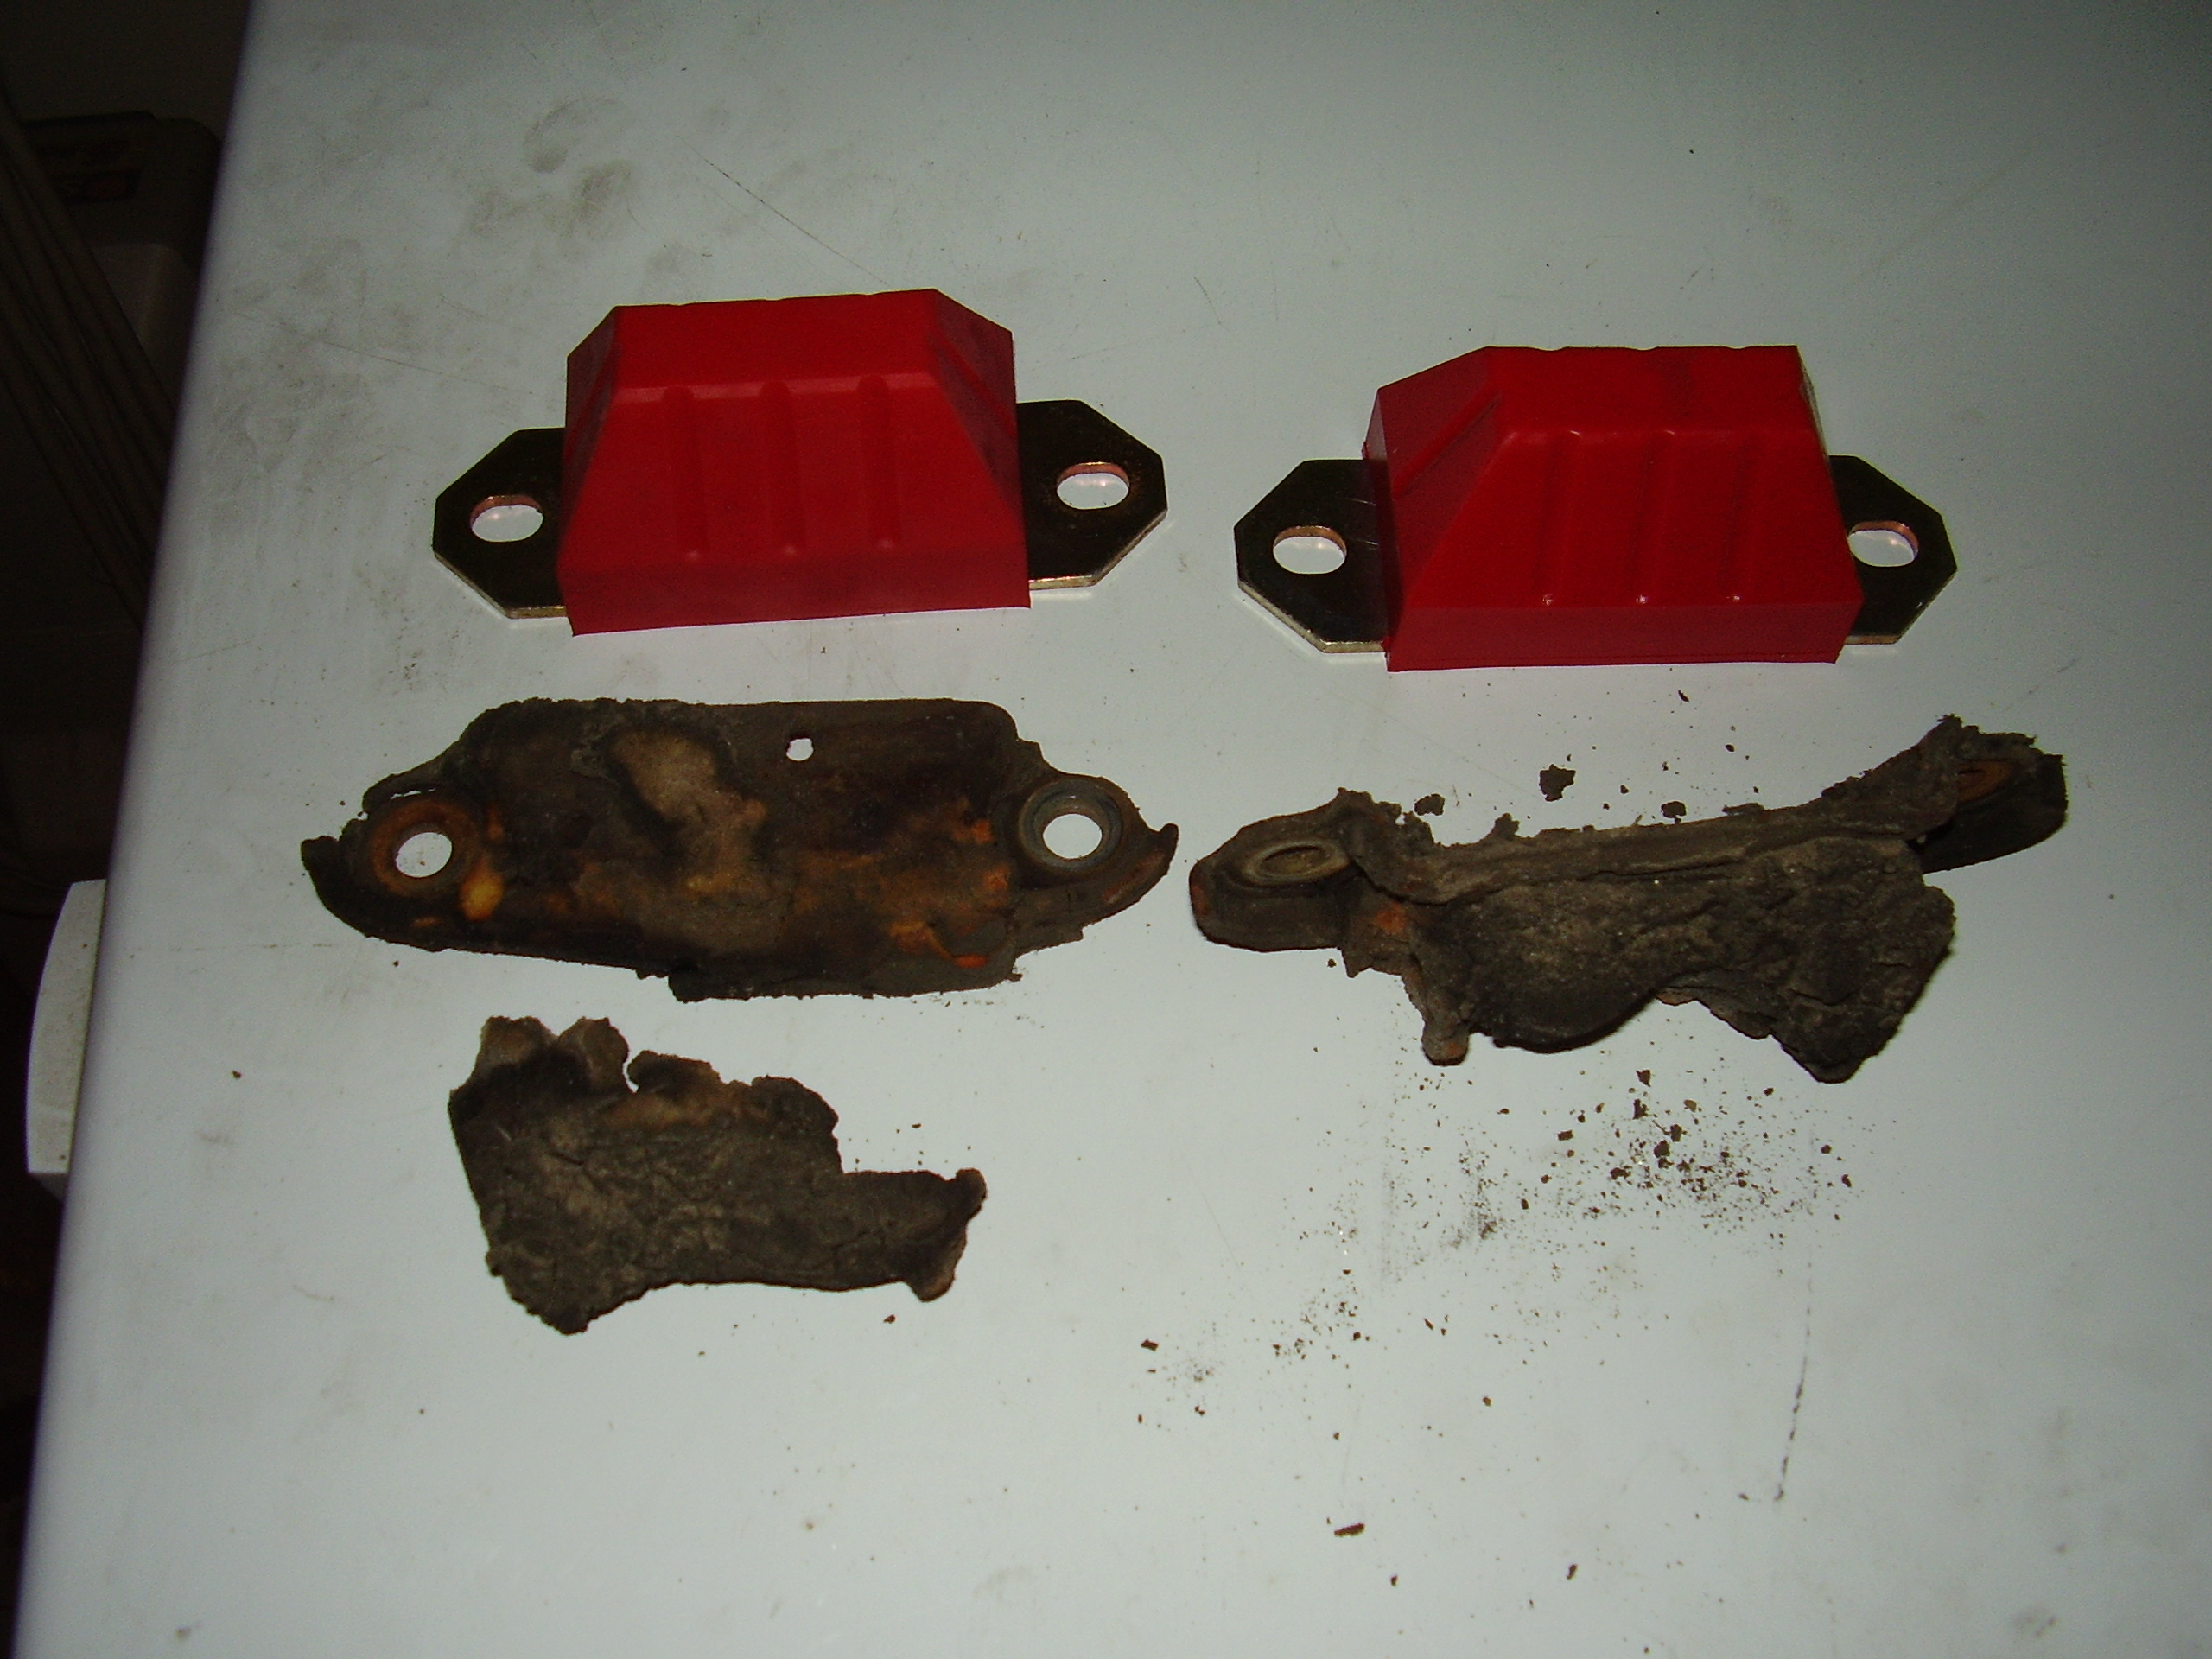
The stock unit was actually crumbling apart in my hand as I tried to unbolt it.  Here is a shot of what was left next to the replacements.

Bump Stop Comparison


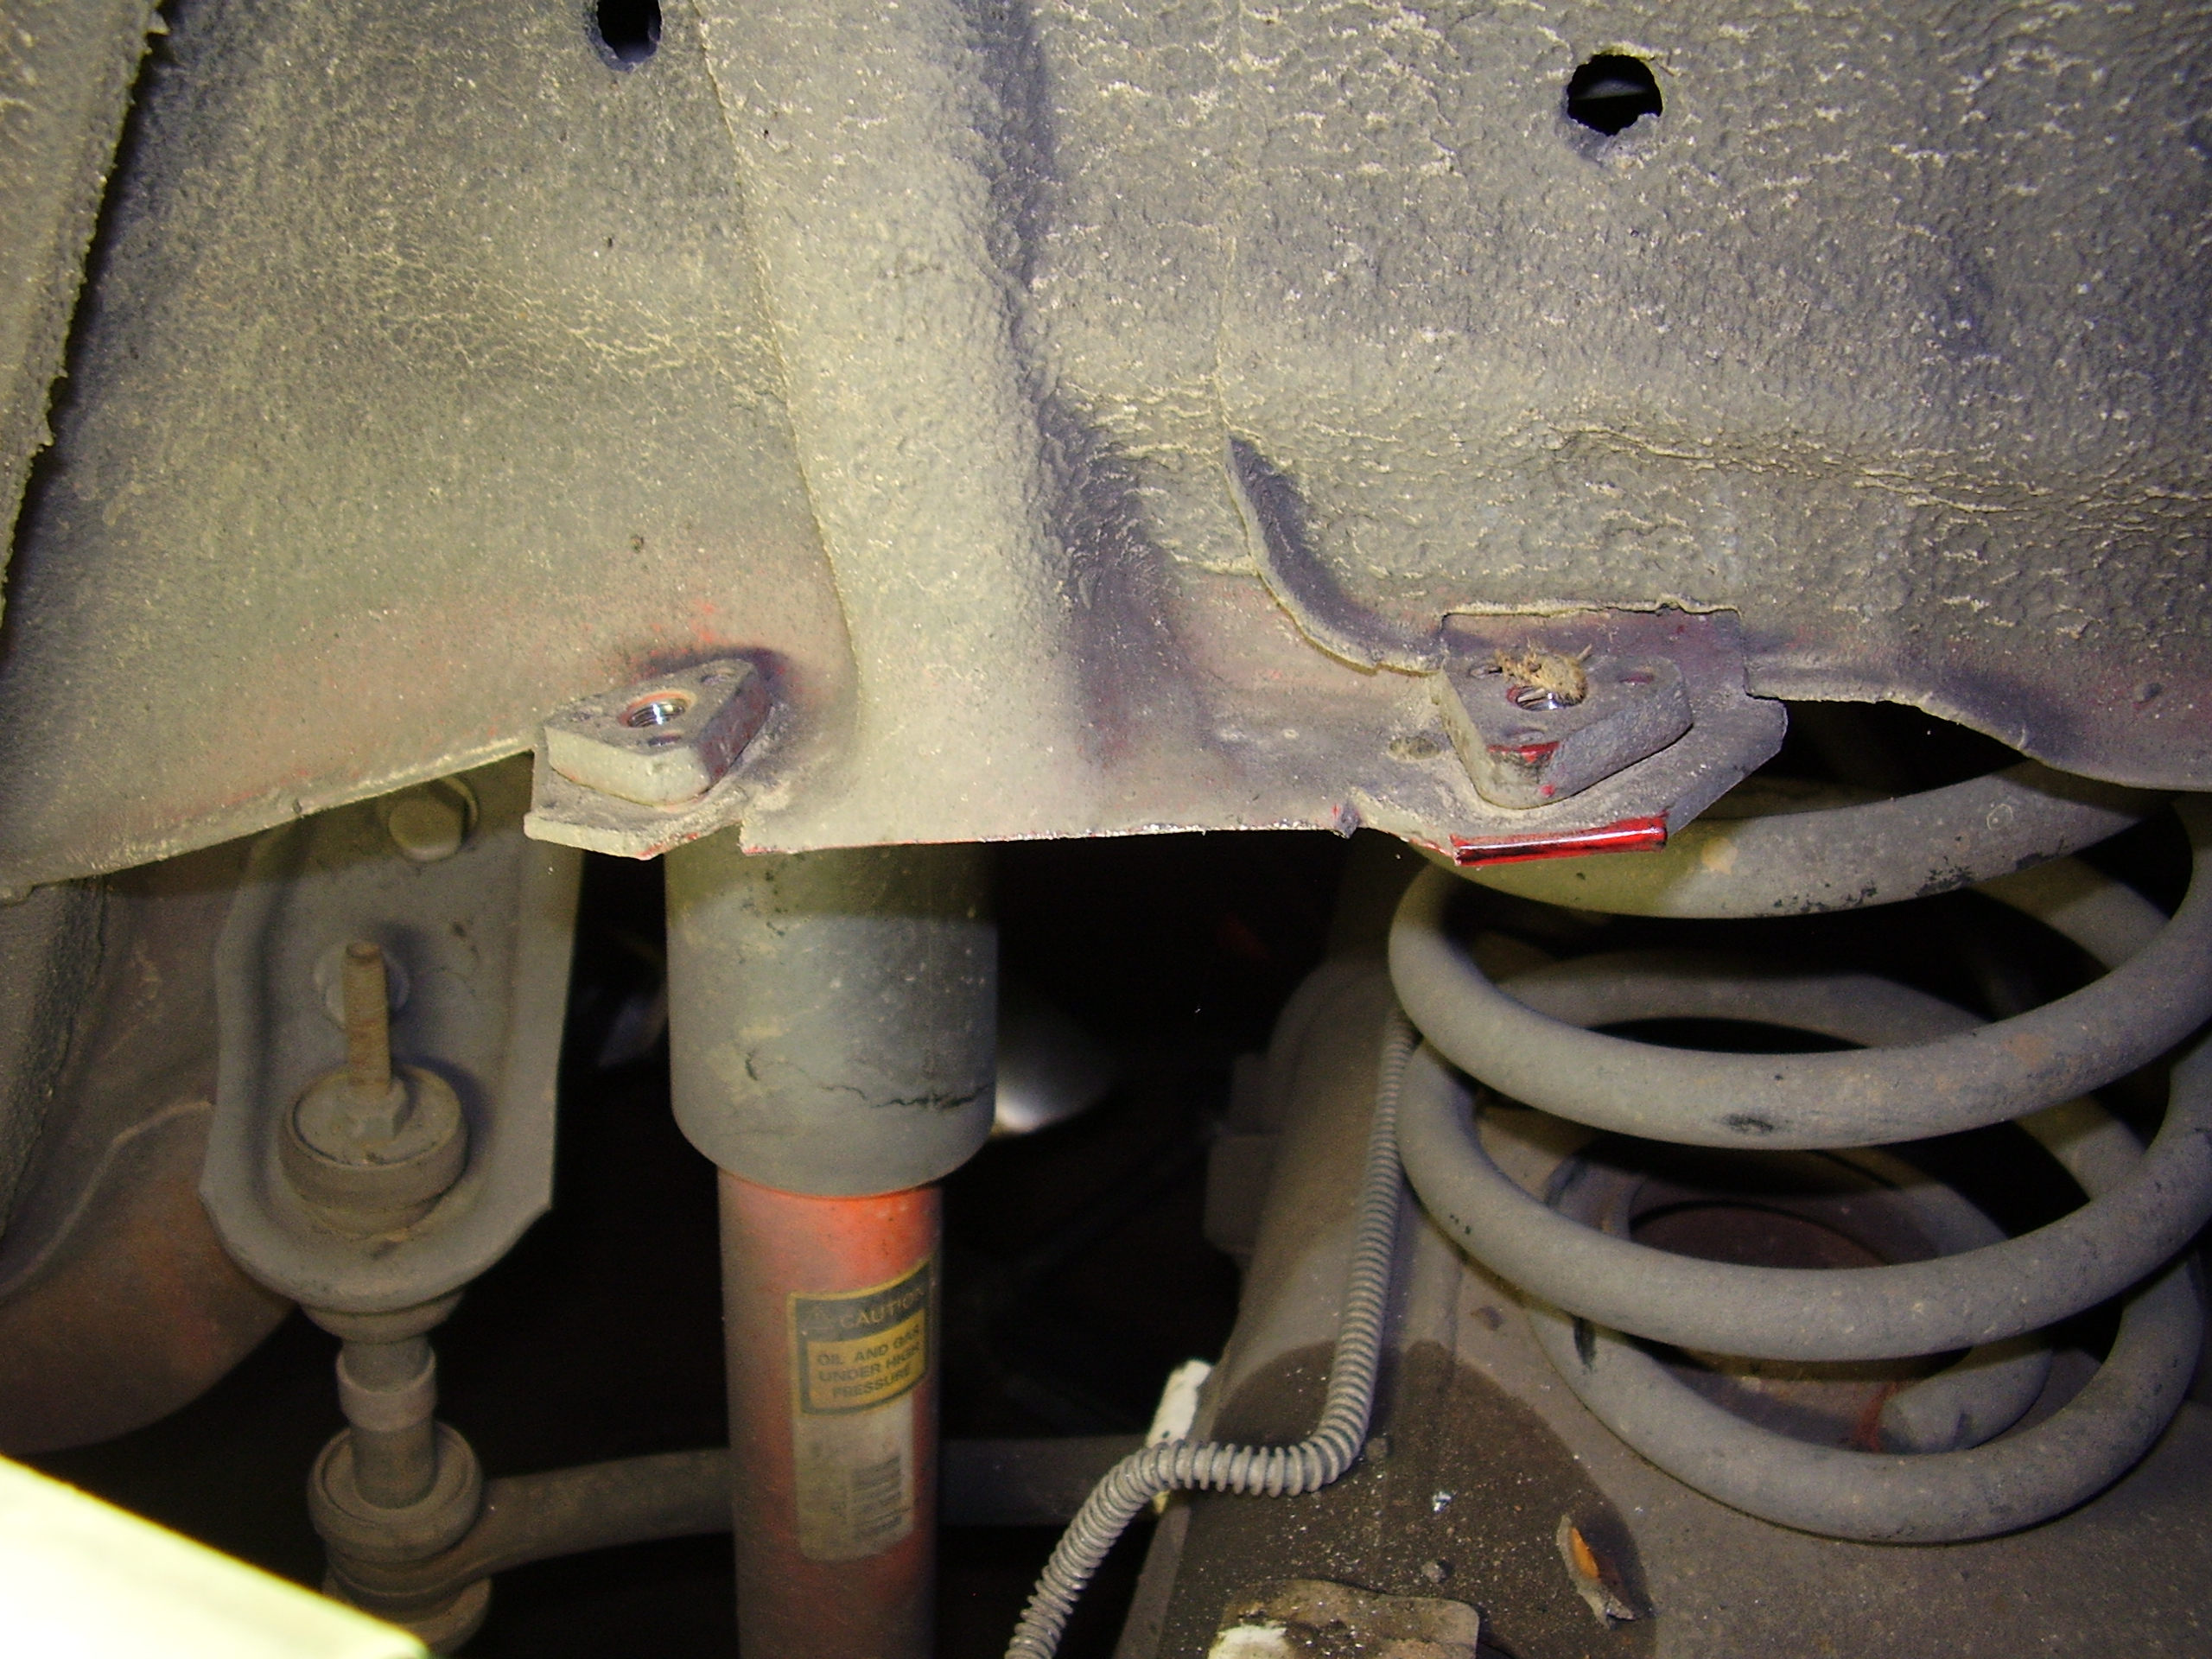
Once I went to install the Prothane stops I ran into an issue though.  There was a metal tab that the stock stops rested against that prevented the new ones from seating flush.

Bump Stop Tab


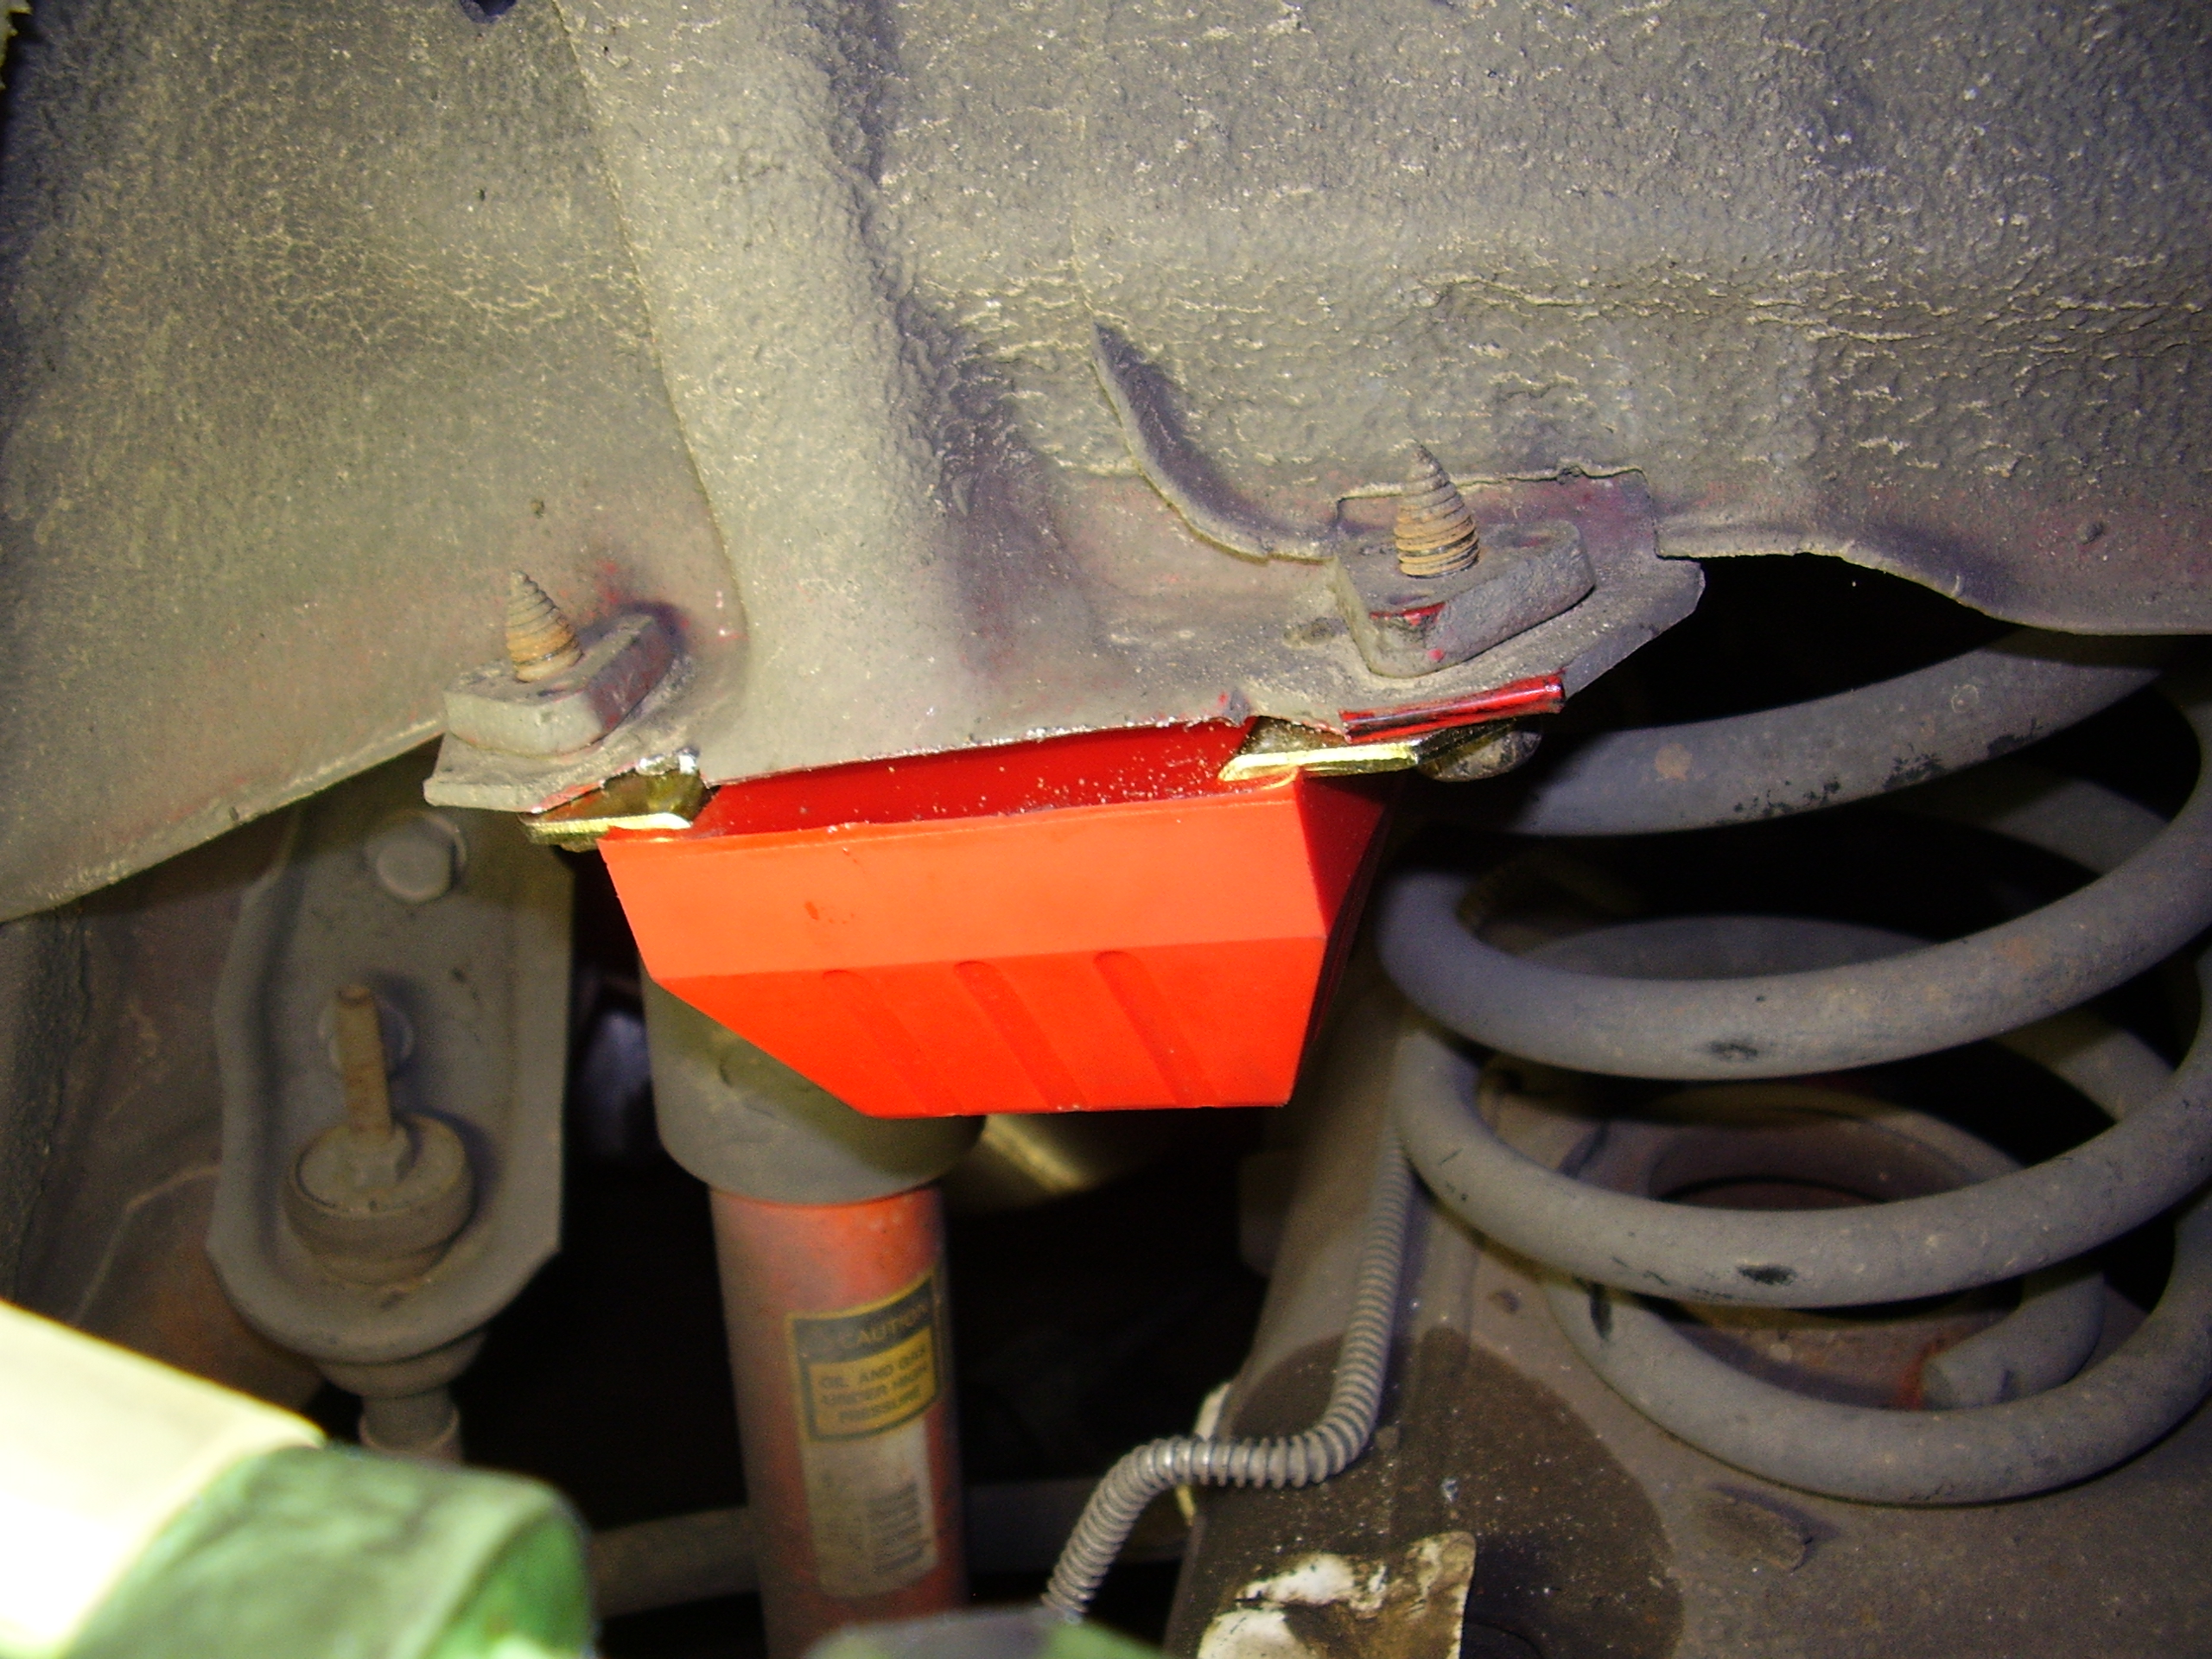
I, however, did not let that deter me.  Some people might have just shave off the corner on one side of the mount to allow it to fit in there properly, but ohhhh no… not me.  I went at it with a little creative freelancing with the reciprocating saw.  Aww yea, there isn’t anything that can’t be fixed with a sawzall.  Not to mention they are fun to play with.

Bump Stop Tab Removed


And now we have a new bump stop sitting nice and flush with the mount.

New Bump Stop Installed


Unfortunately while in the wheel well I did notice one other issue, but thankfully not one that is huge.  It appears that the driver’s side tire has been rubbing on the well and has gone clean through to the metal and polished it up quite nicely.  Looks like I will need to get in there and do the BFH mod.  I knew it was going to be a tight fit in there running a 315 on the rear but I’d say it’s not bad if this is the only issue in the past year.  The passenger side looked fine.

Tire Rub Spot


Driveline Upgrade Completed

Well, after I got the converter installed it should be all gravy putting it back together right?  Of course not!

So the day after installing the converter I put the tranny back under the car and lifted it up and worked it into place after greasing the pilot hole and guide dowels.  I thought some of the original bolts were a little more worn than I cared for so I went and grabbed a few replacements from a local auto store.  I put about half of the bellhousing bolts back in before I realized I had not put the dipstick back in.

So this caused me to pull the trans off a second time.  The tube was very hard to work with and didn’t want to go in the hole so I read that some people would remove the grommet and slip it over the tube and all was golden.  I did this as was able to get the tube in the tranny.  I bolted the bellhousing back up using more bolts than I took out only to find the dipstick tube still didn’t sit right.  I was able to get above and push the tune down but instead of the grommet slipping in like it was supposed to it just pushed up on the tube.

Here comes trans removal number three.  Only this time one of the original bolts rounded off and I could not get it out.   I cursed much that night.  The next day I picked up alot of tools that were extraneous but good as a just in case.  Besides that I got a set of bolt extractors and went back at it.  The bolt began to turn in a manner I had met before but didn’t recognize until later when the bolt was actually out.  It was a shearing turn.  Here is a picture of the rounded off bolt once it was removed.

Stretched Bolt


If you can’t pick out what is wrong here it is the top end threads.  They are stretched out twice or more than their factory specs.  And if you look at the 4th thread down it is split wide open.  This bolt was a hair away from shearing off inside the block and I got lucky.  This is why in the future if I am not buying ARP replacements I will at least replace them with grade 8 or 10 bolts.  A few bucks is good insurance against future failure.

Once I pulled the tranny out the third time I took the grommet and re-worked it into the tranny and managed to position the tube so it would seat properly this time.  Lesson learned for the future.

Once I decided that I needed all new bolts it was an adventure.  It took 6 different stores in order to get 8 M10 x 1.5 40mm bolts.  But once I had them I got the bellhousing back to the block and bolted up with more bolts than I took out so it should be good and tight especially since I stuck some loctite on all of them.

Here is a quick shot of how I had to get creative with the sockets in order to make everything get where I needed.  My swivel/u-joints where too floppy so I had to wrap them in electrical tape and then I needed to put a bolt in 4 feet away so I ended up having to tape the bolt to socket.  Thing is too much tape and you lose the socket to the bolt and not enough and it would not make it.  It was a new art form.

Creative Socketing

I then moved on to re-installing the rest of the car.  I get down and go to bolt up the new flexplate to the converter.  There was a 1/4 inch gap between the converter pads and the plate.  Twice what the specs allow for.  Some research said that stacking washers was a no-no so I needed a 1/8 thick washer.  Yea that is likely to be found locally.  I check out Summit and they have the 0.125 washer set for $22 which I thought was nuts for 3 thick washers.  I drive around for a few and no local store carries anything close and they send me to Fastenal.  Now normally this is a good thing but when Fastenal doesn’t have it, you are pretty screwed.  But then I remembered a place I found last fall during my cam install that had a 120mm bolt for me when no one else did.  So I headed that way and told them what I wanted.  Unfortunately they did not have a thick washer in the ID size I wanted but had one larger.  I said fine and asked how much.  When one of the guys saw me pull out my card he said that he wasn’t going to take a card for those washers and just gave them to me.  Said they would catch me next time.  Needless to say the next time I need bolts/washers/ect I know where to go.

Once I got home and put the spacers in place they pushed me to the YANK minimum spec so I  went ahead and bolted up the converter to the flexplate then reinstalled the starter and inspection cover.

Before I continue on about the trans pan and it’s new cooler here is what most consider a minor item.  I upgraded the transmission to body mount from stock rubber to Prothane.

Here is a comparison of the two side by side.

Trans Mount Comparison


Here you can see where the years and chemicals over time have destroyed the factory rubber.

Stock Trans Mount


And here is a shot of the new Prothane mount installed.

New Trans Mount


It transfers alot more vibs into the cabin but I have a plan to fix that later.

After all the bolt up I began to consider my options for a cooler.  I wanted to mount it dope style which was parallel with the ground but I apparently buy thing too large as I picked up the Hayden 679 unit.  So after some hard trying to put it where it didn’t want to go I relinquished to a normal mounting pattern against the condenser coil.

Here is a shot of the mounting

New Trans Cooler


Then a shot of how I ran the lines over to the engine side

New Cooler Piping


I had to make some sizable holes in the air dam but it is probably worth it.  Here is a shot of how I routed it on the other side.

New Cooler Piping 2


After installing the lines I then decided to move on the the new trans pan that I picked up.  Here is a comparison shot of the two next to each other.

Trans Pan Comparison


I wanted to also install the trans temp sensor that I have had since installing the pillar pod.  So I went into destroying a brand new piece of hardware i had never installed.

New Pan Drilled


Afterward I used my tap kit to create some 1/8 NPT threads in the hole and installed the sender.

Trans Temp Sender installed


The new pan installed much easier than I had though so there are no rough shots.  But instead here are some comparisons.


From the front suspension, a comparison

Old Pan Front View         Front View of New Pan


From the side

Side view of stock pan           Side view of new trans pan

There are plenty that say it sits entirely too low but I would have to scrape my headers to hit it as it stands now.  I feel very safe with it. I just hope I can find a tune solution to it staying at 3K RPM below lockup speeds.