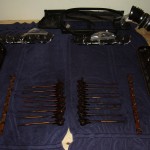
So I decided to start on the cam swap today and hopefully can have it completed before the weekend is done. It started out pretty smoothly and I was able to get the coilpacks, valve covers, rocker arms, rail, and pushrods out without any trouble.
Here is the crusty old valvetrain.
Surprisingly none of the pushrods appeared bent since that is a very common issue with the stock parts. Everything had heavy carbon buildup though and I thought about cleaning them up some but decided not to invest that much time into it. I’ll take care of that when I install some new heads later down the road.
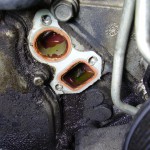
Removing the water pump was a little more of a challenge. Once the belt was out of the way I went to disconnect the metric ton of hoses and ended up tearing a hole in the upper radiator hose. Fortunately I was able to get someone to drive me around and found an Advanced Auto that had one in stock. Once all the bolts were out the pump decided it liked where it was and didn’t want to leave. I ended up having to use my breaker bar as a pry to break the seal. After I had it out, something in one of the coolant channels caught my eye.
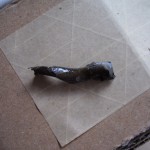
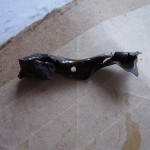
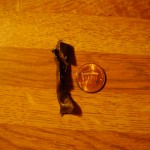
If you look in the lower opening there is a strange chunk of something. After working with some needlenose plies I was able to get it out and this is what it was.
I have no idea what this chunk of metal used to be or where it came from but it was definitely not healthy for the system. I am hoping that it isn’t a part of the water pump as I don’t need any additional costs at this point. With it out, the coolant should definitely have a better flow now. The radiator was a bear to get out as well. The A/C condenser is connected in front of it by these 4 slide tabs that you can’t see and have to just keep lifting the radiator up and moving it around until they are disconnected. I can’t even imagine what kind of fun that will be putting back together. But once it and the pump were off I had copious amounts of antifreeze from the hoses and such dump about a gallon all over my garage floor.
Next I dropped the starter and put in a flywheel locking tool to keep it in place so I can remove the dampener. After much effort and actually climbing on top of the engine I was able to break the massive dampener bolt loose. After fighting with my various pulley pullers I was able to get one locked onto the wheel and began to tighten it and managed to break the only 14mm wrench I have. I tried the closest SAE size of 9/16 and it started to round off the puller screw so I put a halt on that. Tomorrow I’ll have to see if I can get a ride to find a heavy duty wrench to get that sucker off. It’s definitely not wanting to move. Might need to take a torch to it if nothing else.
That pretty much put a halt to the progress since I can’t do anything else until the dampener is out of the way. I did take the time to go ahead and install the trunion upgrade kit in the rocker arms so that burned some time and is one less thing I need to do when putting everything back together. By that point I was too tired to deal with replacing the springs and will deal with that later.
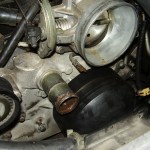
On a side note, this is what I found when pulling off the hose to the throttle body coolant line. I can’t imagine why this would have happened unless the asshat who had the car before me was cheaping out and running tap water in the coolant system.
Maybe I can use that as an excuse to get a new throttle body 🙂 Anyway, I hope tomorrow goes better with the dampener and I can get this show on the road.
